RenegadeSC

joined 1 year ago
 

These are decommissioned full power units that had their lens busted with a screwdriver. Upon Dissasembly I found the outer lens cracked, the focusing lens was undamaged, but the laser diode's glass was busted. Despite this as you can see the unit still works. The PCB although we'll made doesnt seem too complex, the main IC appears to be a TLC251C but I still need to document voltages and currents around the board to ID a suitable replacement laser diode and all of the other components.

The end goal is a printable DIY full power laser that anyone can make for ~$100. Using the PCB layout I plan to have custom PCBs made to fit a more modern LAM format, reusing as much as possible from the original PAQ-4C. The turrets seem possible to print as well out of nylon, the only hurdle there is the spring which has indentations and prevents the turret from walking/provides the clicks you feel and hear.

Tools used for the teardown: Dremel with cut off wheel Drill Press Flat head screwdriver for prying Razor blade Isopropyl Alcohol Dental floss picks for cutting through glue seams

Completed Units: 1000049390

Housing removed: 1000049389

Power Switch/Crane Port Assembly: 1000049405 1000049403 1000049396

PCB uncovered: 1000049418 1000049412 10000494141000049415 1000049416

Turret Dissasembly: 1000049640

Light Pipe Dissasembly: 1000049642 1000049644 1000049649 1000049650


1000046420 1000046422 1000046421

Im designing a prototype smoke projectile for 38mm launchers. This is designed around using a 38mm 12" barrel for the Odin Launcher. The smoke composition will be TPA based. I'm going to attempt an IR/Thermal blocking smoke composition but if all else fails it will be the same TPA composition that Invention Incarnate uses.

Design Highlights:

  • Von Kármán ogive nose cone, optimal for subsonic projectiles.
  • Polygonal rifled integrated pusher using an extended 4.5" Mathetatics & AWCY? M.I.L.C shell, provides initial rotation.
  • 6 curved folding fins, spring loaded for stabilization and further rotation during flight.
  • 3D printed housing using a DIY phenolic liner for heat mitigation.
  • Helical igniter for full core ignition.

This will be a bore-riding projectile for an increased gas seal and accuracy. The 4.5" shell will cover the fins when folded so that they're captive.

I've ran this through a few AI models who have calculated that with 87g of a smoke composition this projectile could reach a theoretical 45° launch distance of 160-200m at a muzzle velocity of 240-275fps.

Looking for thoughts and suggestions. Of course this design can be scaled from 26.5mm to 40mm and shortened as needed.

1
submitted 8 months ago* (last edited 8 months ago) by RenegadeSC@forum.guncadindex.com to c/3D2A@fosscad.io
 

I'm planning to work on some DIY 37mm smoke grenades. The goal is to make a DIY printable/easily acquired 37mm screening device that outperforms the M713 40mm white smoke round.

As such packing as much smoke composition as possible within the round is ideal. These rounds will be fairly heavy as the smoke composition includes a resin for waterproofing them.

So im looking for opinions and personal experience from the community on which launcher design is the strongest and can handle launching heavy projectiles? I've seen the Odin, Nameless, Pipe Hitter, NT79, B.A.L.L.S, etc.. with most of them having DXF files for reinforcing the chamber. For designs that don't, I can modify them to do so. But I want to gage the community and see which platform I should start with.


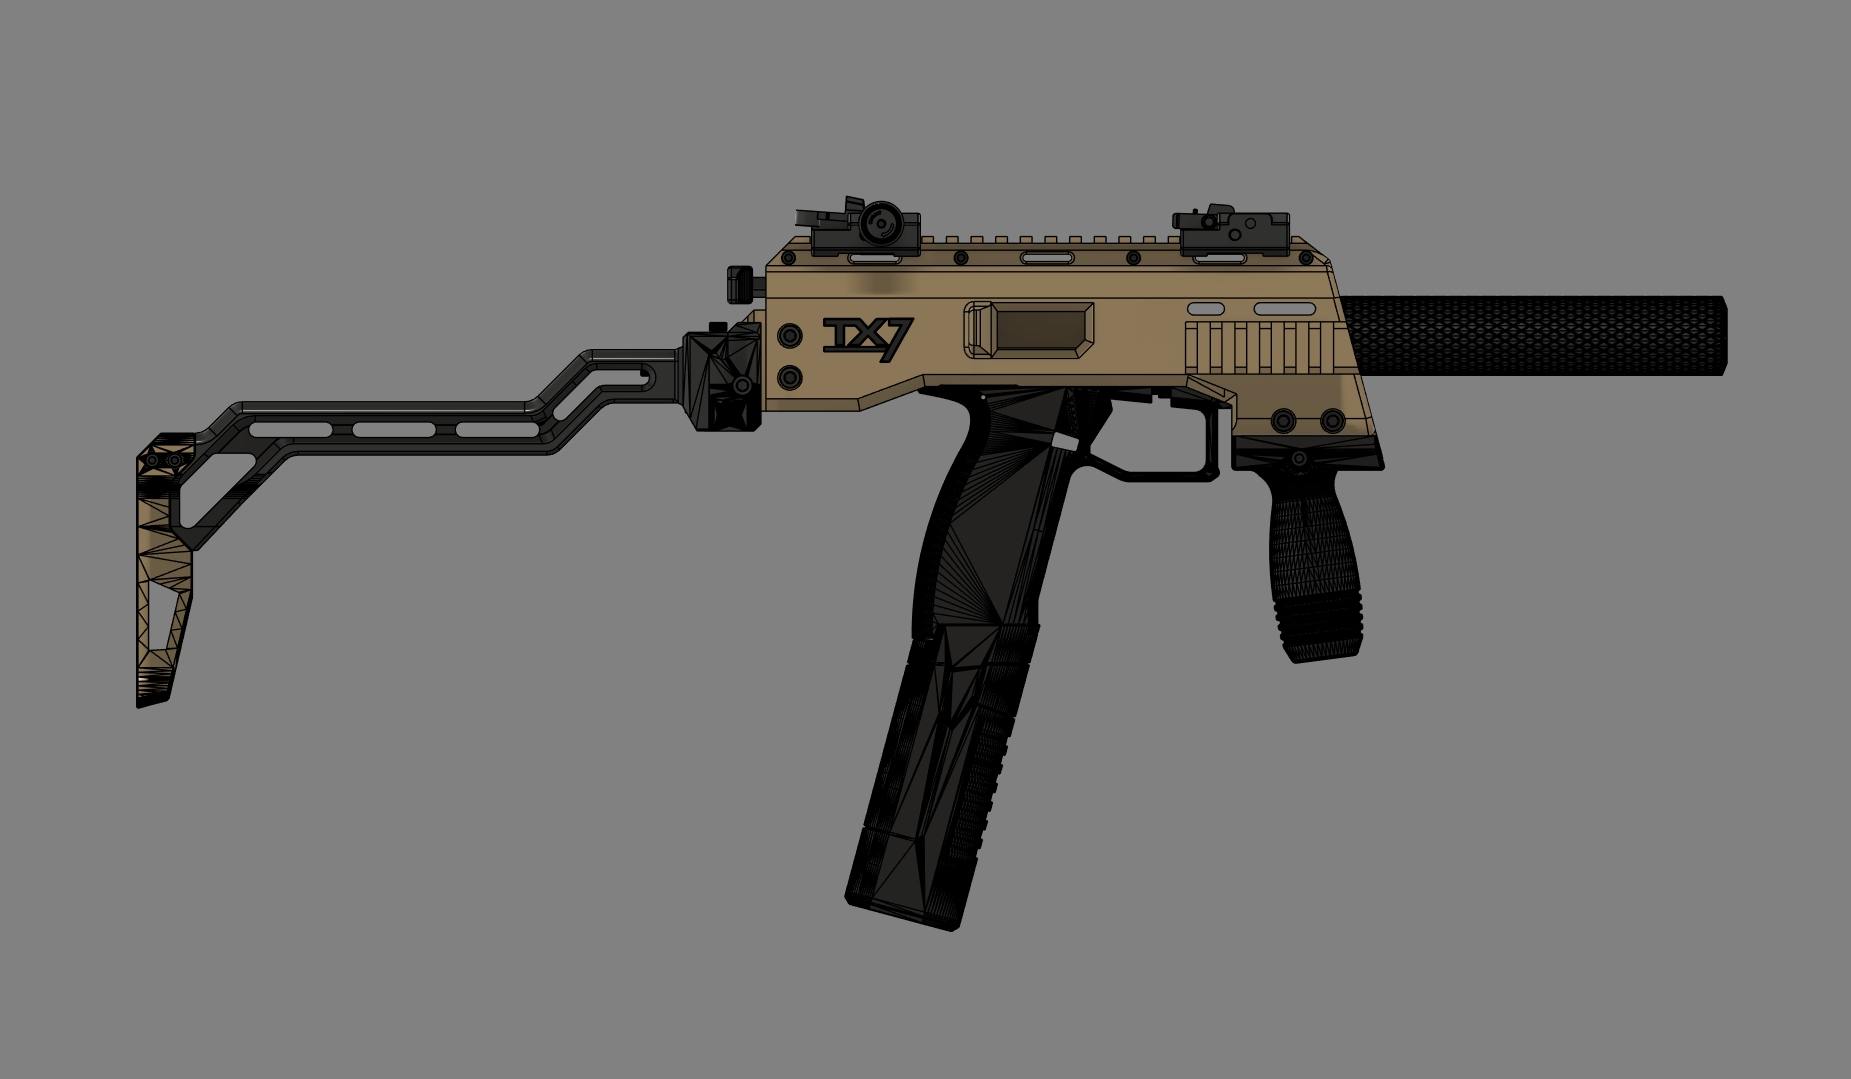
As was requested, the brace tailhook for my TX7 Remix has been doubled in size. The blade is now twice as thick, and the brace arm has had its geometry updated to match the right side of the tailhook's profile.

Included are .STL and .STEP files for both parts, so further modifications can be made on an individual basis.

This brace is a remix of @CrankFastle "CRANKS DROP STABLE SKELLY"

The brace arm has been changed to work with the folding hinge from @philphisher "PP MCXish 3D Printed Folding Brace"

As such, this brace should work on any chassis or lower with a rear Picatinny rail section.

https://odysee.com/@RenegadeSC:e/TX7-Remix-Large-Brace-Arm-And-Tailhook:b

1
TX7 Remix BETA (forum.guncadindex.com)
submitted 9 months ago* (last edited 9 months ago) by RenegadeSC@forum.guncadindex.com to c/3D2A@fosscad.io
 

1000043560 1000043561 1000043562 1000043563 1000043564 1000043565 1000043566 1000043567 1000043568 1000043569 1000043570

As promised, the Beta is here. There is no guide at this time; however, most is self-explanatory. The MP7 sights, in particular, will require their own guide. The rear peep sight will need to be drilled out, along with all of the various bolt holes. This is done intentionally to ensure the threads work with the minimal amount of material in some areas.

Inspiration is from the MP7 and MP9.

TX22 TX7 Add-Ons & Alterations:

TX7 Chassis:

  • The front has been opened up slightly to accept common 22lr suppressors 38mm or thinner OD - (Dim it Down, FTN.3 Rimfire, FTN.4 Rimfire, FTN.4 CF Rimfire, and FTN.5 Rimfire)

  • The rear pic rail section has been extended to match the lowest portion of the folding adapter

  • The bottom is now enclosed, and the chassis captures both the rear-most frame pin along with the last 5mm of the TX22's beavertail.

Modified Cranks Skelly Brace:

  • The QD in the rear has been removed

  • The brace arm has been altered to work with the MCXish folding adapter

  • The arm has been cut out in line with the tailhook, with matching geometry to be more comfortably braced

Modified MCXish Folding Adapter:

  • The adapter has been extended to flush against the back of the chassis

  • The adapter was lowered so it works better with the charging handle

Modified Mo Grip:

  • The grip has been chopped to fit cleanly on the lower rail (MP9 Vibes)

  • The grip has been changed to M5 hardware

Printable MP7 Iron Sights:

  • Made from the CMMG leak files and modified to be printable while retaining aesthetics and complete functionality (functional elevation/windage adjustments)

Notes:

  • The hole positioning of the rear frame pin is untested; however, it should be correct as the creator of the model has 3k rounds on the frame. The beavertail cutout in the chassis is also untested, as the frame used for modeling is not a factory frame. The cutout in the chassis should be an easy fix, as you can simply file/sand to the proper fitment. Furthermore, the right-side safety selector cutout had to be shortened to allow for the pin placement, as such binding may occur; additional changes may be needed. This was released into Beta as people have been asking for it.

  • The purpose of the lower folding adapter, along with the curved brace arm, is to clear below the left side Picatinny rail. This way, if you have a light or laser mounted, the brace won't interfere when folded.

  • Depending on the suppressor used, the TX22 may not cycle with the FRT. I'll be working on a weight system that will work with the chassis.

  • Lastly, you'll notice a modeled barrel, as I couldn't find one that existed. The locking surfaces on the bottom and major dimensions are correct, but some features, such as curve geometry, aren't. Use this as you wish.

Here's a list of what was used:

Chassis - "TX7 Pistol Chassis TX22" by GG3D

Folding Mechanism - "PP MCXish 3D Printed Folding Brace" by philphisher

Tailhook & Arm - "CRANKS DROP STABLE SKELLY" by CrankFastle

Foregrip - "Mo Bigger Grips" by BrokenBullets

Suppressor - "FTN.5 Rimfire from the FTN.5 Suppressor Pack" by Plaboi

Extended Mag Release - "TX22 EXTENDED MAG RELEASE" by MiddletonMade

SCS FRT - "TX22 FRT v7" by ODD MFG LLC (No longer available)

SCS Striker Housing - "TX22 SR MM SCS" by pembie000industries

Compensator - "TX22 Comp v3" by pembie000industries

Mag Extension - "BoomTube 22" by the_fly1ng_v1k1ng

TX22 Lower Model - "Taurus TX22 Basic

Blocky" by RacoonDev_1258837

https://odysee.com/@RenegadeSC:e/TX7-Remix-BETA-(by-RenegadeSC)

1
TX7 revamp is complete (forum.guncadindex.com)
submitted 9 months ago* (last edited 9 months ago) by RenegadeSC@forum.guncadindex.com to c/3D2A@fosscad.io
 

1000042421 1000042422 1000042423 10000424171000042418 1000042419

Finally happy with it, I still need to tweak a few things (mainly tolerances) but this should be releasing within a few more days.

TX22 TX7 add-ons & Alterations:

- Modified Cranks Skelly Brace removed QD in rear, altered brace arm to work with MCXish, also cut out the section inline to the tailhook with matching geometry to be more comfortably braced

- Modified MCXish Folding Adapter extended to flush against the back of the chassis, also lowered the rear portion as to work better with the charging handle

- Modified Mo Grip fits cleanly on the lower rail (MP9 Vibes)

- Printable MP7 Iron Sights functional elevation/windage adjustments

- TX7 Chassis has the front opened up slightly to accept suppressors

All original creators will be credited once I write up a guide. Most is self explanatory however the MP7 sights need a "read me" of their own. Sights will require drilling out each hole as theyre made undersized on purpose.

Inspiration is from the MP7 and MP9.

Note: The purpose of the lower folding adapter along with the curved brace arm is to clear below the left sides picatinny rail. This way if you have a light or laser mounted the brace won't interfere when folded.

Additionally, I'll be trying to design a weighted back plate within the limited space left within the chassis, this may require extending the chassis slightly. This will only be necessary when running an FRT suppressed as the Gen 2 slides dont have enough mass to stay in battery and not bounce open.

1
submitted 9 months ago* (last edited 9 months ago) by RenegadeSC@forum.guncadindex.com to c/3D2A@fosscad.io
 

1000042314 1000042313 1000042311 1000042318 1000042312

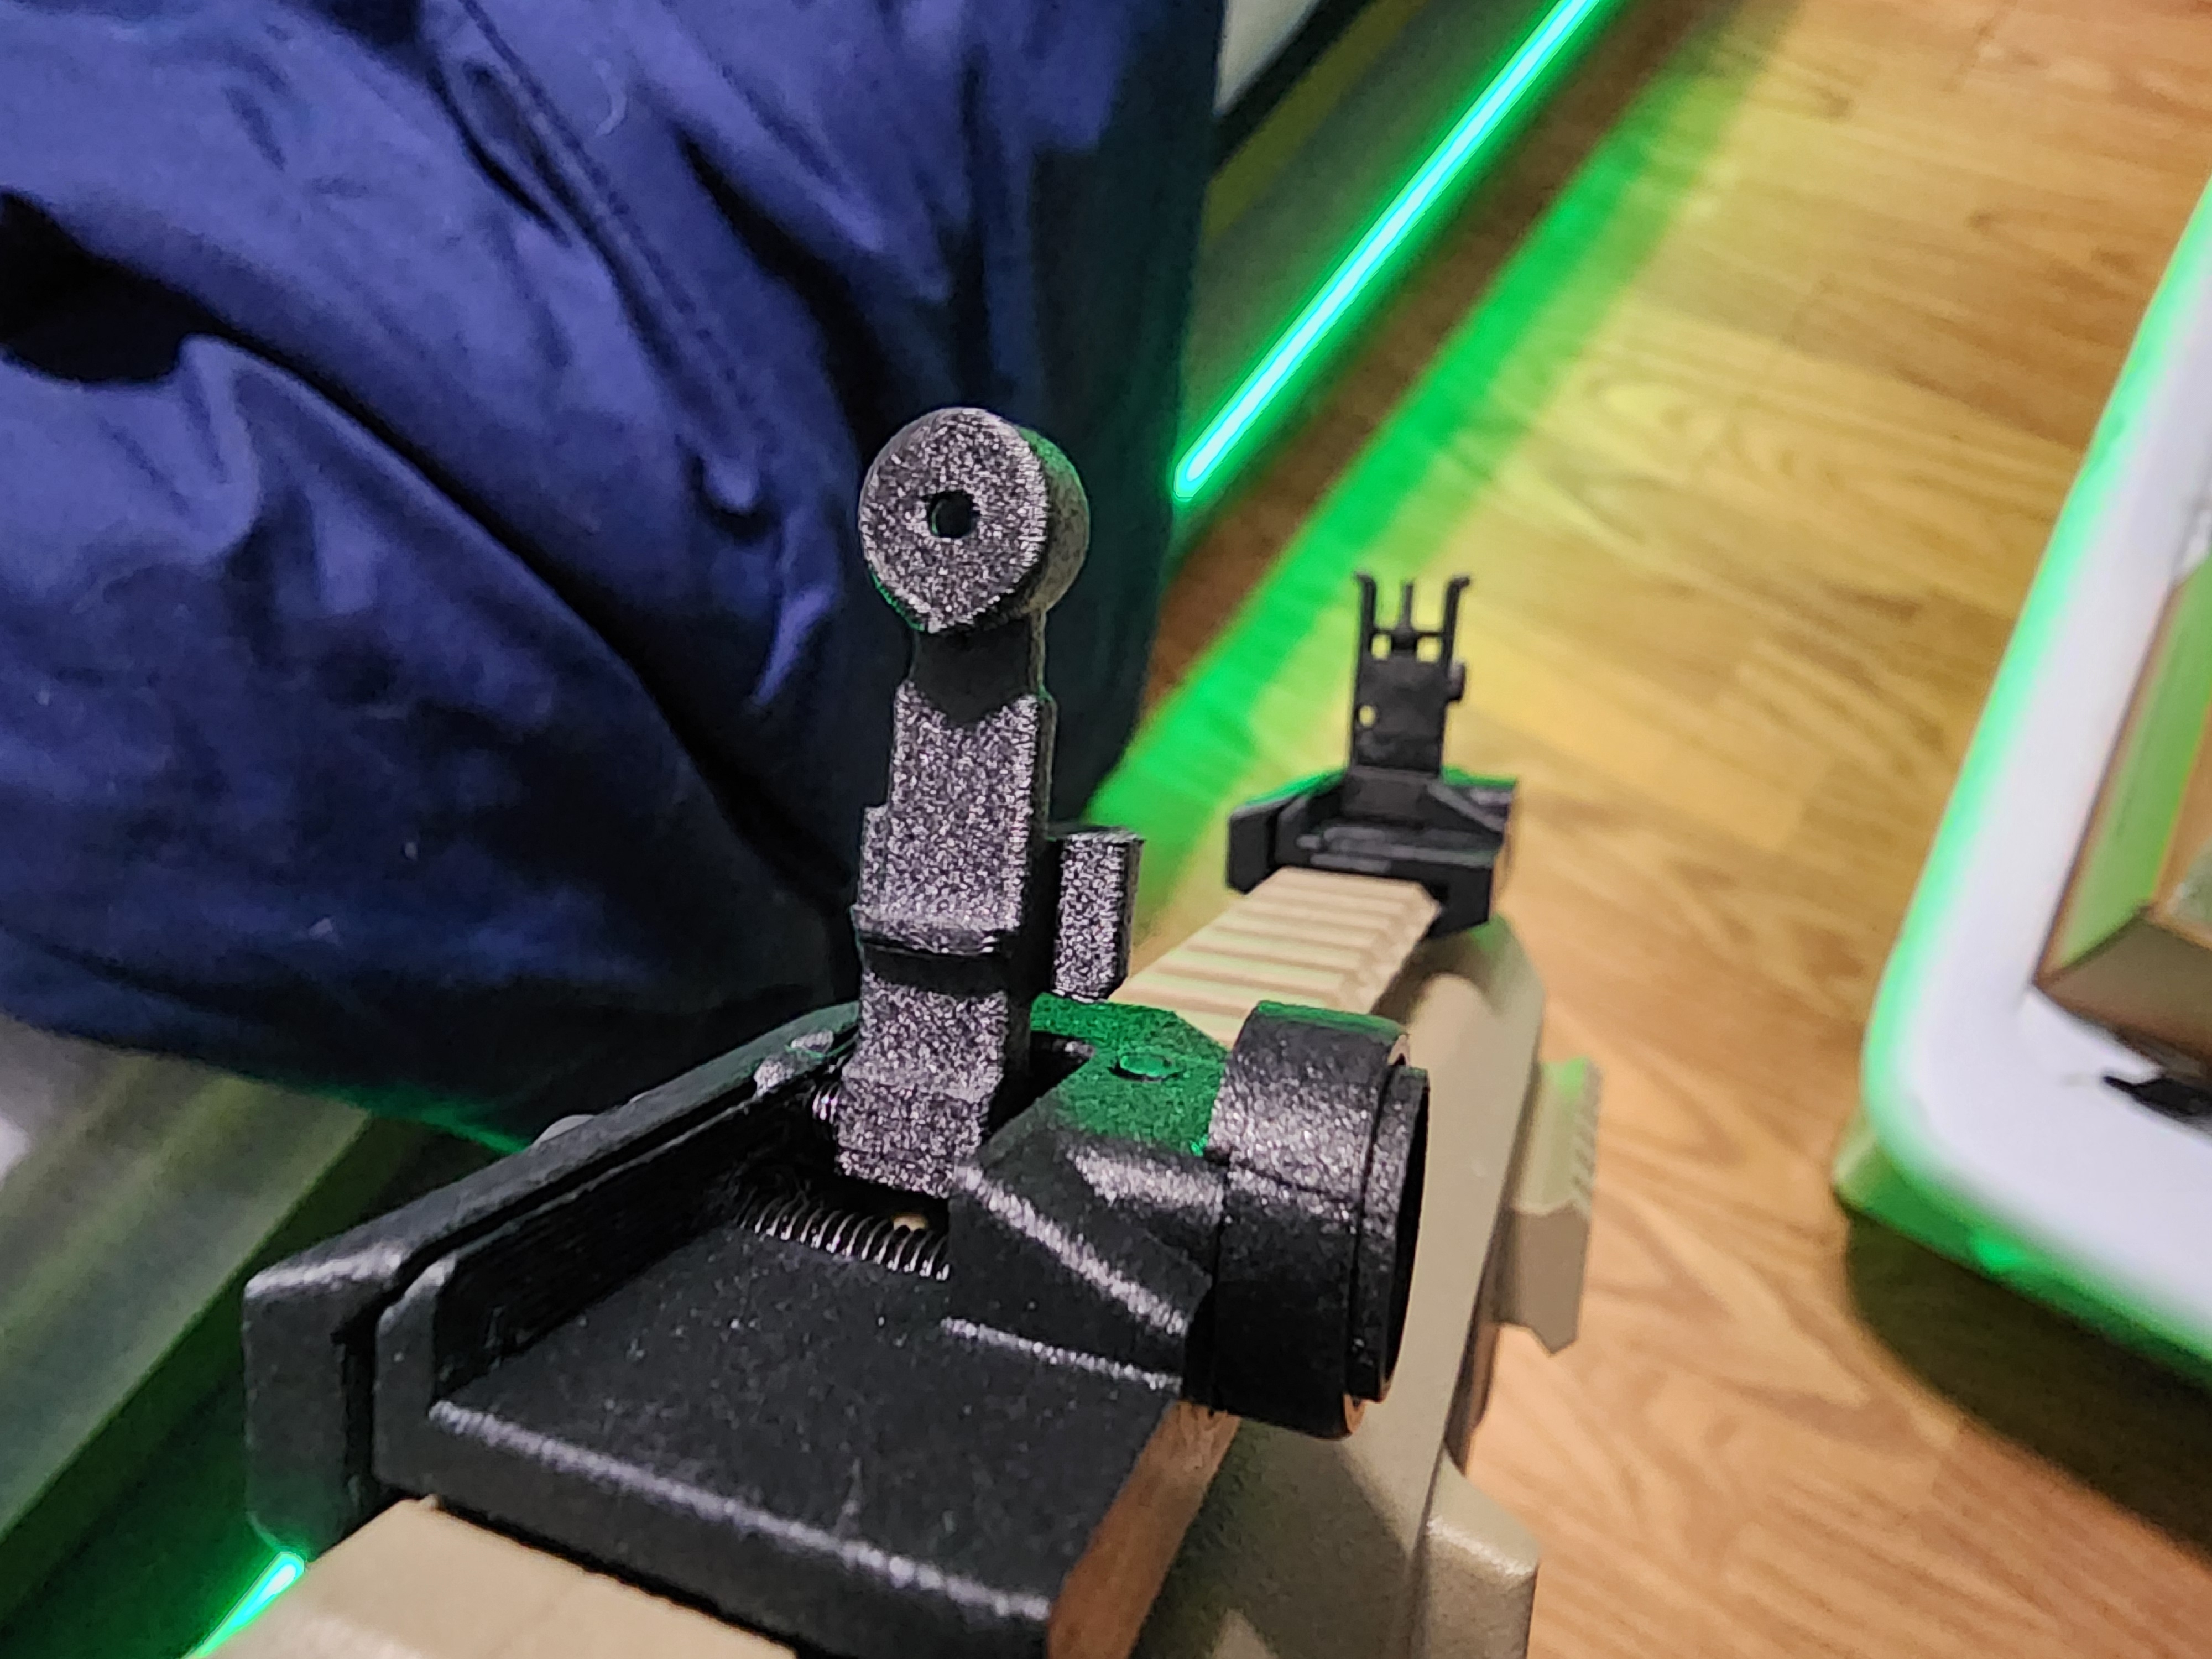
Began working on some MP7 iron sights last night, its taken all day making minor tweaks but I've got the first functional set made for roughly $5.

Fully functional windage and elevation adjustments as per the real steel. There's a hole in the front sight for a setscrew to adjust elevation when folded. The front sight post can be adjusted up and down for elevation by screwing it in and out, theres a printed detent that makes it tight enough to never move unless you purposely adjust it (shes on the tight side). Then the rear sight is adjusted for windage by the M3 bolt, its contained so it cant be unscrewed (tighten to move right, loosen to move left).

Hardware is 2x M5x30 socket head bolts, 1x M3x30 socket head bolt, 1x AR-15 detent spring cut in half

Due to how small these are they're not going to be as durable as other designs but they seem fairly strong in PET-CF. I'll have to test in PA6-CF later.

There's still a few things I want to change before I create an assembly.pdf and release it on Odysee. Just looking to see what the community thinks.


My brother picked up a Zastava M70 pistol from a pawn shop, which appeared to be in great condition. However, upon firing it, he found out it had been touched by a GuNsMifF practicing the art of Bubba... The gun wouldn't fire after multiple trigger pulls, then the hammer dropped, and nothing happened. However, the round went off as he touched the slide. The culprit was a botched "trigger job" done to the disconnector, which actually snapped a section off when the round fired.

Unfortunately, there aren't many replacement parts available, so buying a new one is out of the question. I've only found 1 youtube video that even shows the part remotely well as most videos do not show the fire control group being dissasembled.

Once fully modeled, I'll 3d print some for him to test fit and file into shape as needed, so that I can tweak the design and then send it off to SCS. My issue is trying to bend a solid within Fusion 360. I've tried projecting the solid's geometry within a sketch and then using that sketch to create a sheet metal body, but I can't seem to get that to work. If anyone has suggestions, I would appreciate them.

These are pictures from the video of how the part should look:

It's hard to see, but there is a bend towards the small end of the disconnector:

Here is my current model after scaling the image:

1000042110

This is the Bubba'd disconnector he has:

1000042109


cross-posted from: https://forum.guncadindex.com/post/166583

1000041339

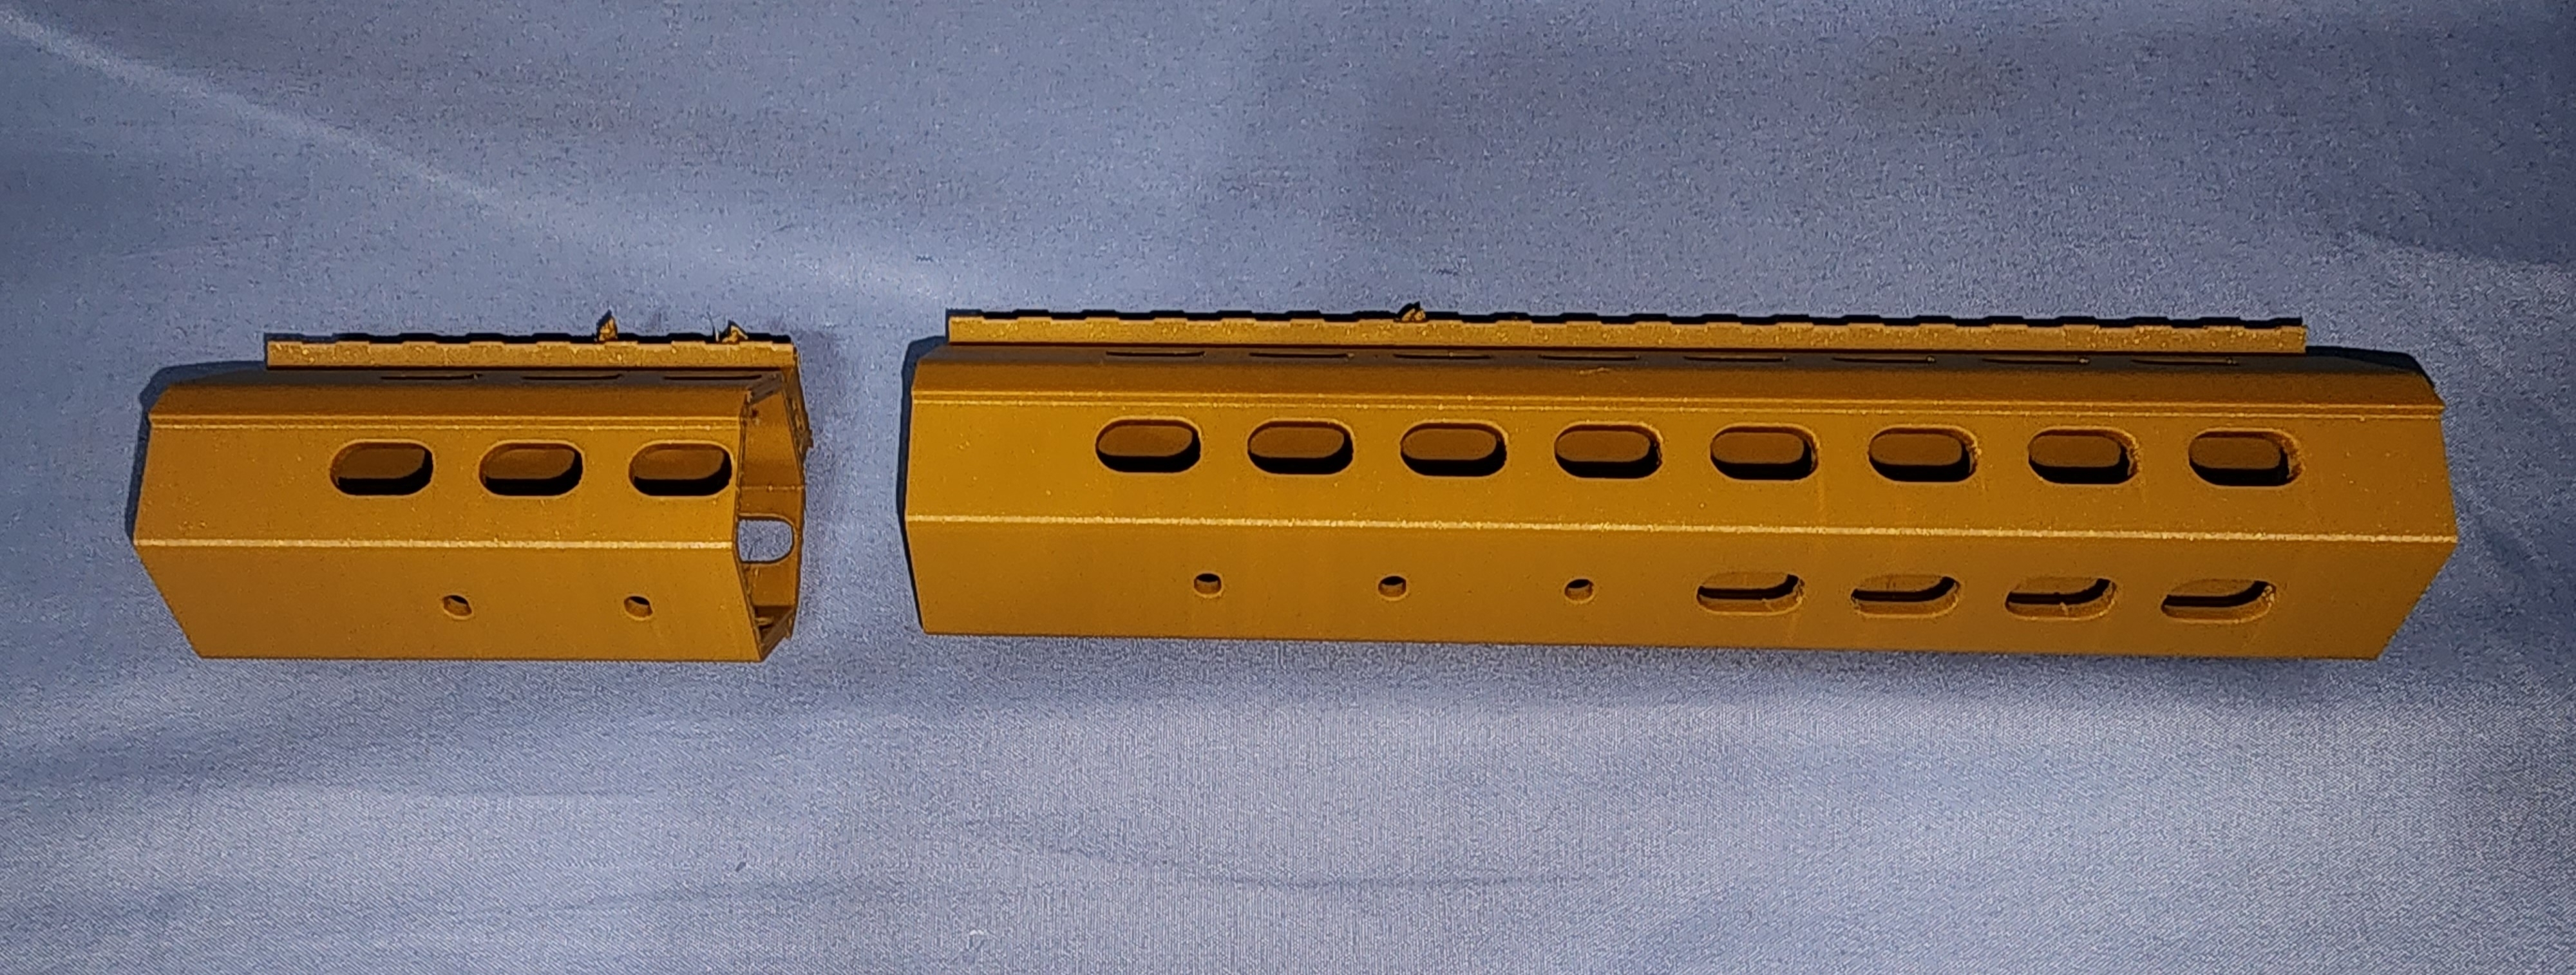
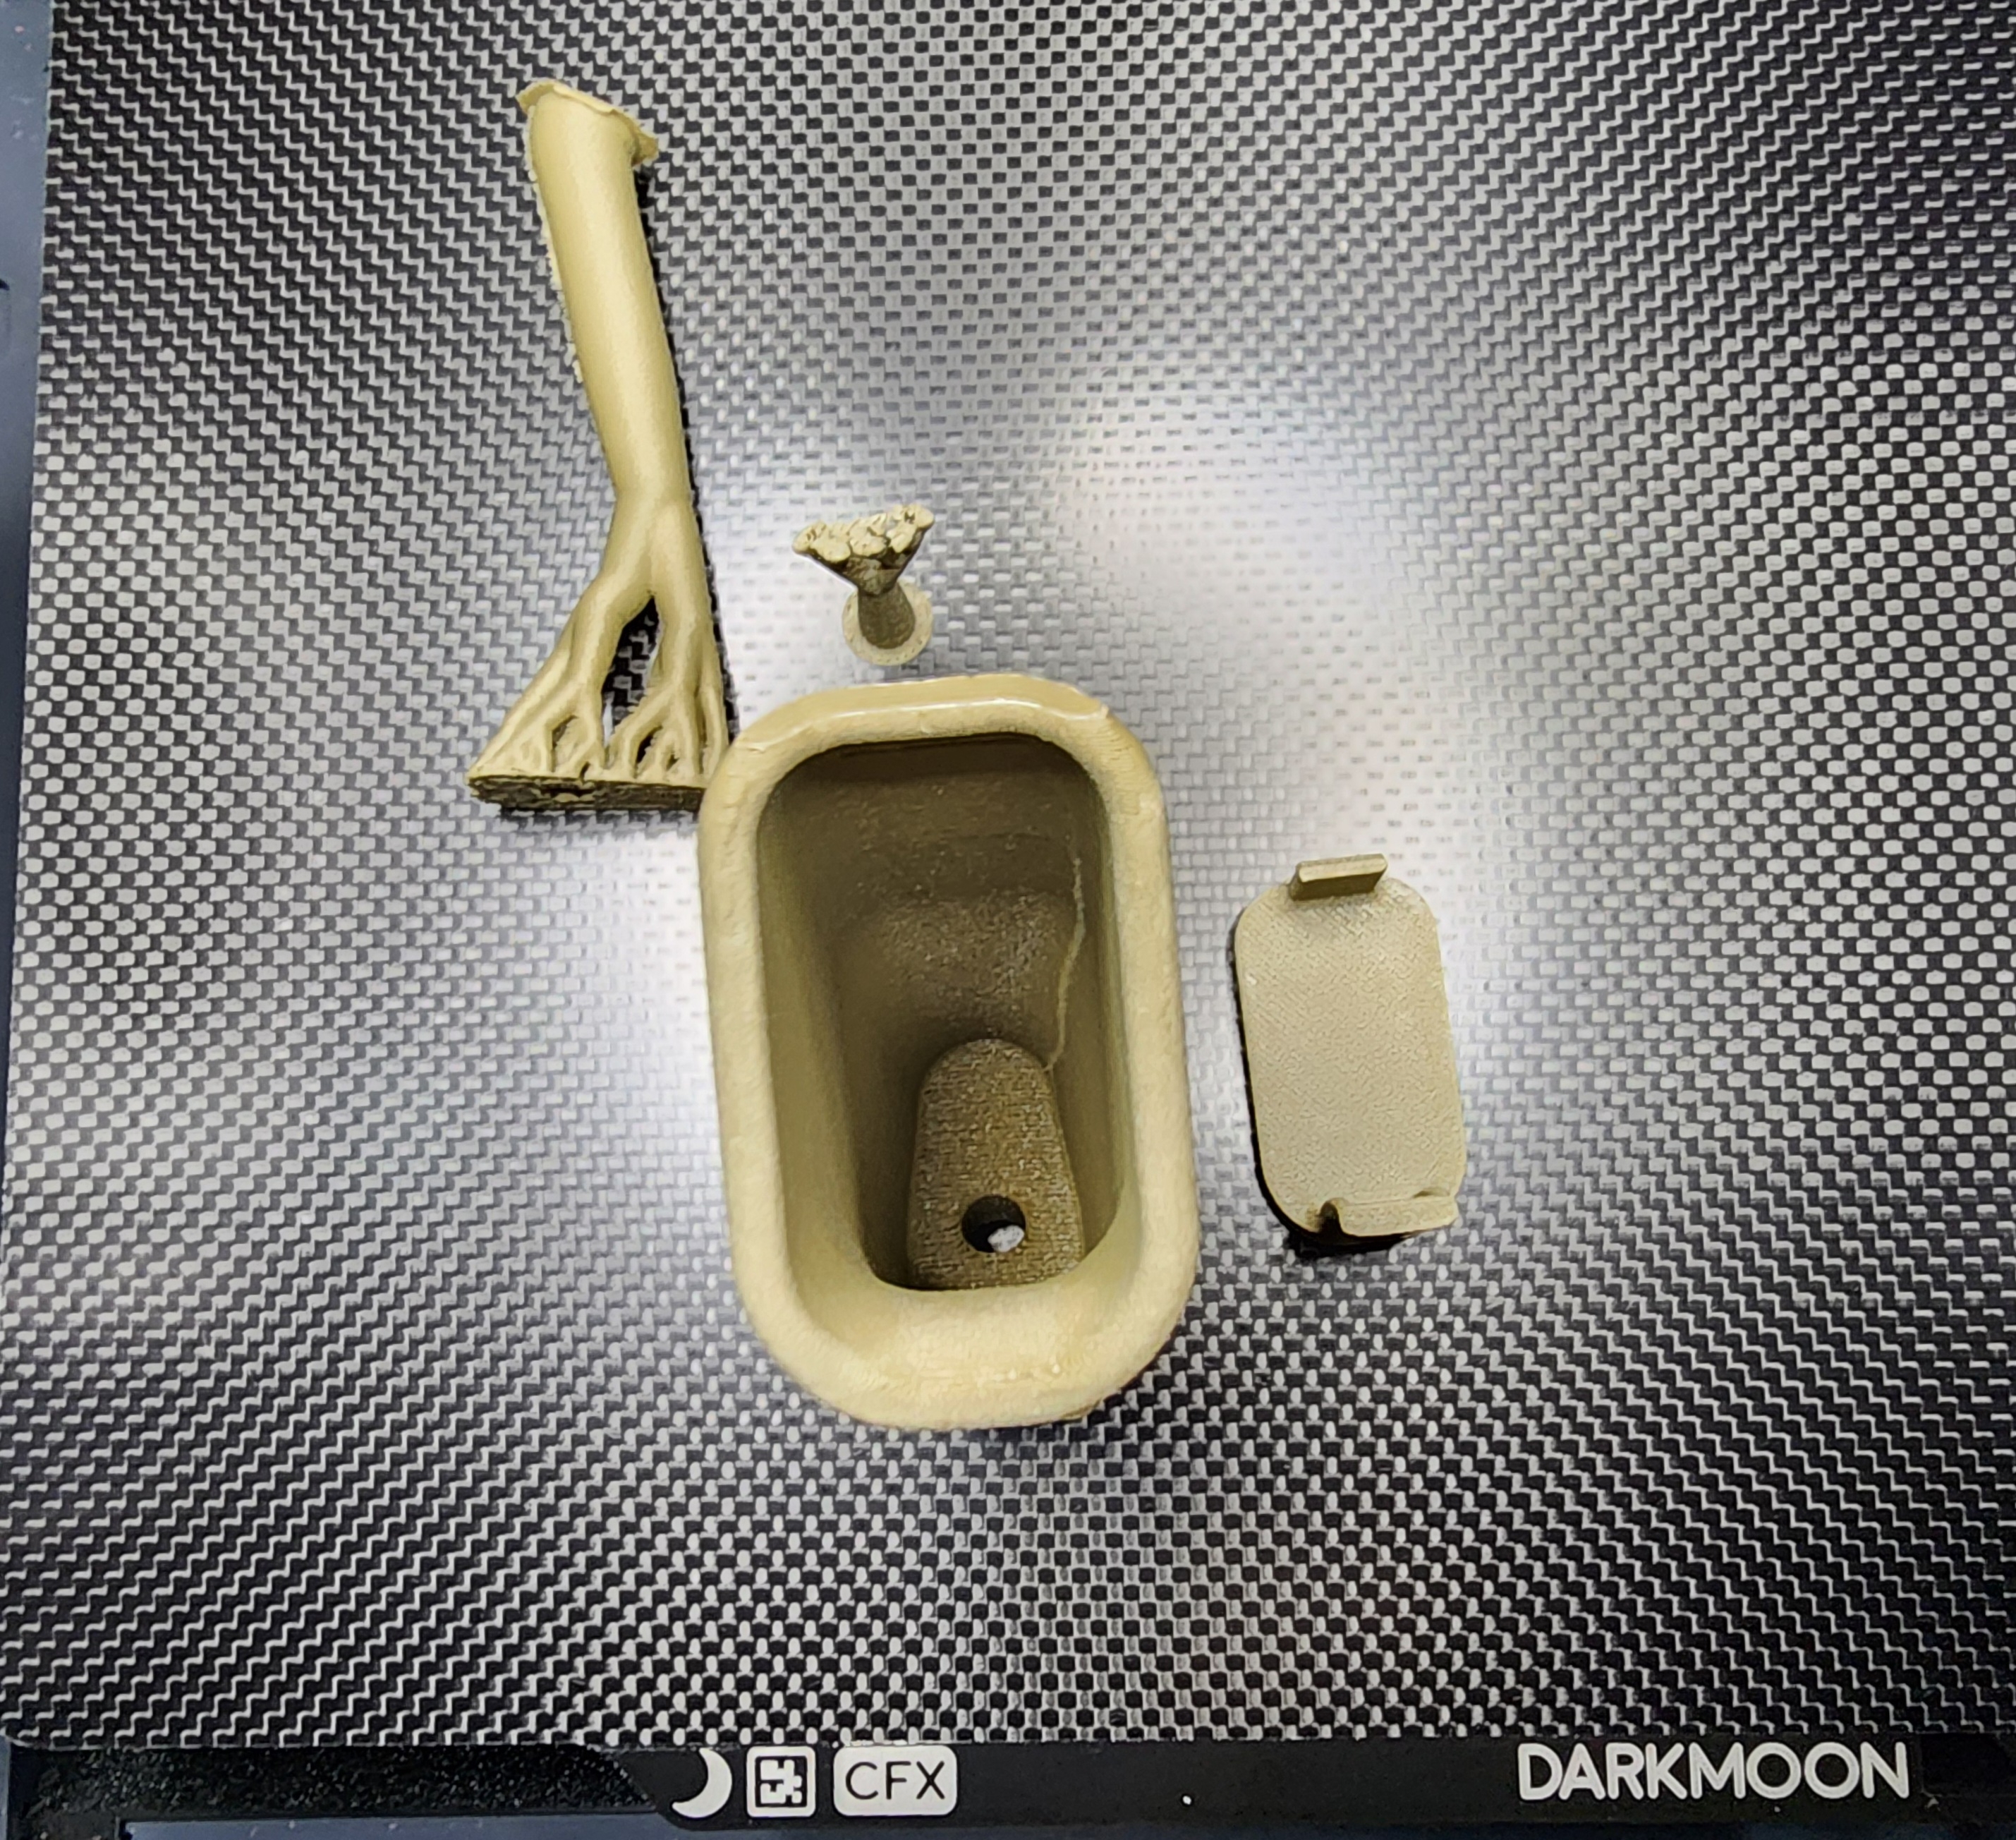
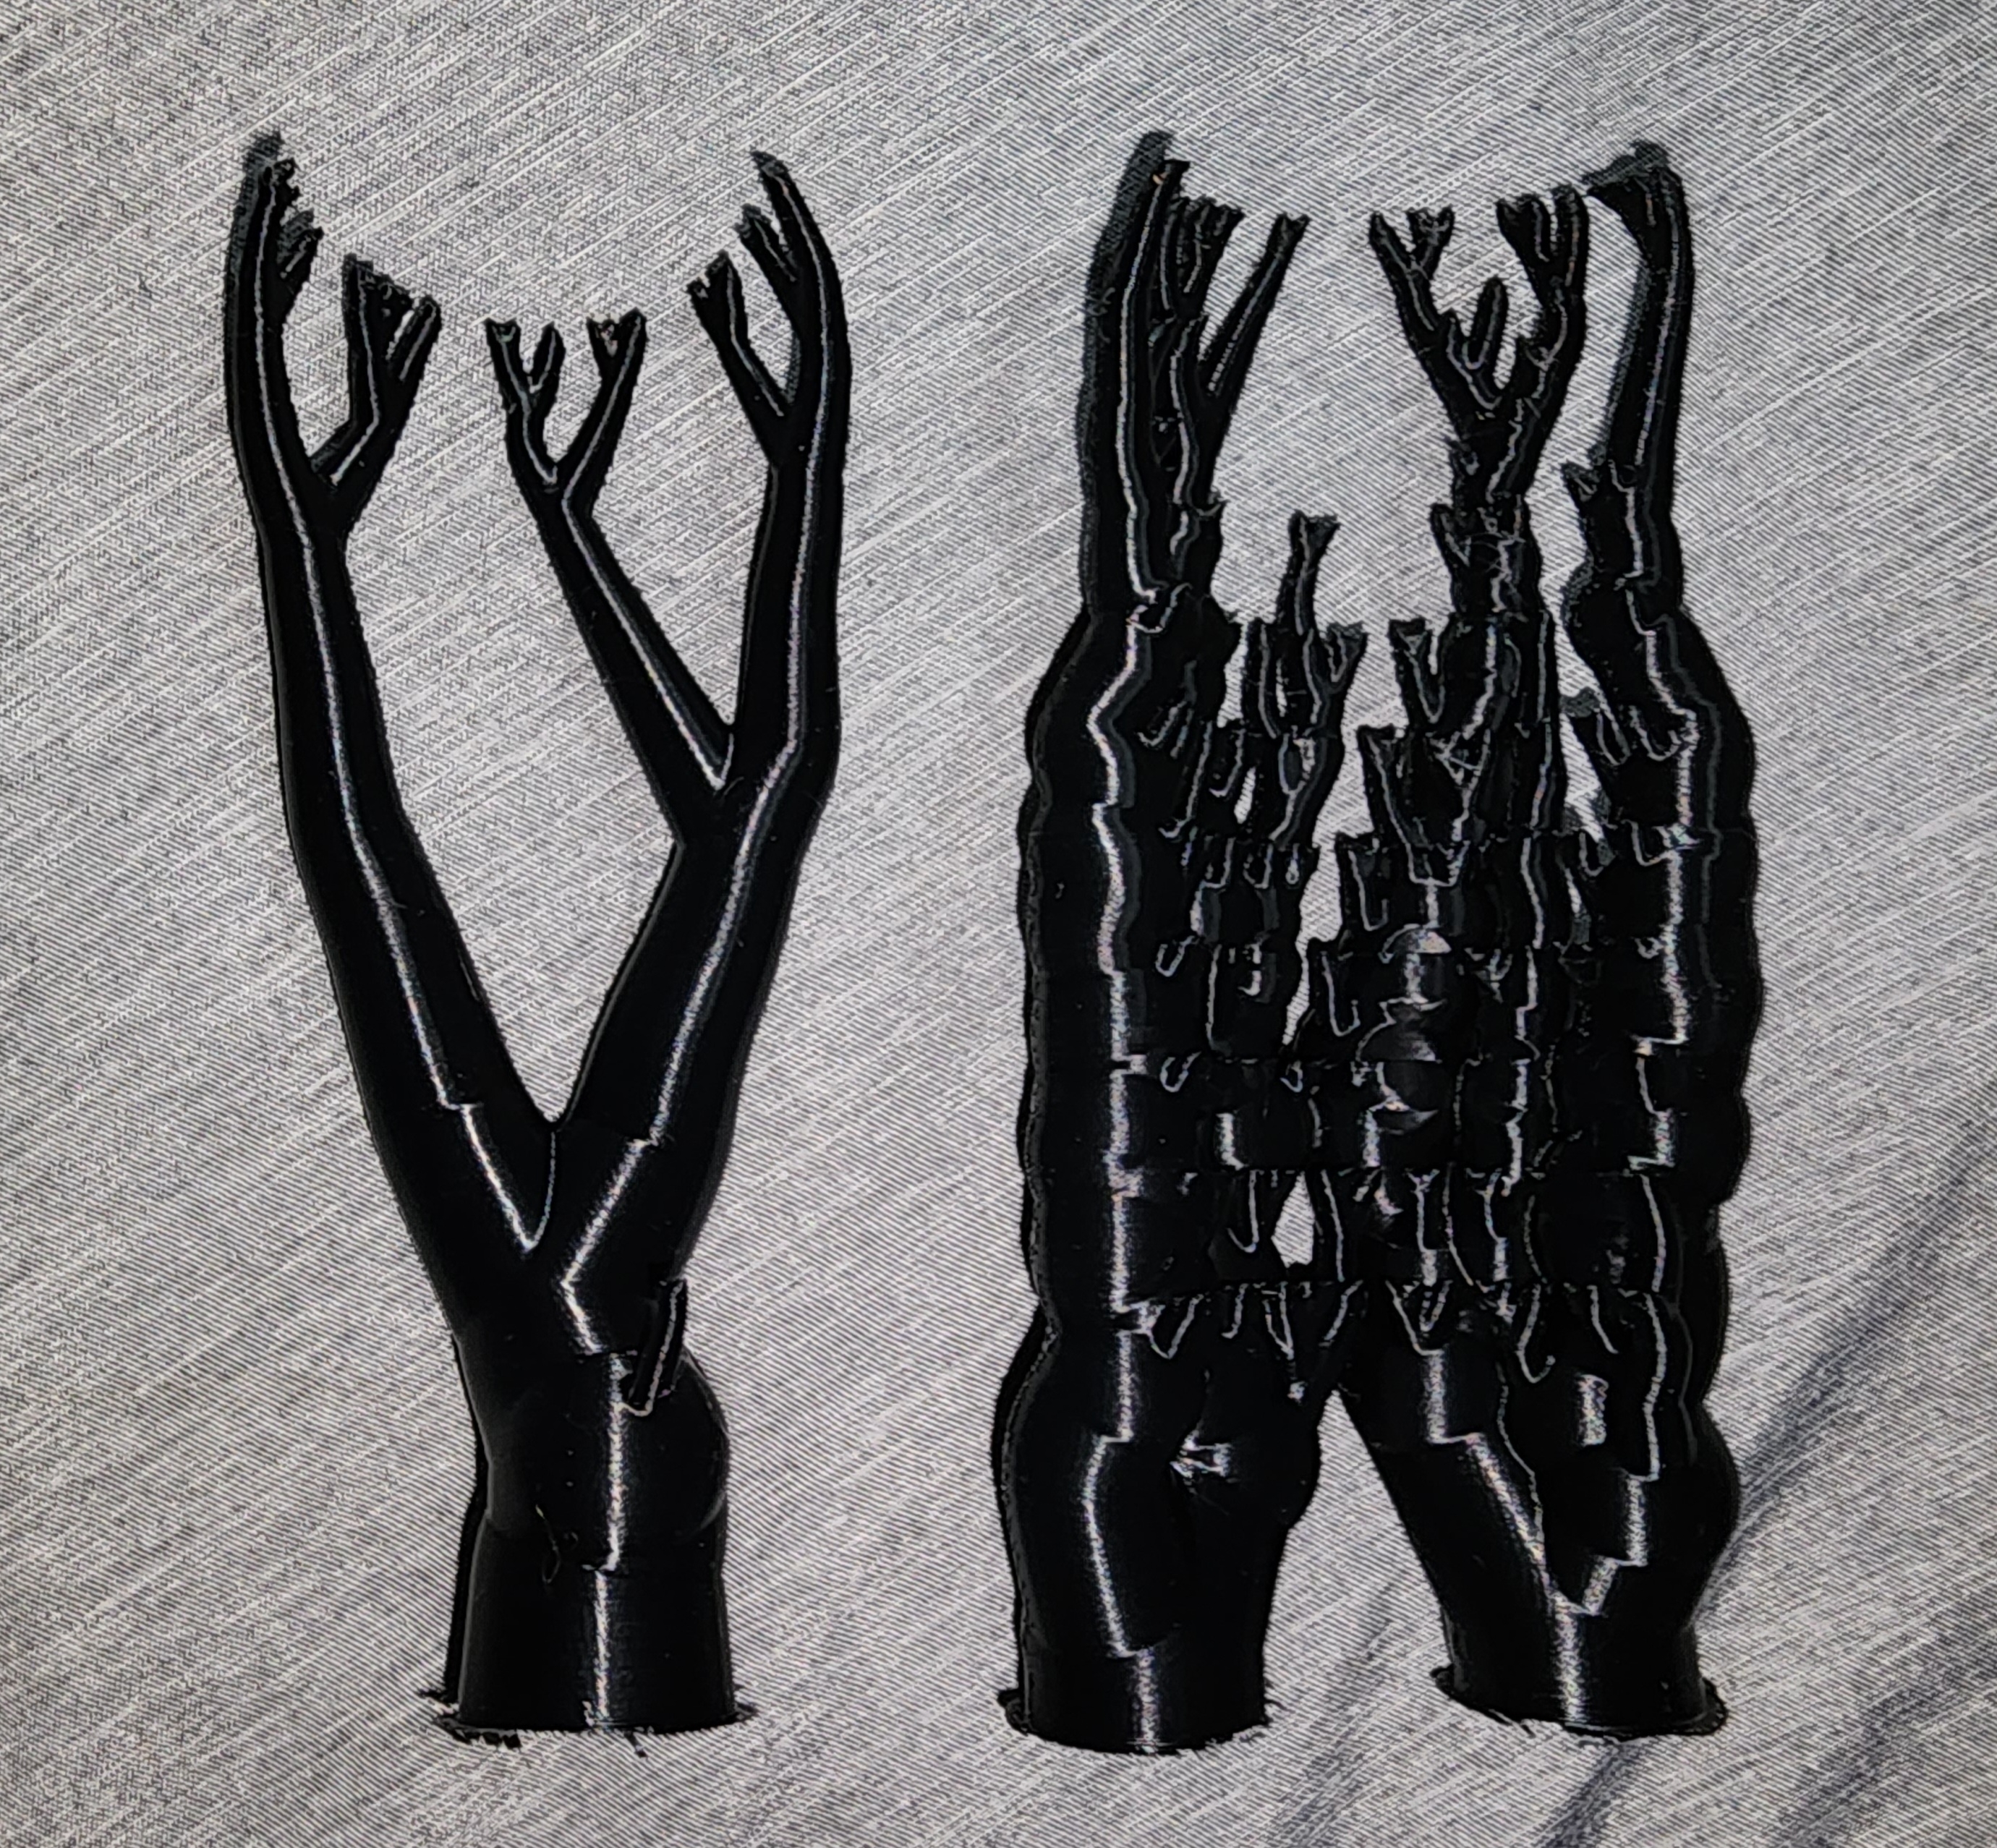
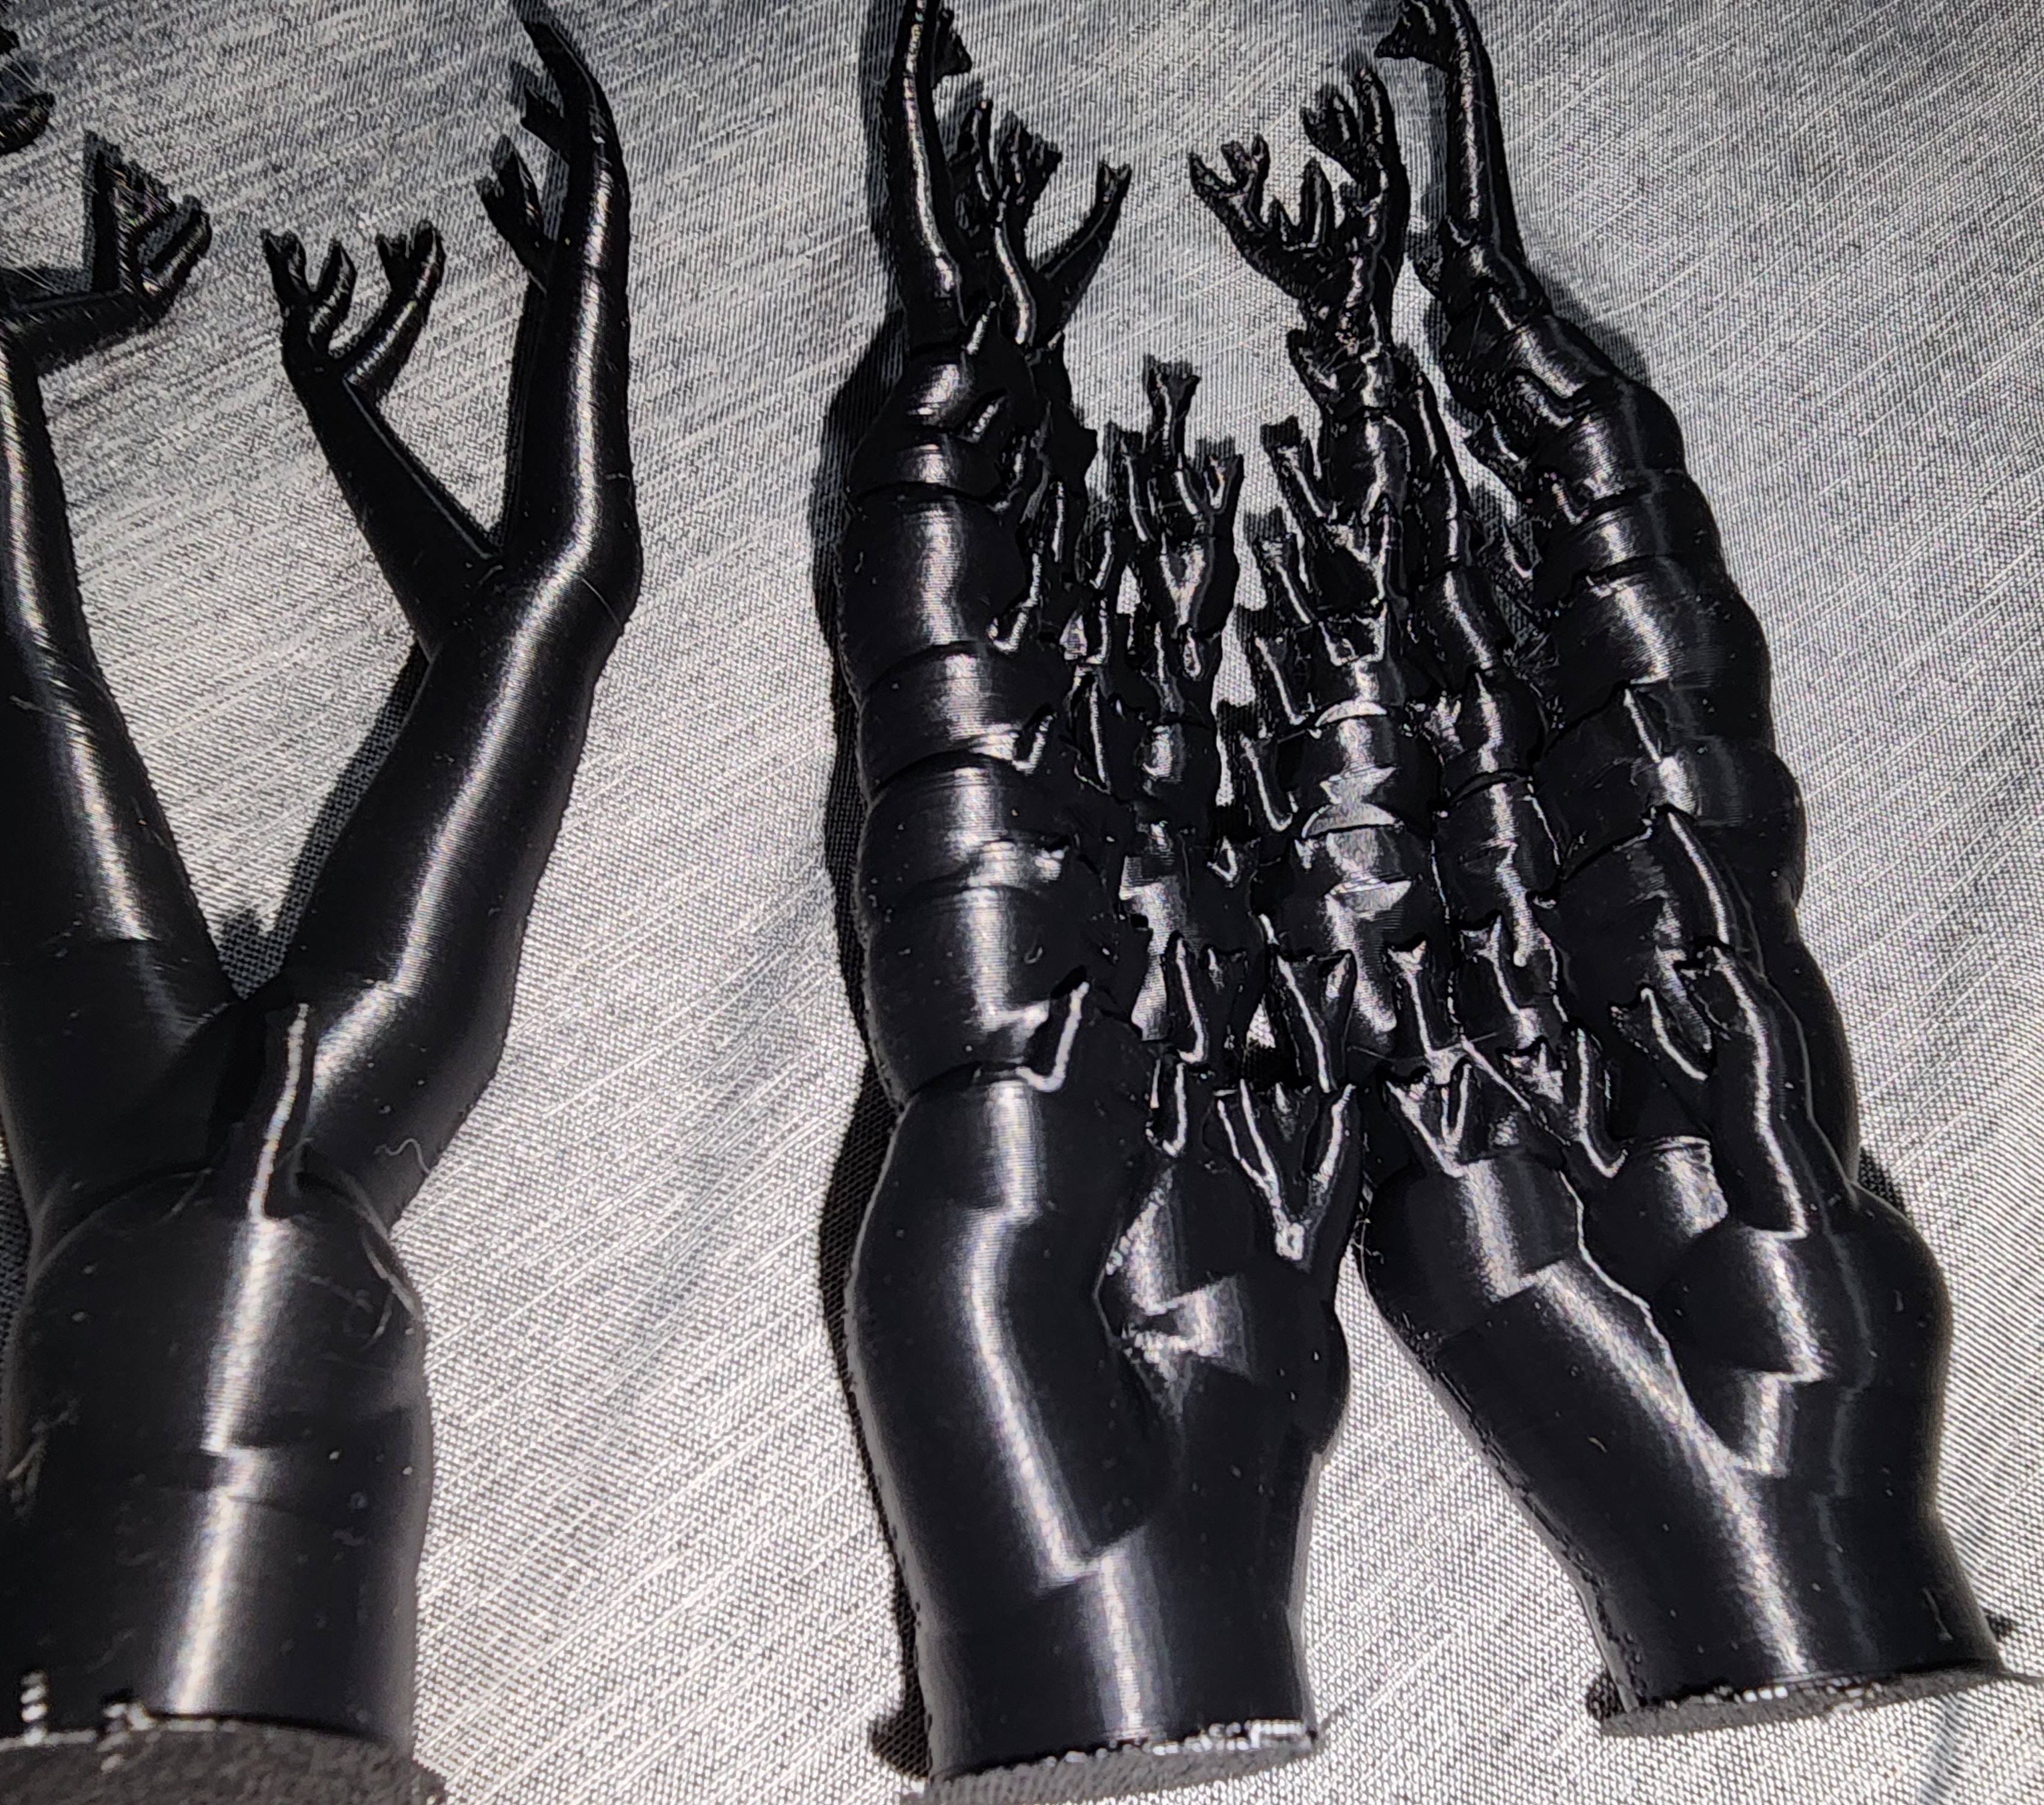
This is a fairly new 0.4mm hardened nozzle in a Bambu P1S, the nozzle has maybe 100hrs on it with the only other filament being Overture PLA Pro Black. I switched to the Polymaker Metallic filament, got it calibrated, then printed 2 good parts. This handguard has since failed twice with the nozzle getting clogged. The longest part is the last print where it made it roughly 85% of the way and clogged before printing the threads...

This is my only spool of the material and I only have enough left for 1 more attempt, it's a nearly 18hr print. Is the Metallic glitter within the filament what's causing the clogs? Any tips or suggestions to avoid clogs with this material? Yesterday I took the extruder about and cleaned it well thinking that it could be contributing.


100004054010000405421000040544100004054310000405451000040546

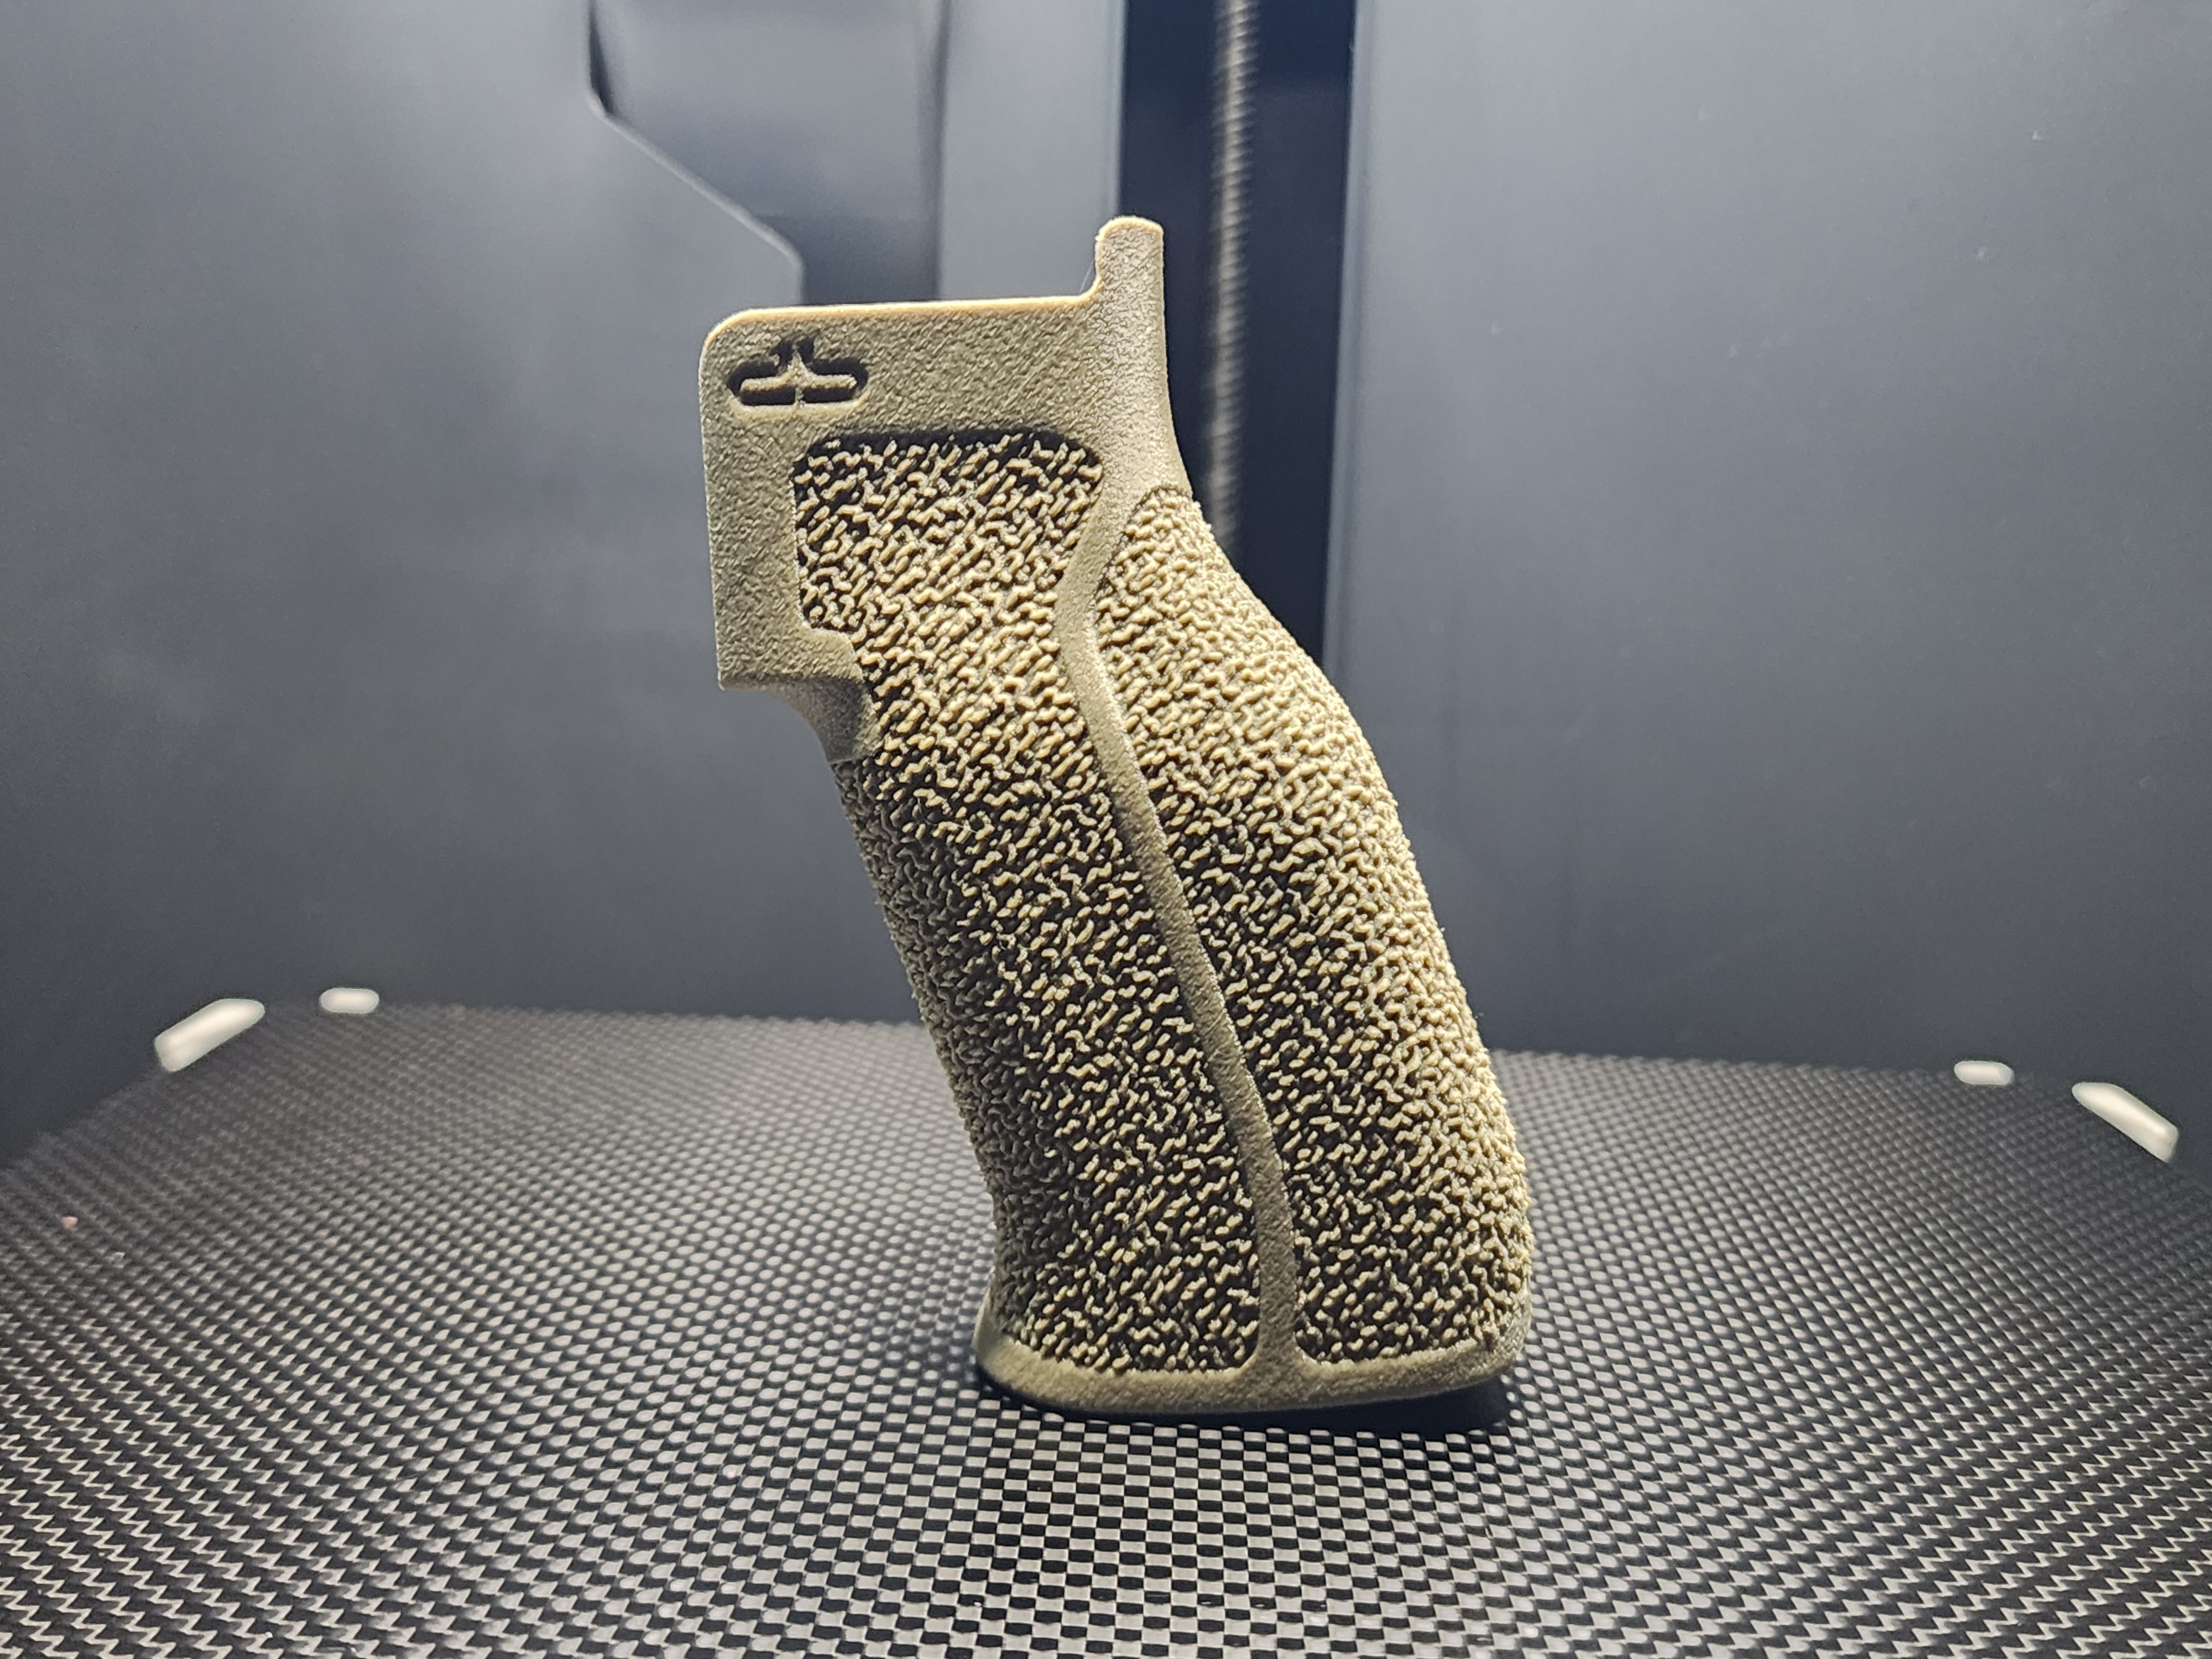
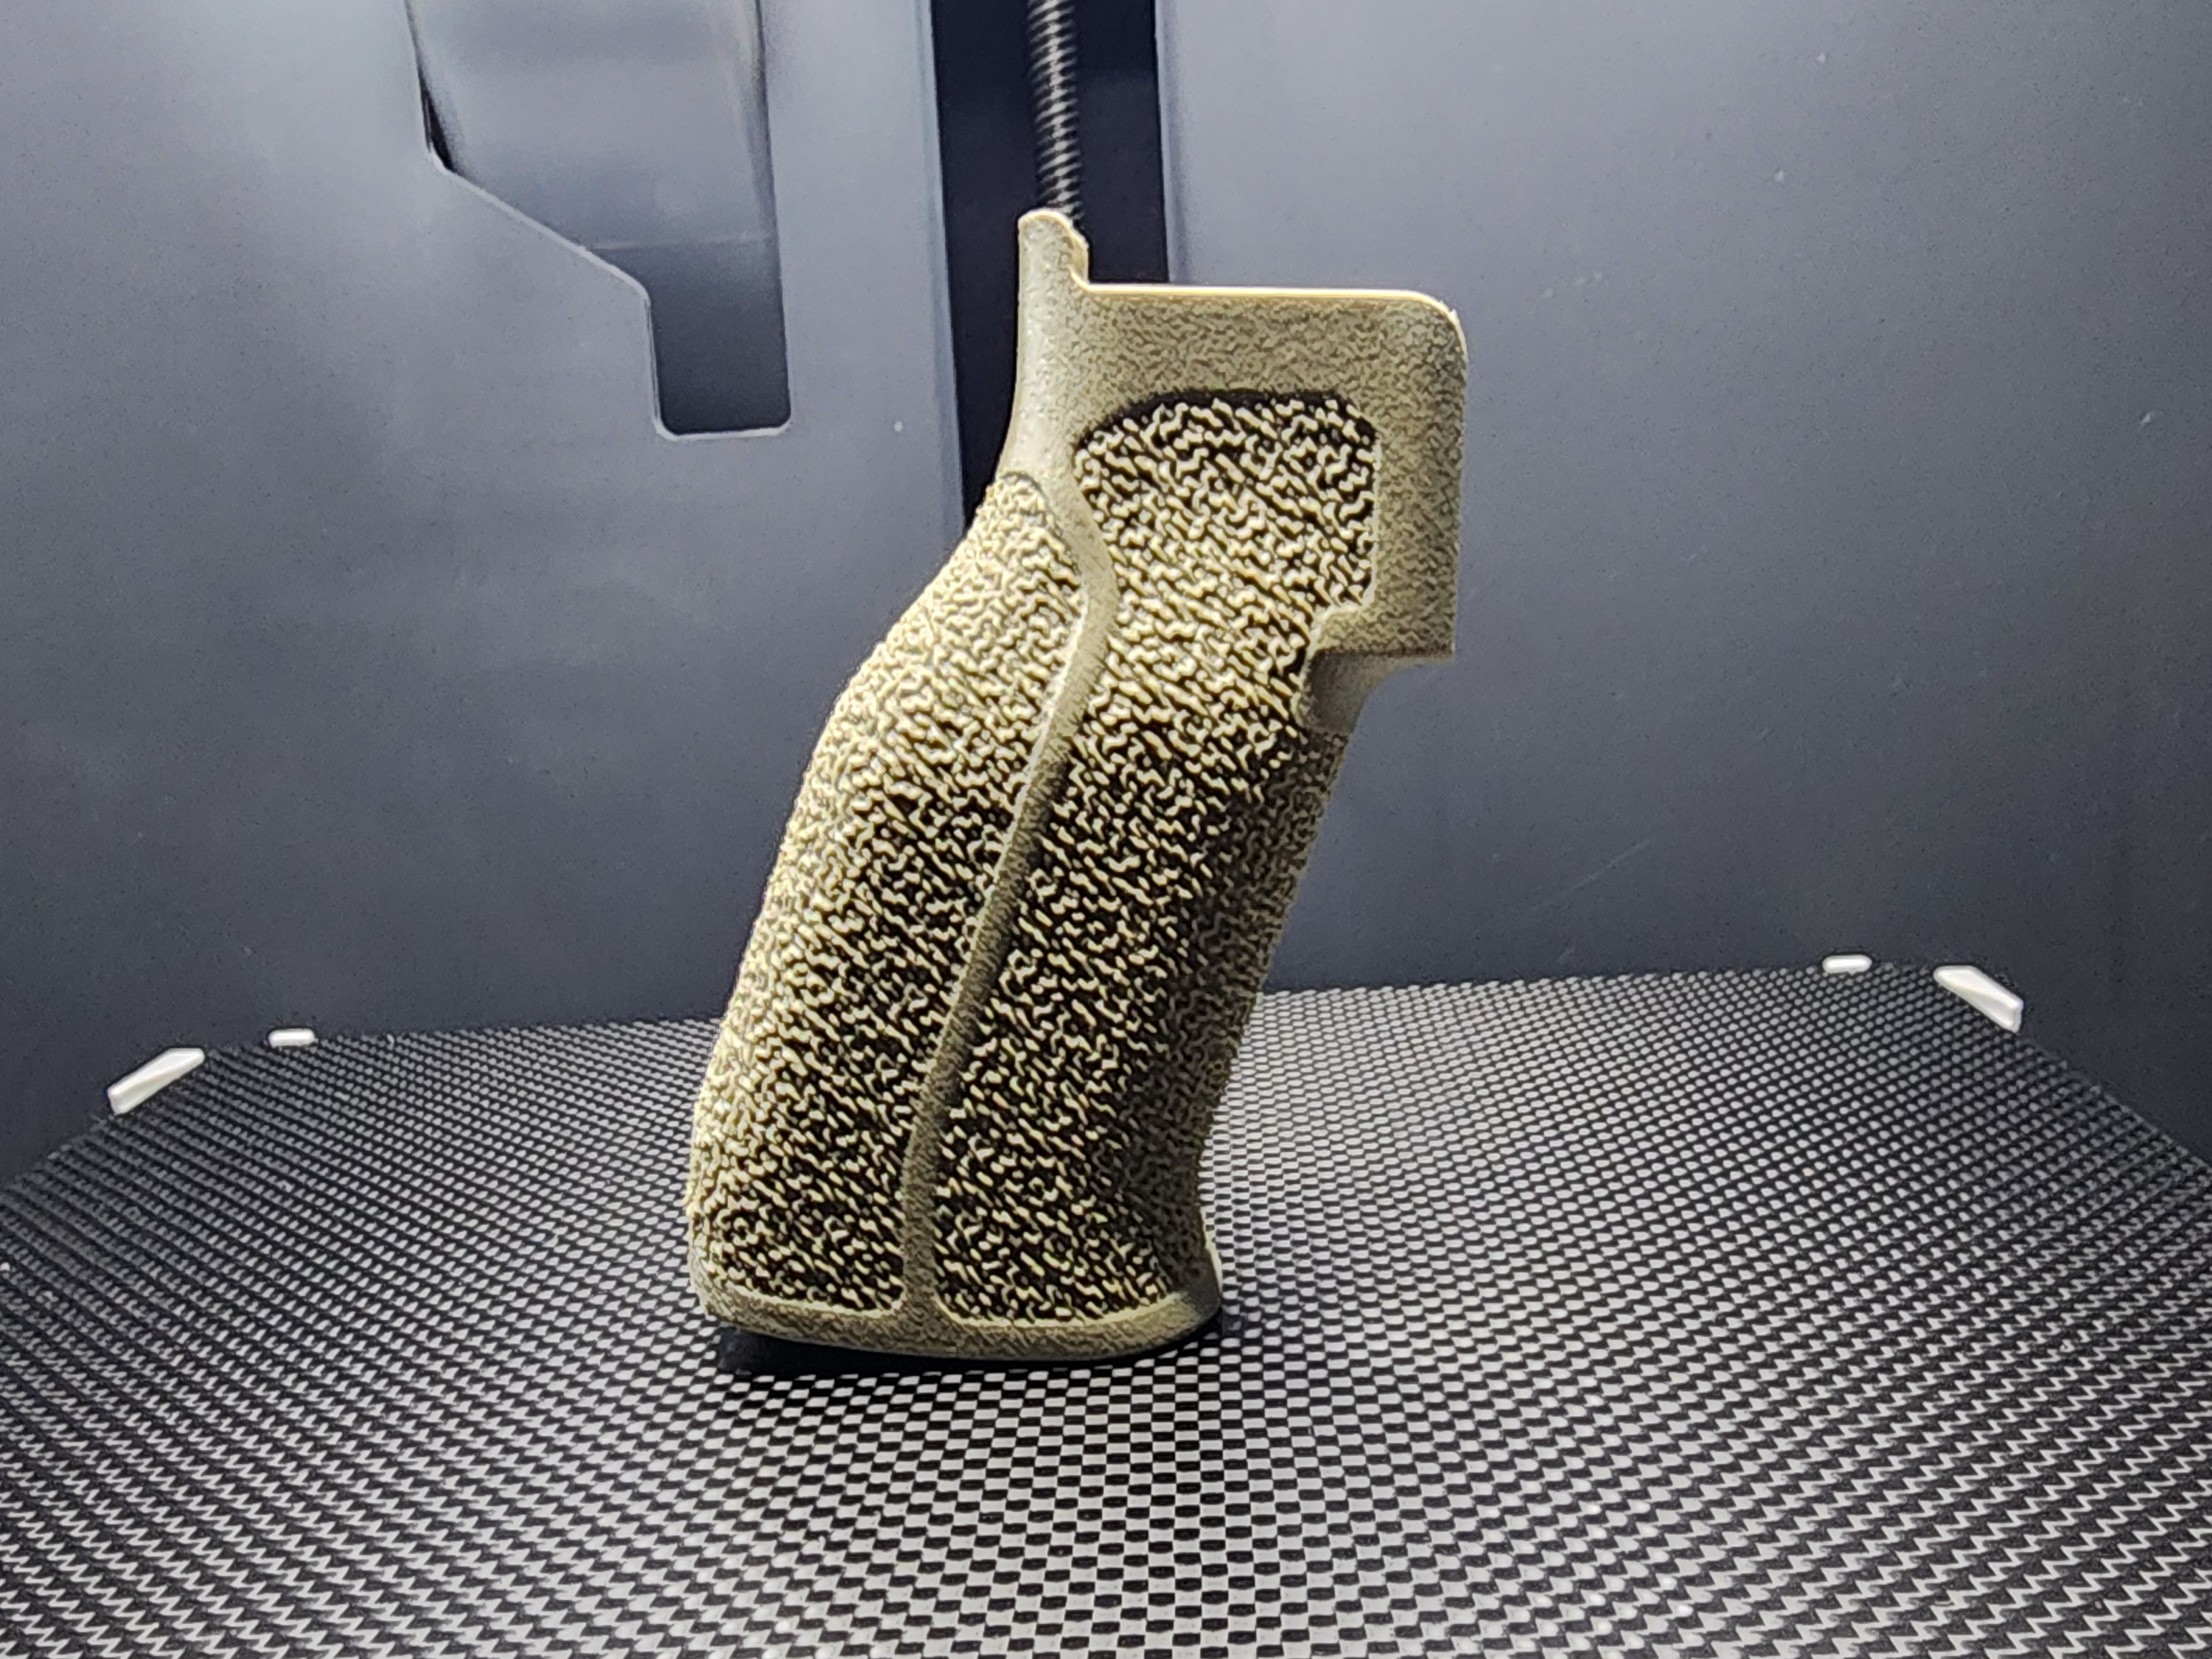
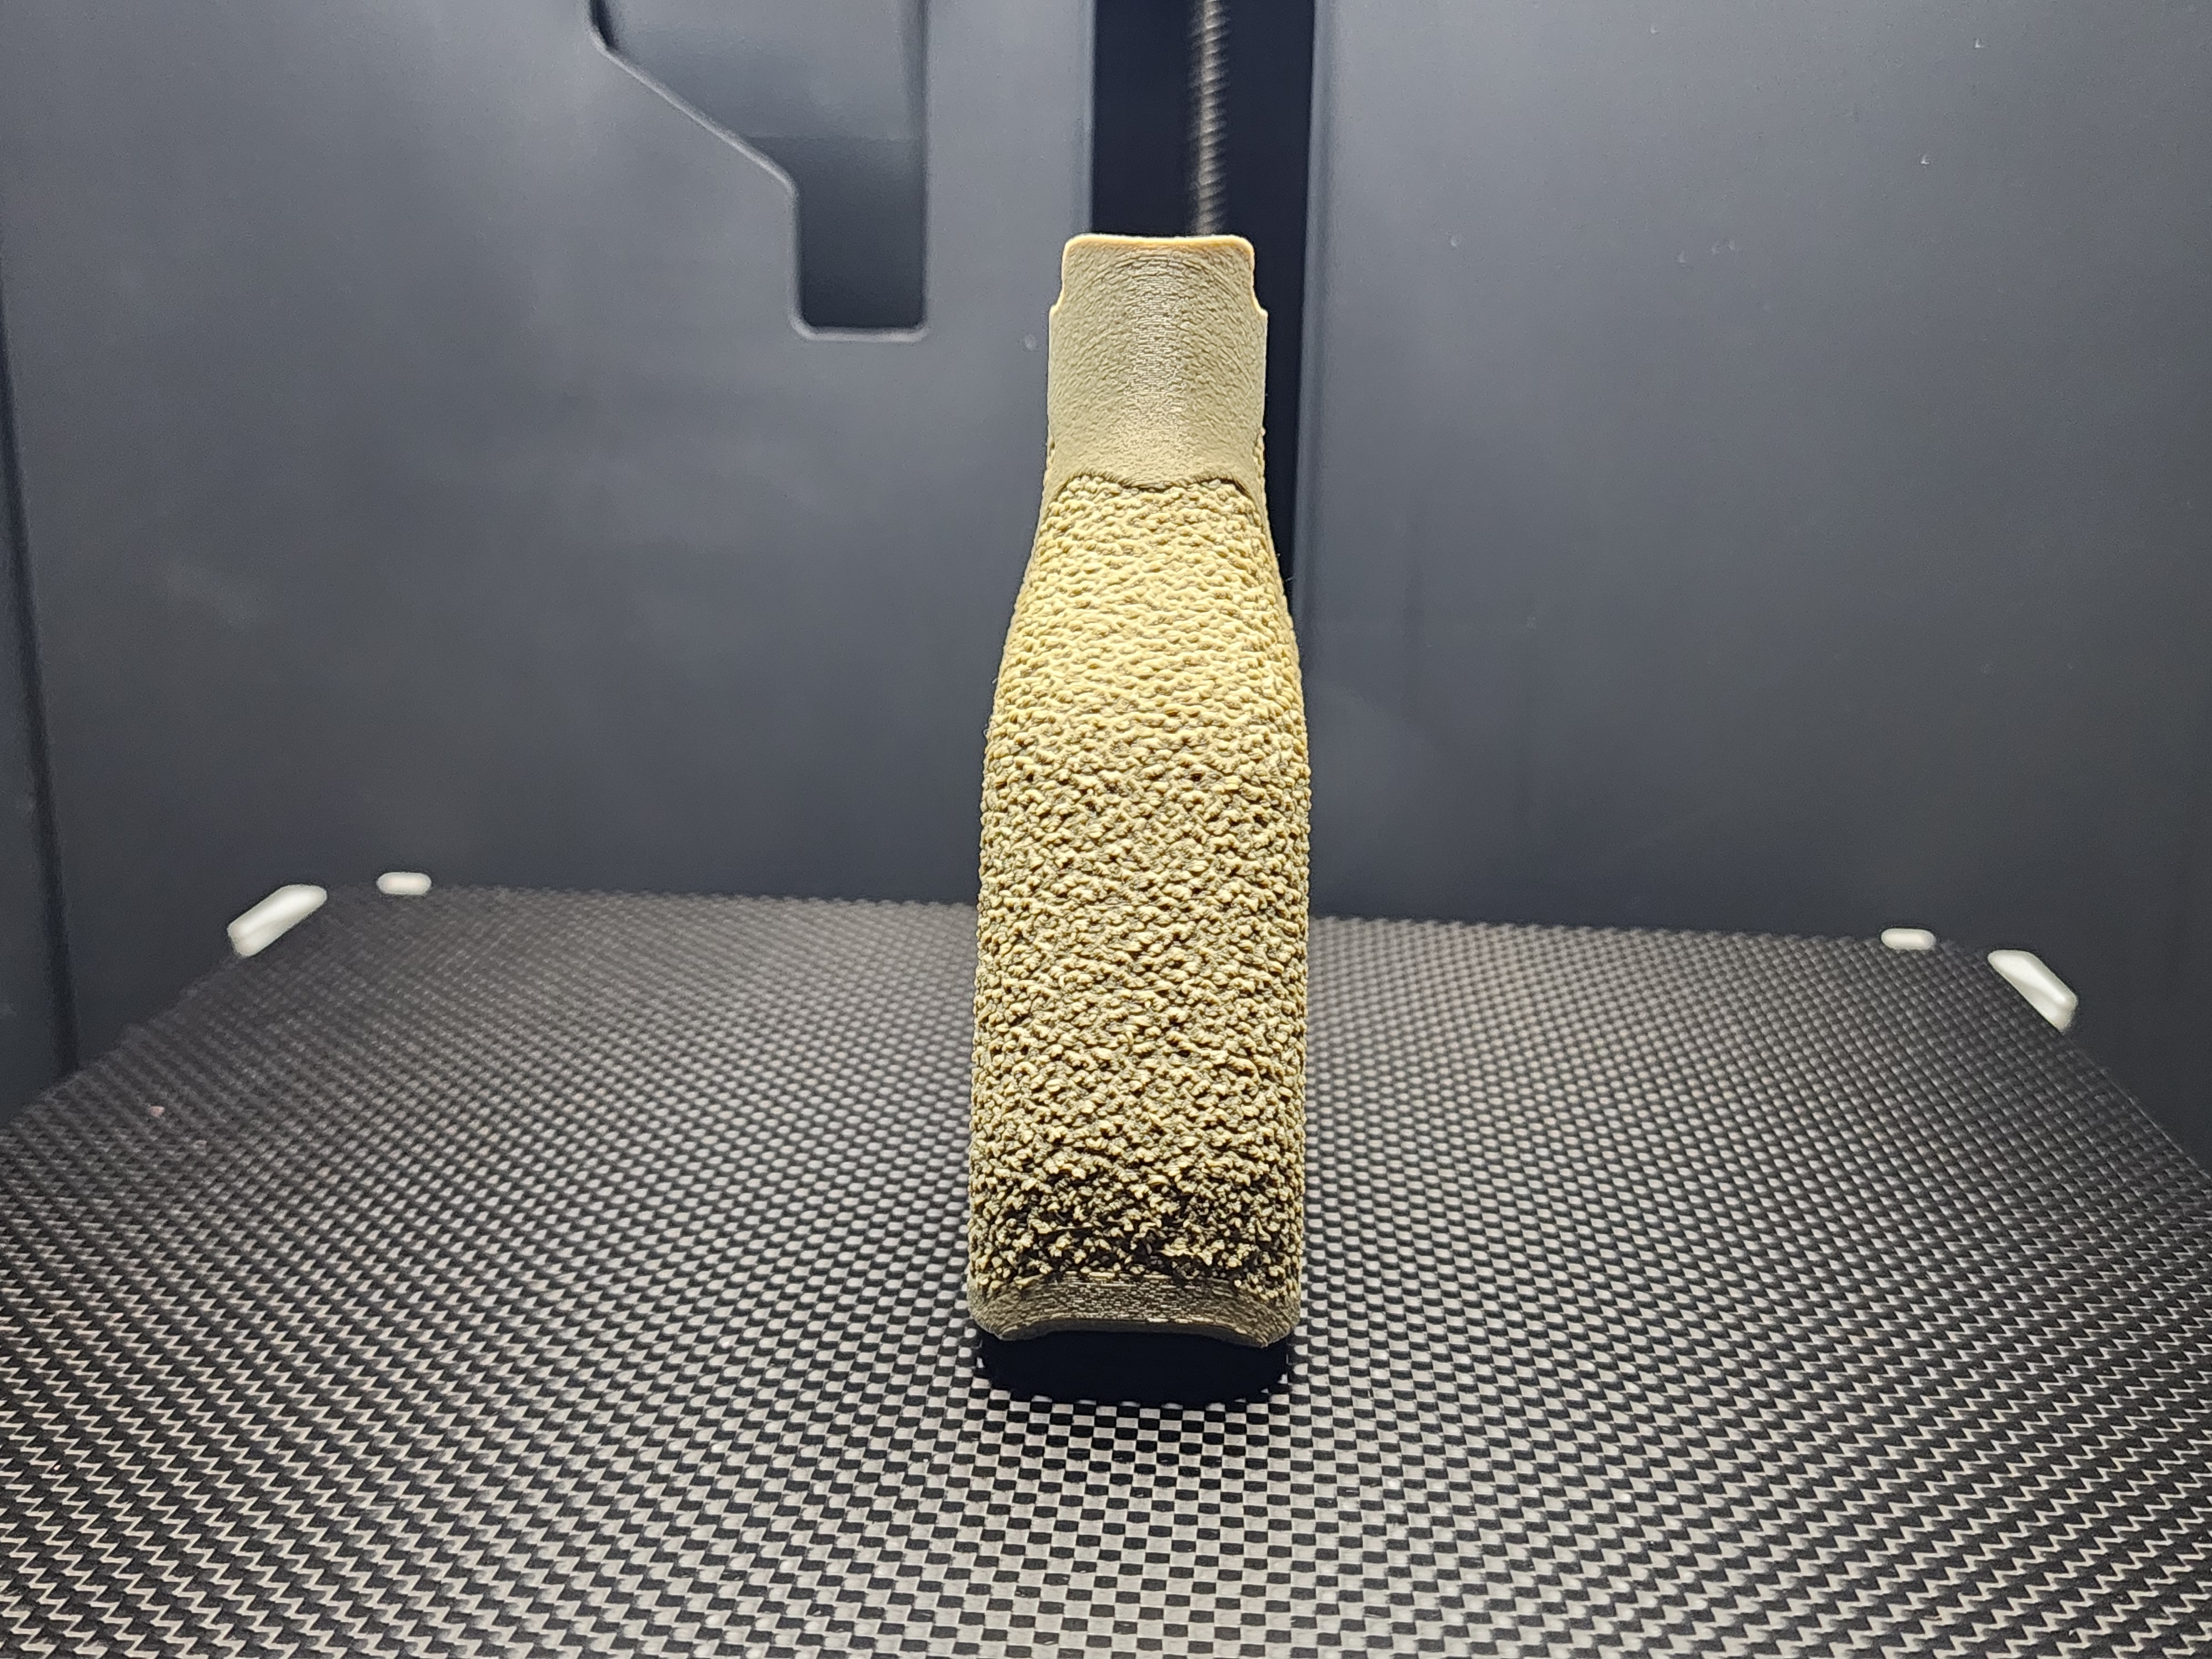
First print after calibration using Siraya Tech PET-GF in FDE. Print came out nice and is surprisingly strong at only 25% gyroid infill. I used 8 walls with 6 top/bottom layers. Printed at 300C nozzle with 80C bed on a Bambu P1S using a Darkmoon CFX build plate and printing from a 60C dryer. 0.4mm nozzle at 0.16mm layer height. One nice benefit to this filament is it comes completely dry and ready to print with Siraya Tech even warning not to dry it unless its needed at the filament has a low moisture absorption rate.


10000396501000039651100003964910000396521000039653

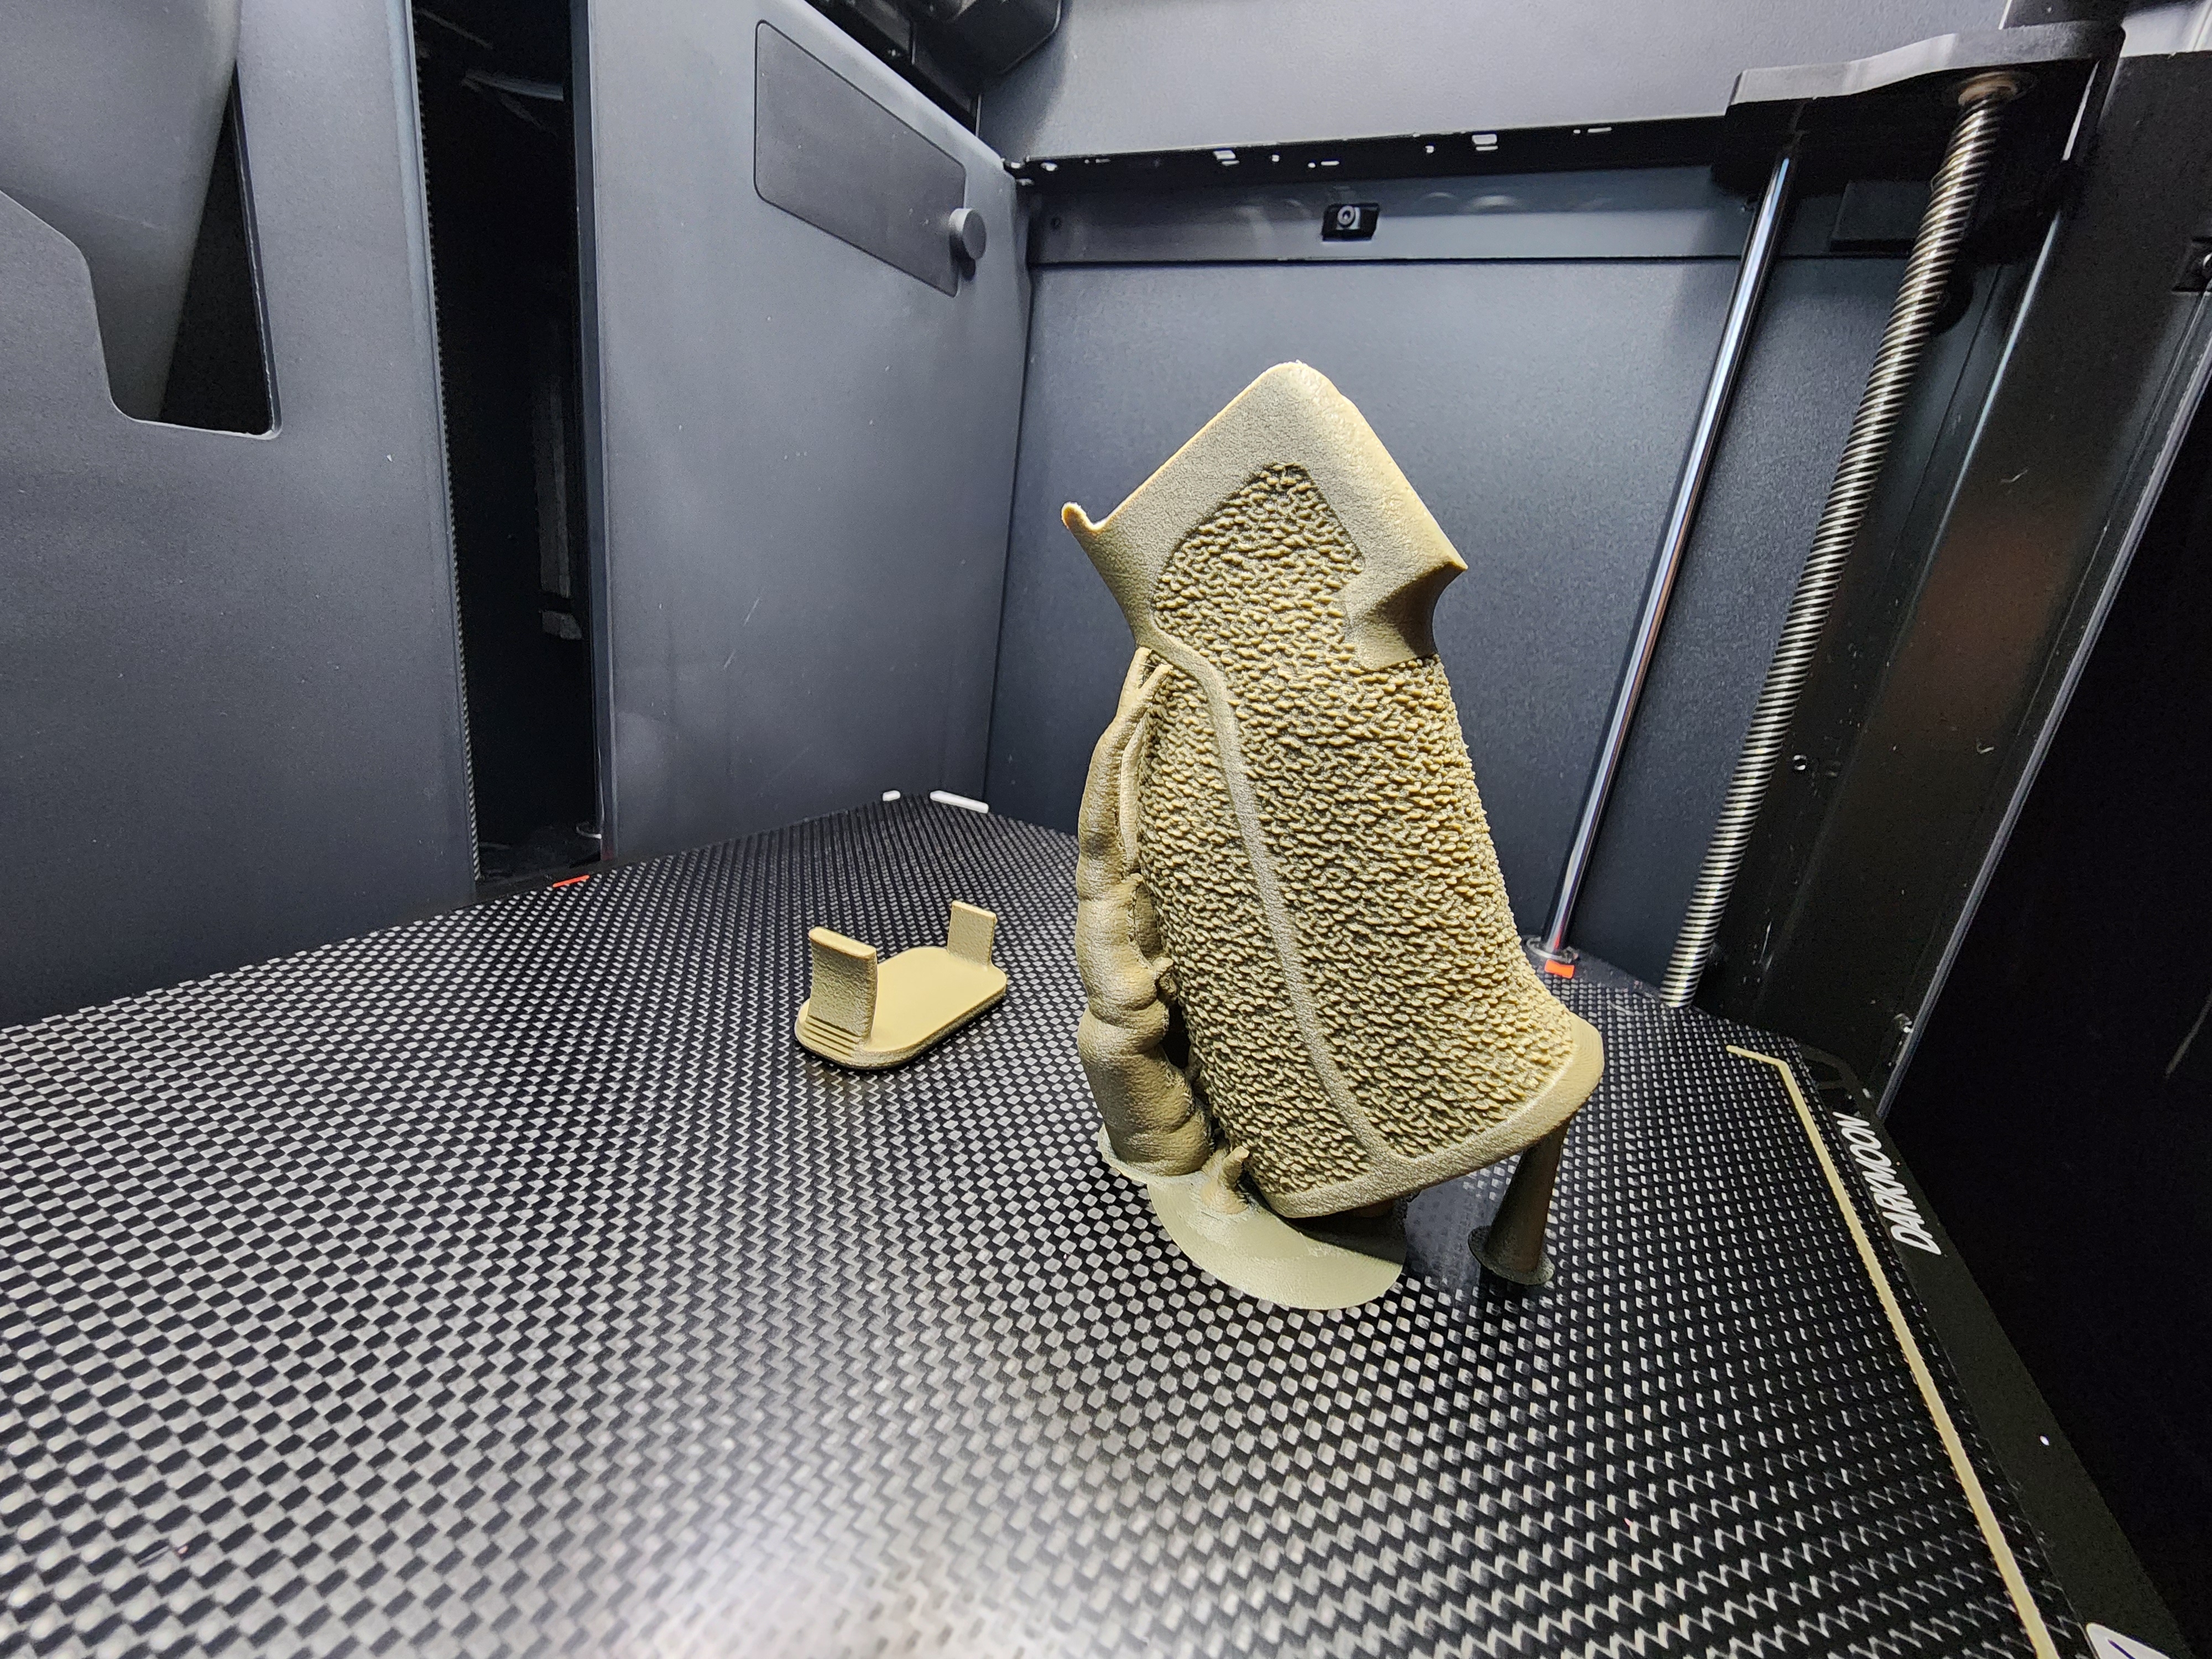
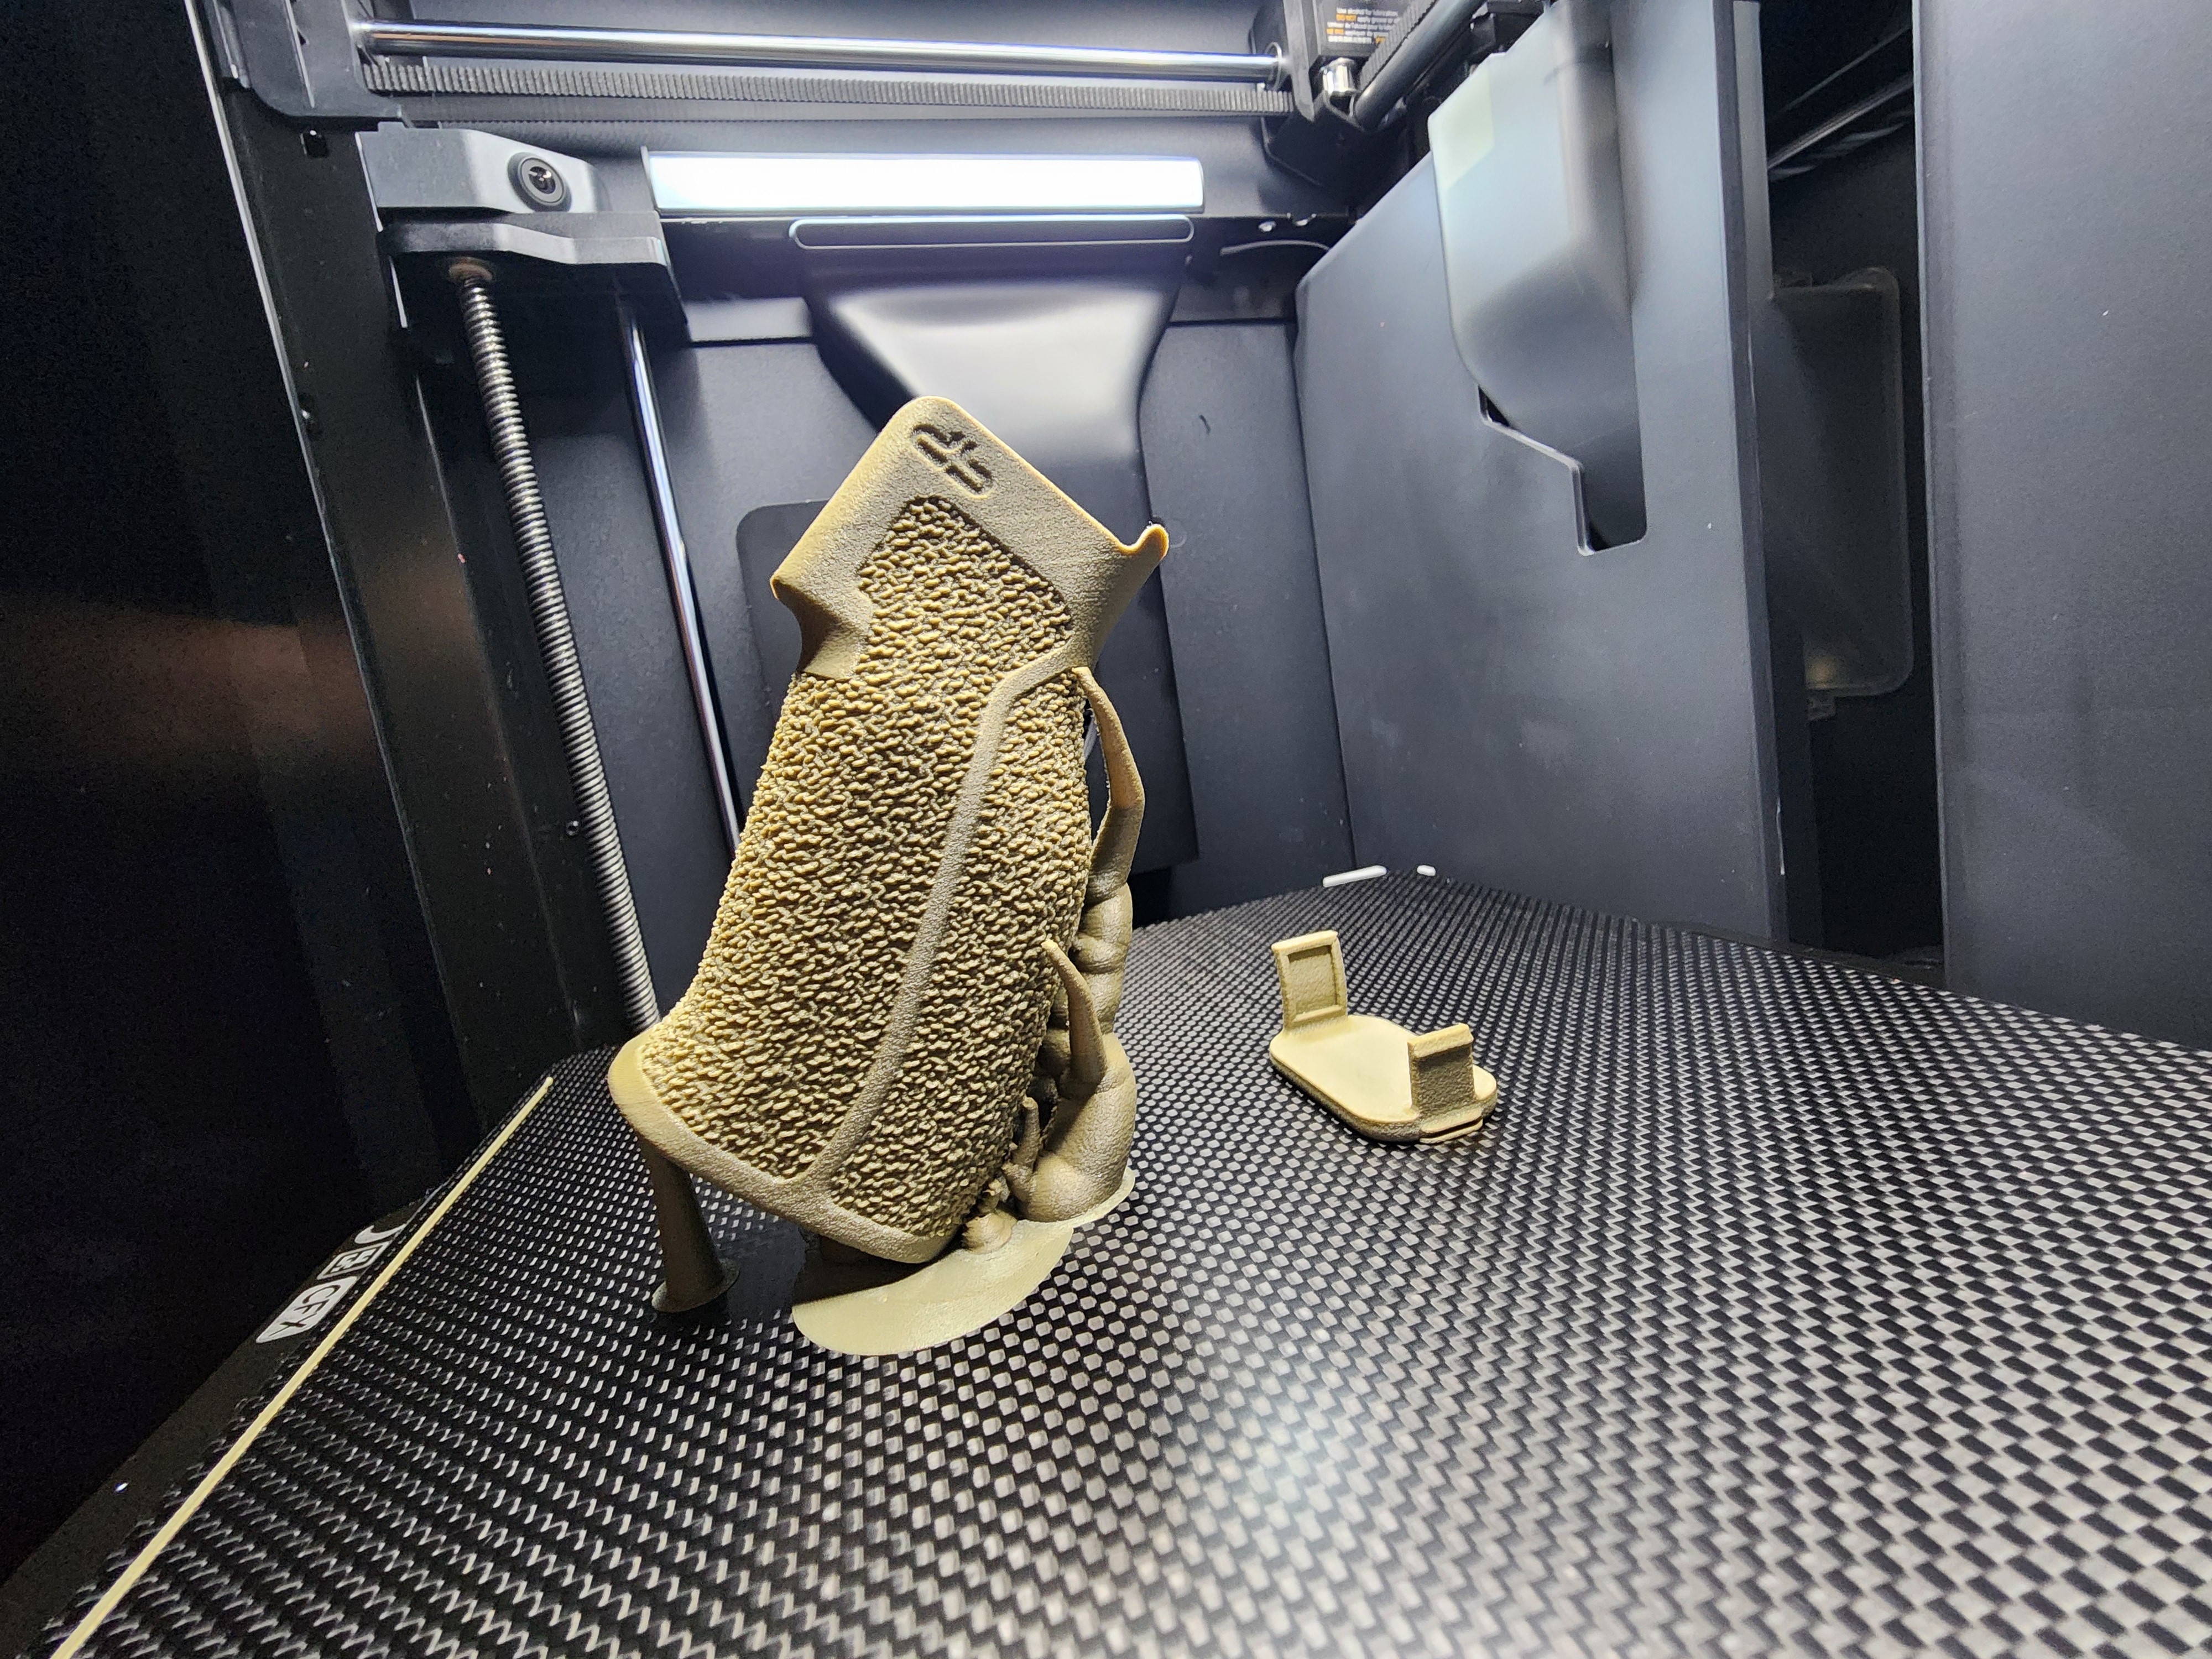
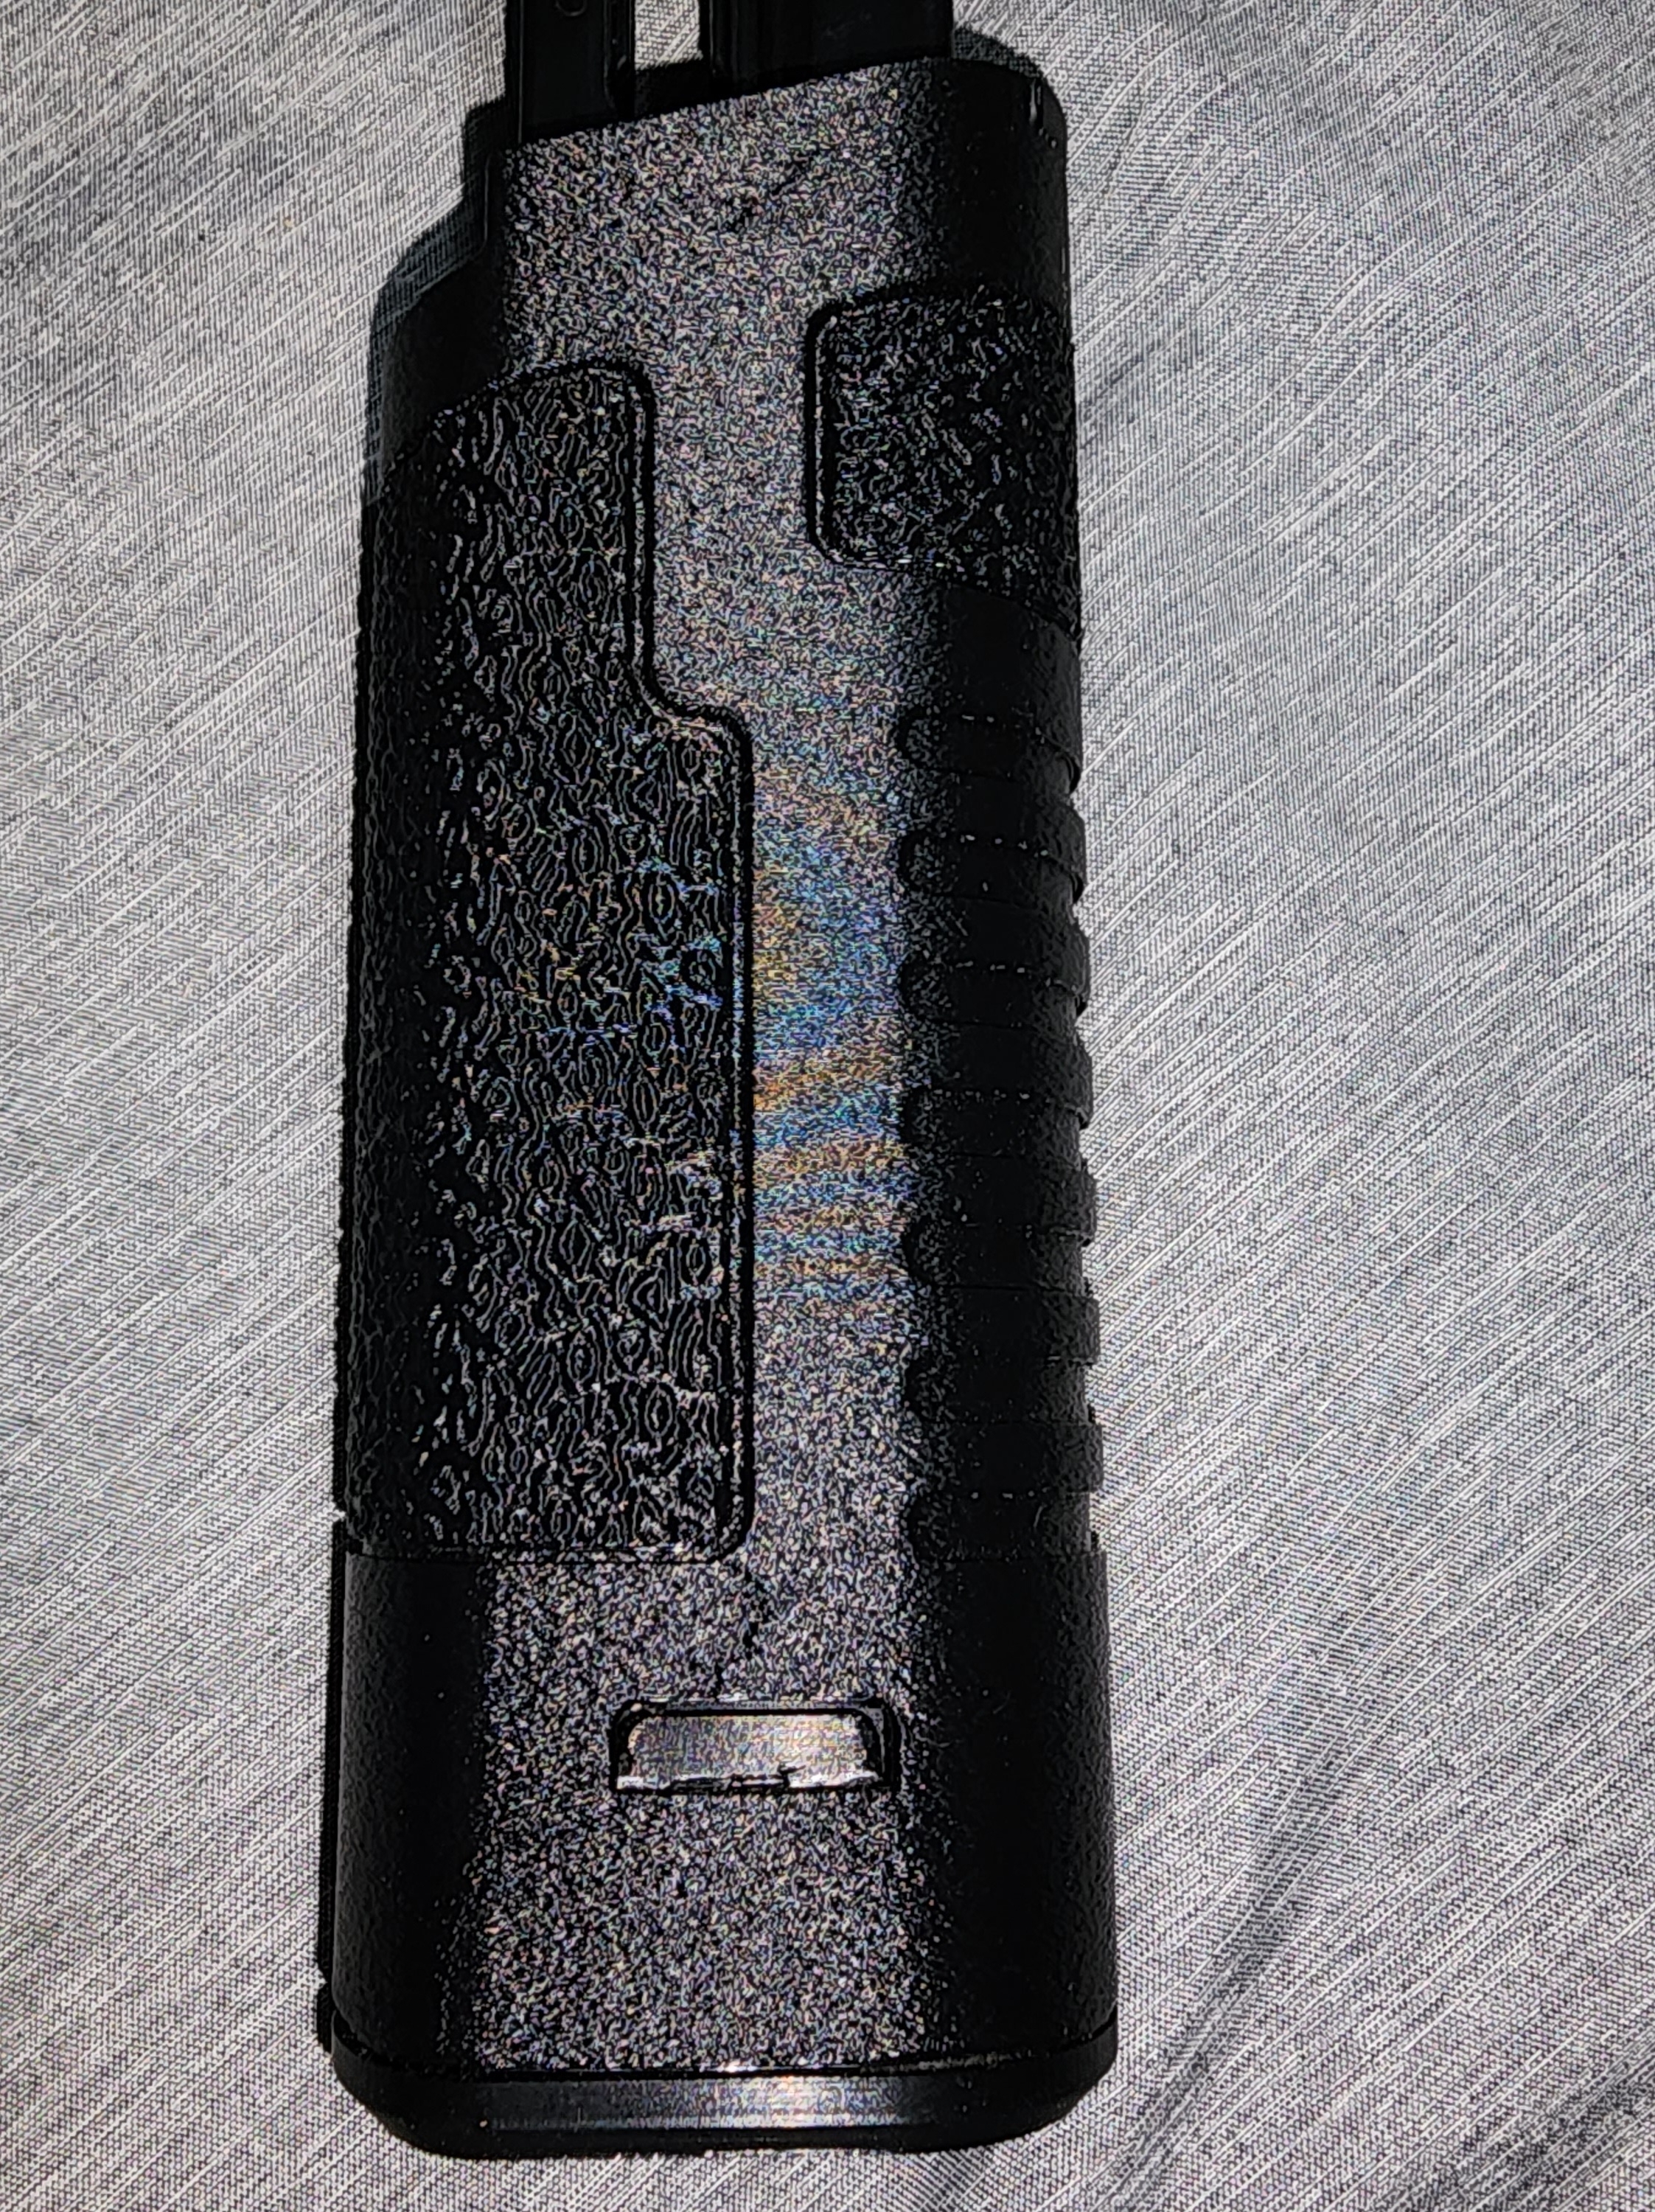
This is in Overture PLA Pro using 0.15mm layer height with a 0.1 fuzzy texture and 99% infill. It's 300BLKFDE's PA6-CF settings with a PLA Pro profile and modified support settings.

17hr print time, yes PLA can be printed much faster, but the increase in quality is worth it in my opinion.

Correction: It's the BoomTube 22 - https://odysee.com/@the_fly1ng_v1k1ng:9/BoomTube-22:5

view more: next ›