This one time I was watching this funny TV show. Can't really remember it, but it was really funny Then I had an idea for a dream vacation I mean, I had the spread, okay? The beach, the hotel then I wrote all of this down Wrote it all down, really wrote it, like five pages. Lost it!
Too sweet to be sour, too nice to be mean
YOU BOTH IT!!
I shred all my cardboard and paper with all plastic windows and tape removed. I use the shred in my compost. I also reuse it as dunnage if I need to ship something.
I plan on getting into building worm farms as a project too.
You can get a 12 page shredder used in tons of places.
I like to cut it into manageable sizes with this tool from harbor freight or one like it: https://hftools.com/app56192
You could cut the cardboard with a razor in a vice too.
I grow edible mushrooms on the shred too. https://lemmy.world/post/22563343
I've considered doing something like this too. Looks like you can make all sorts of cool stuff with it: https://www.youtube.com/watch?v=NRa1Lx0zvkI
Your use of an incomplete post title pleases me.
Where can I get this sticker?
Wolf hair. Inconclusive.
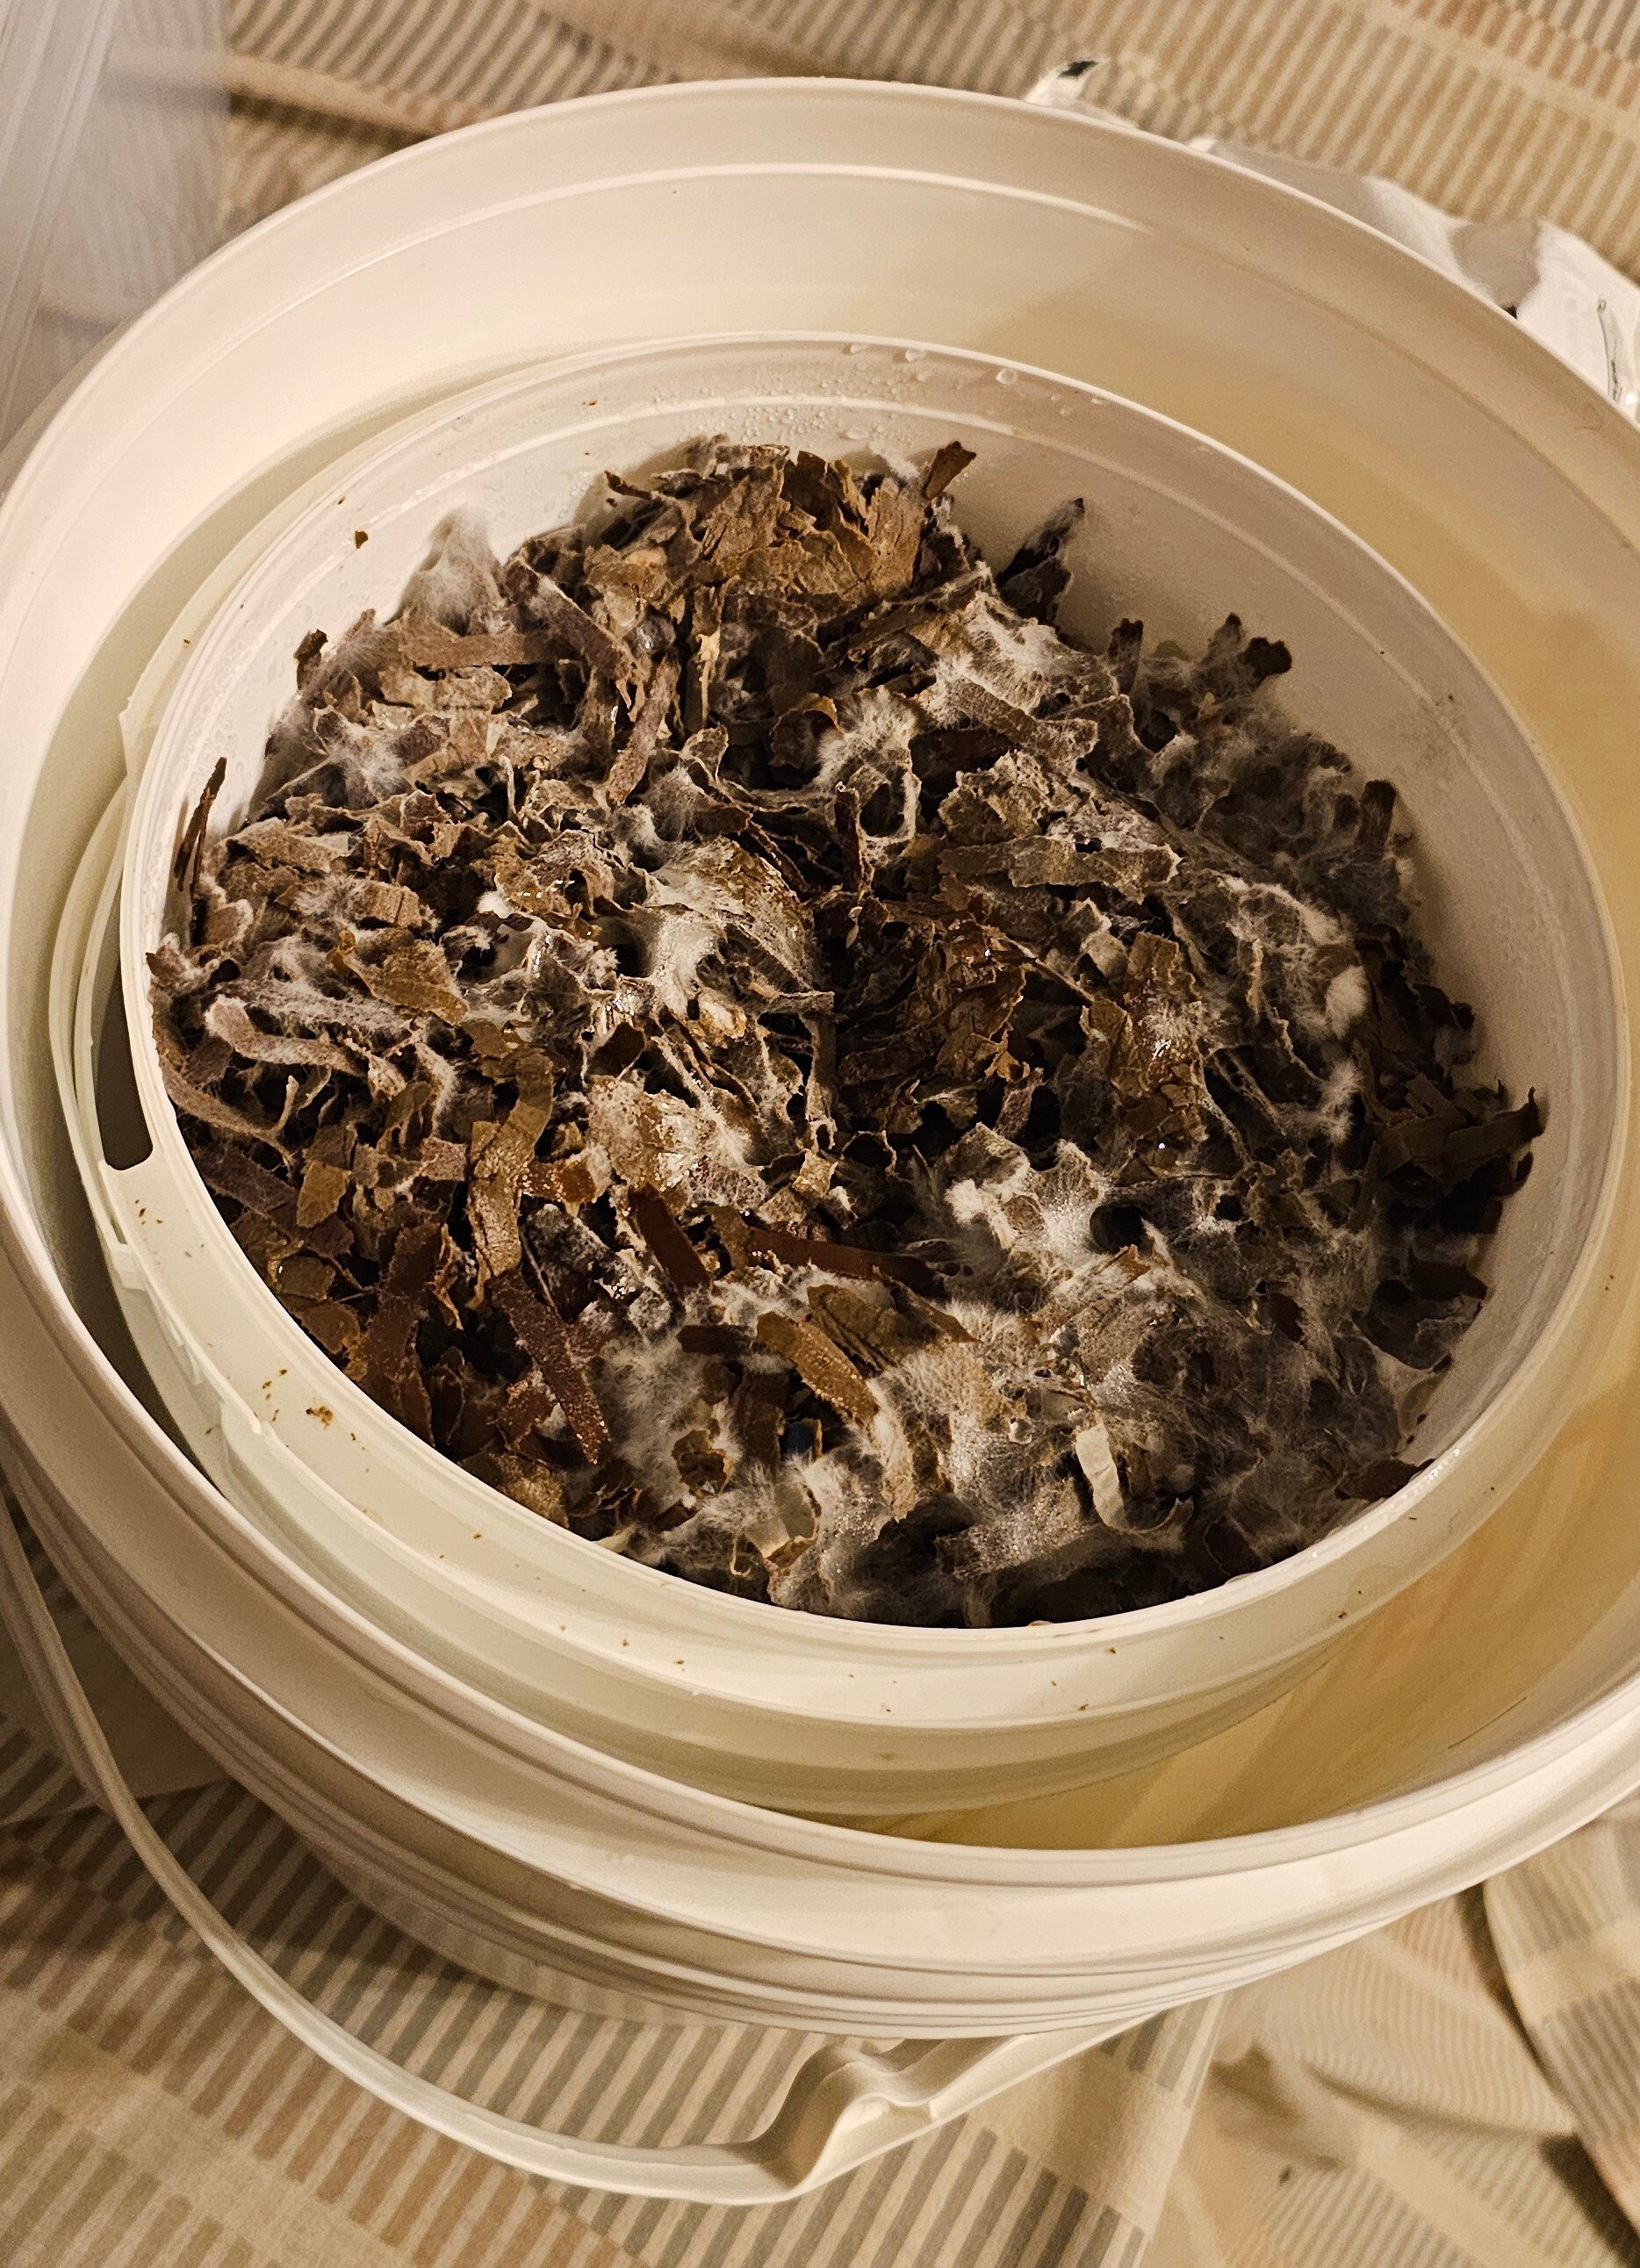
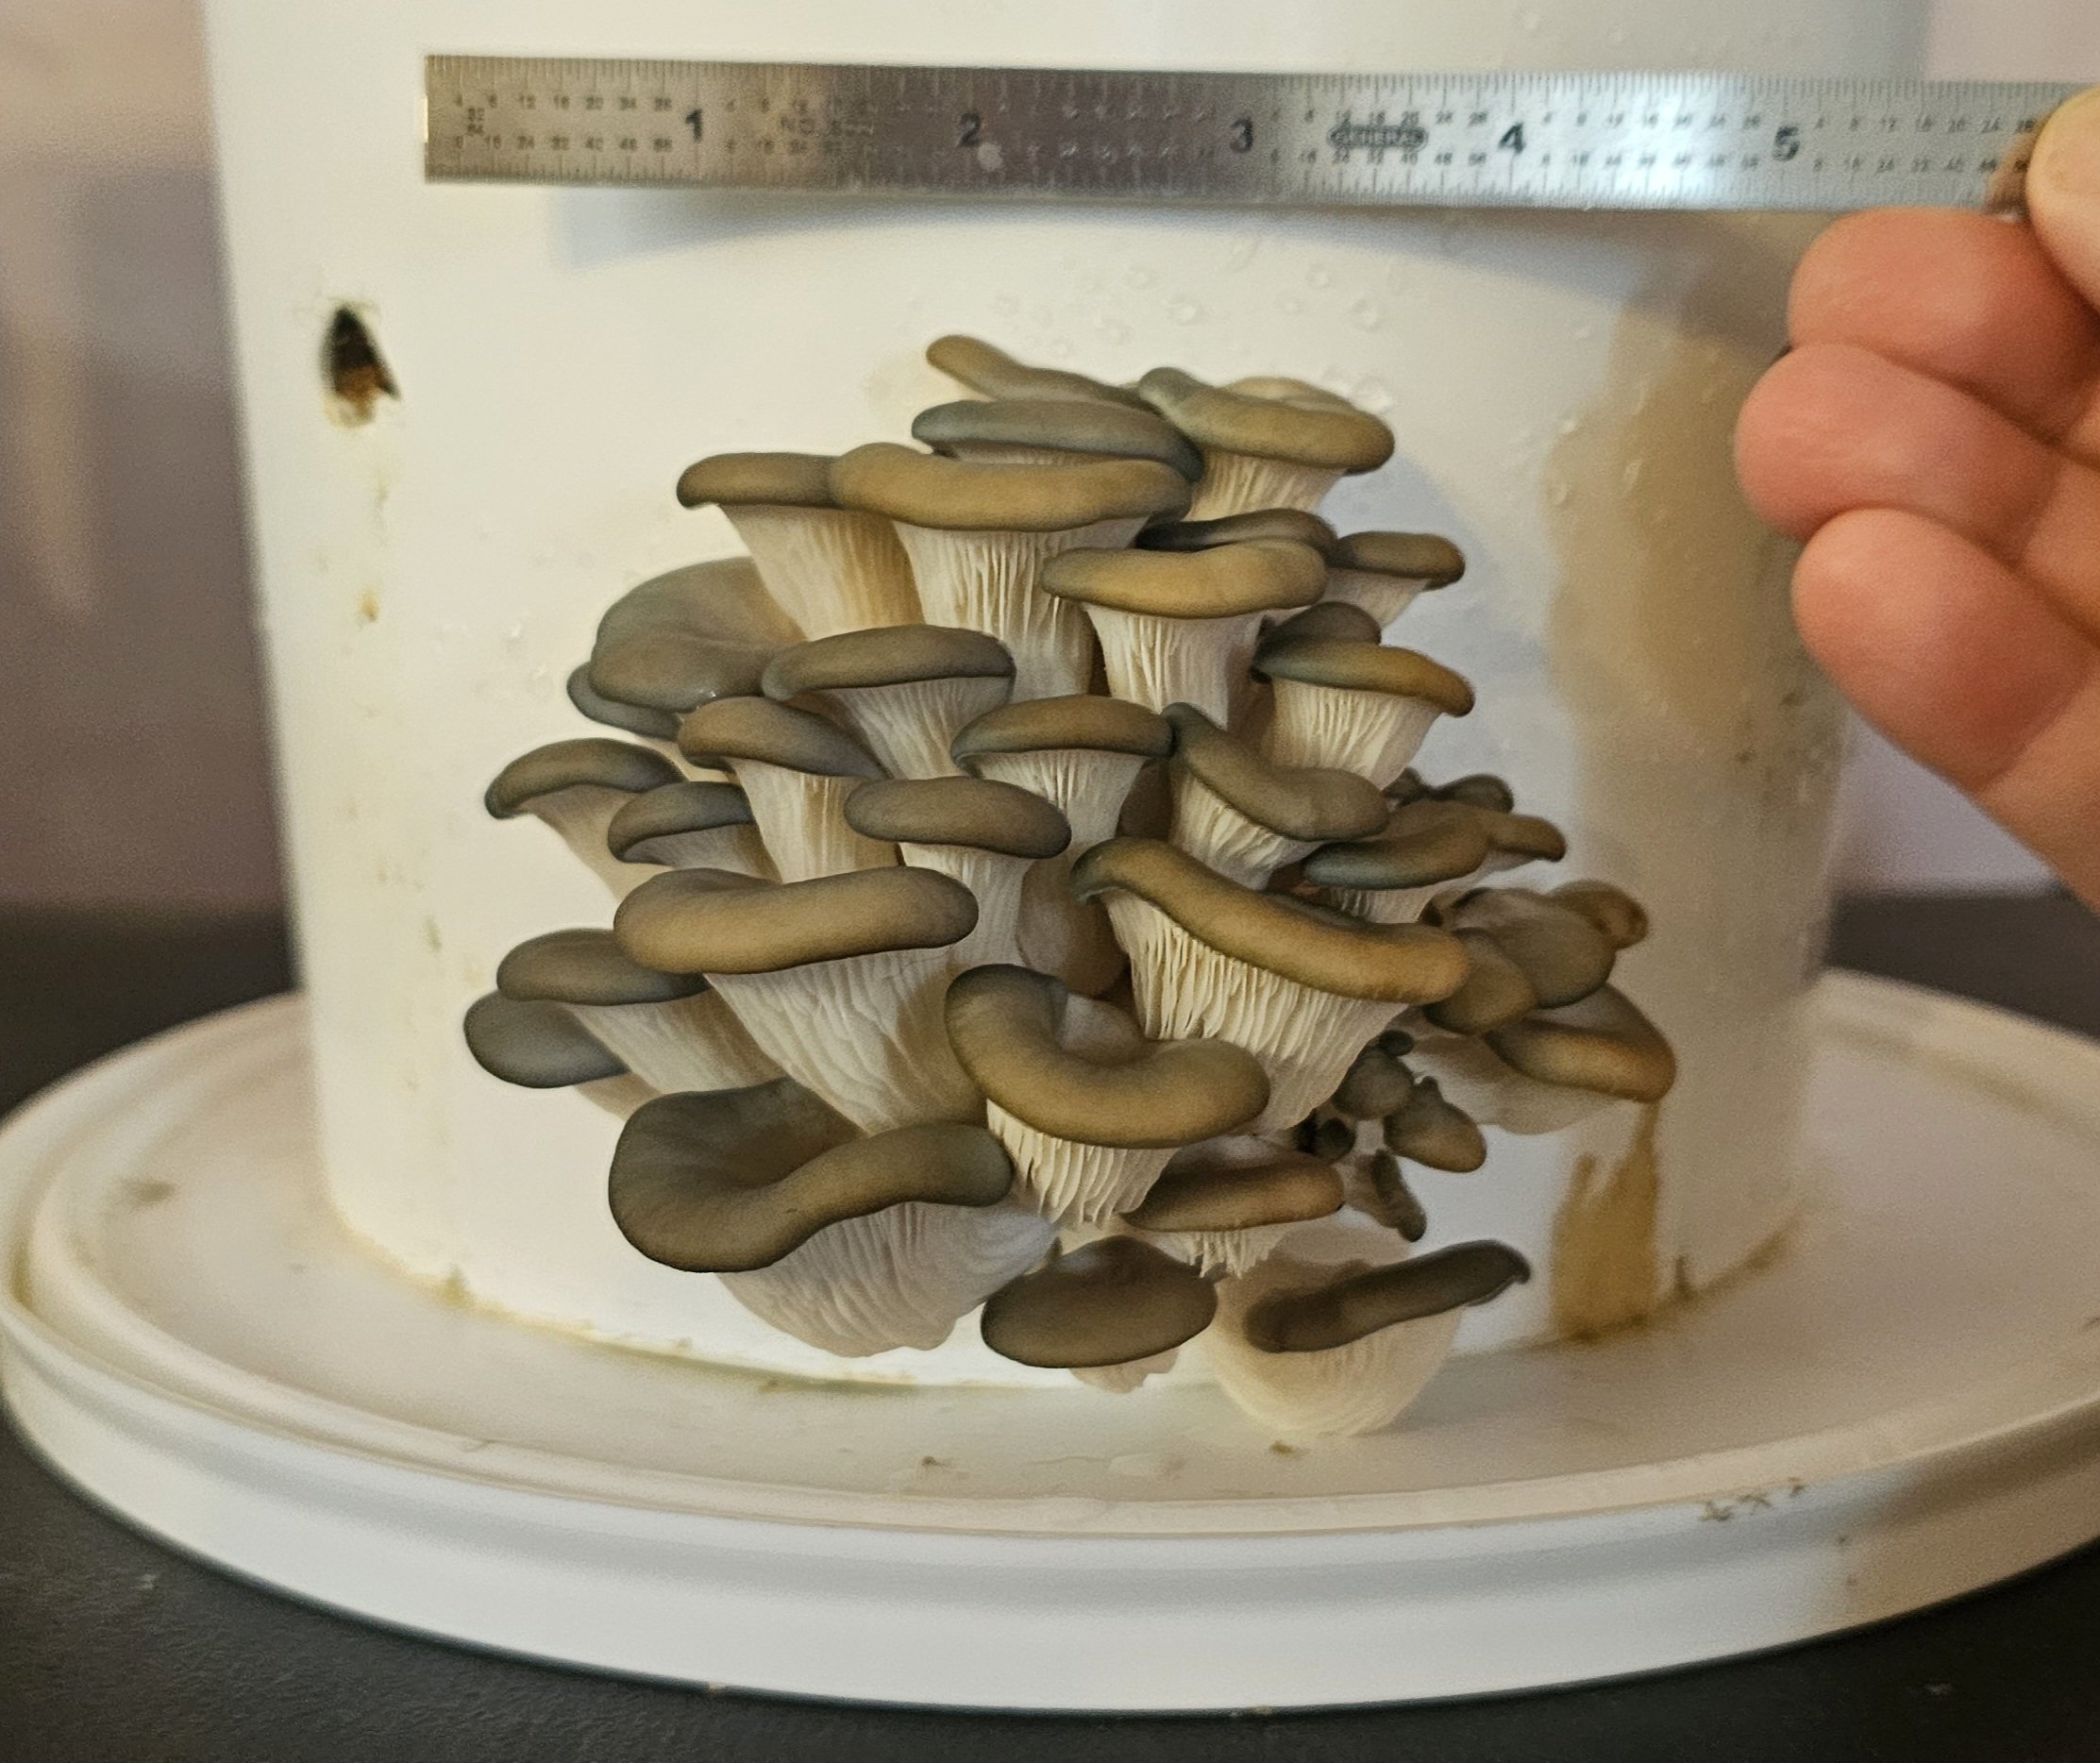
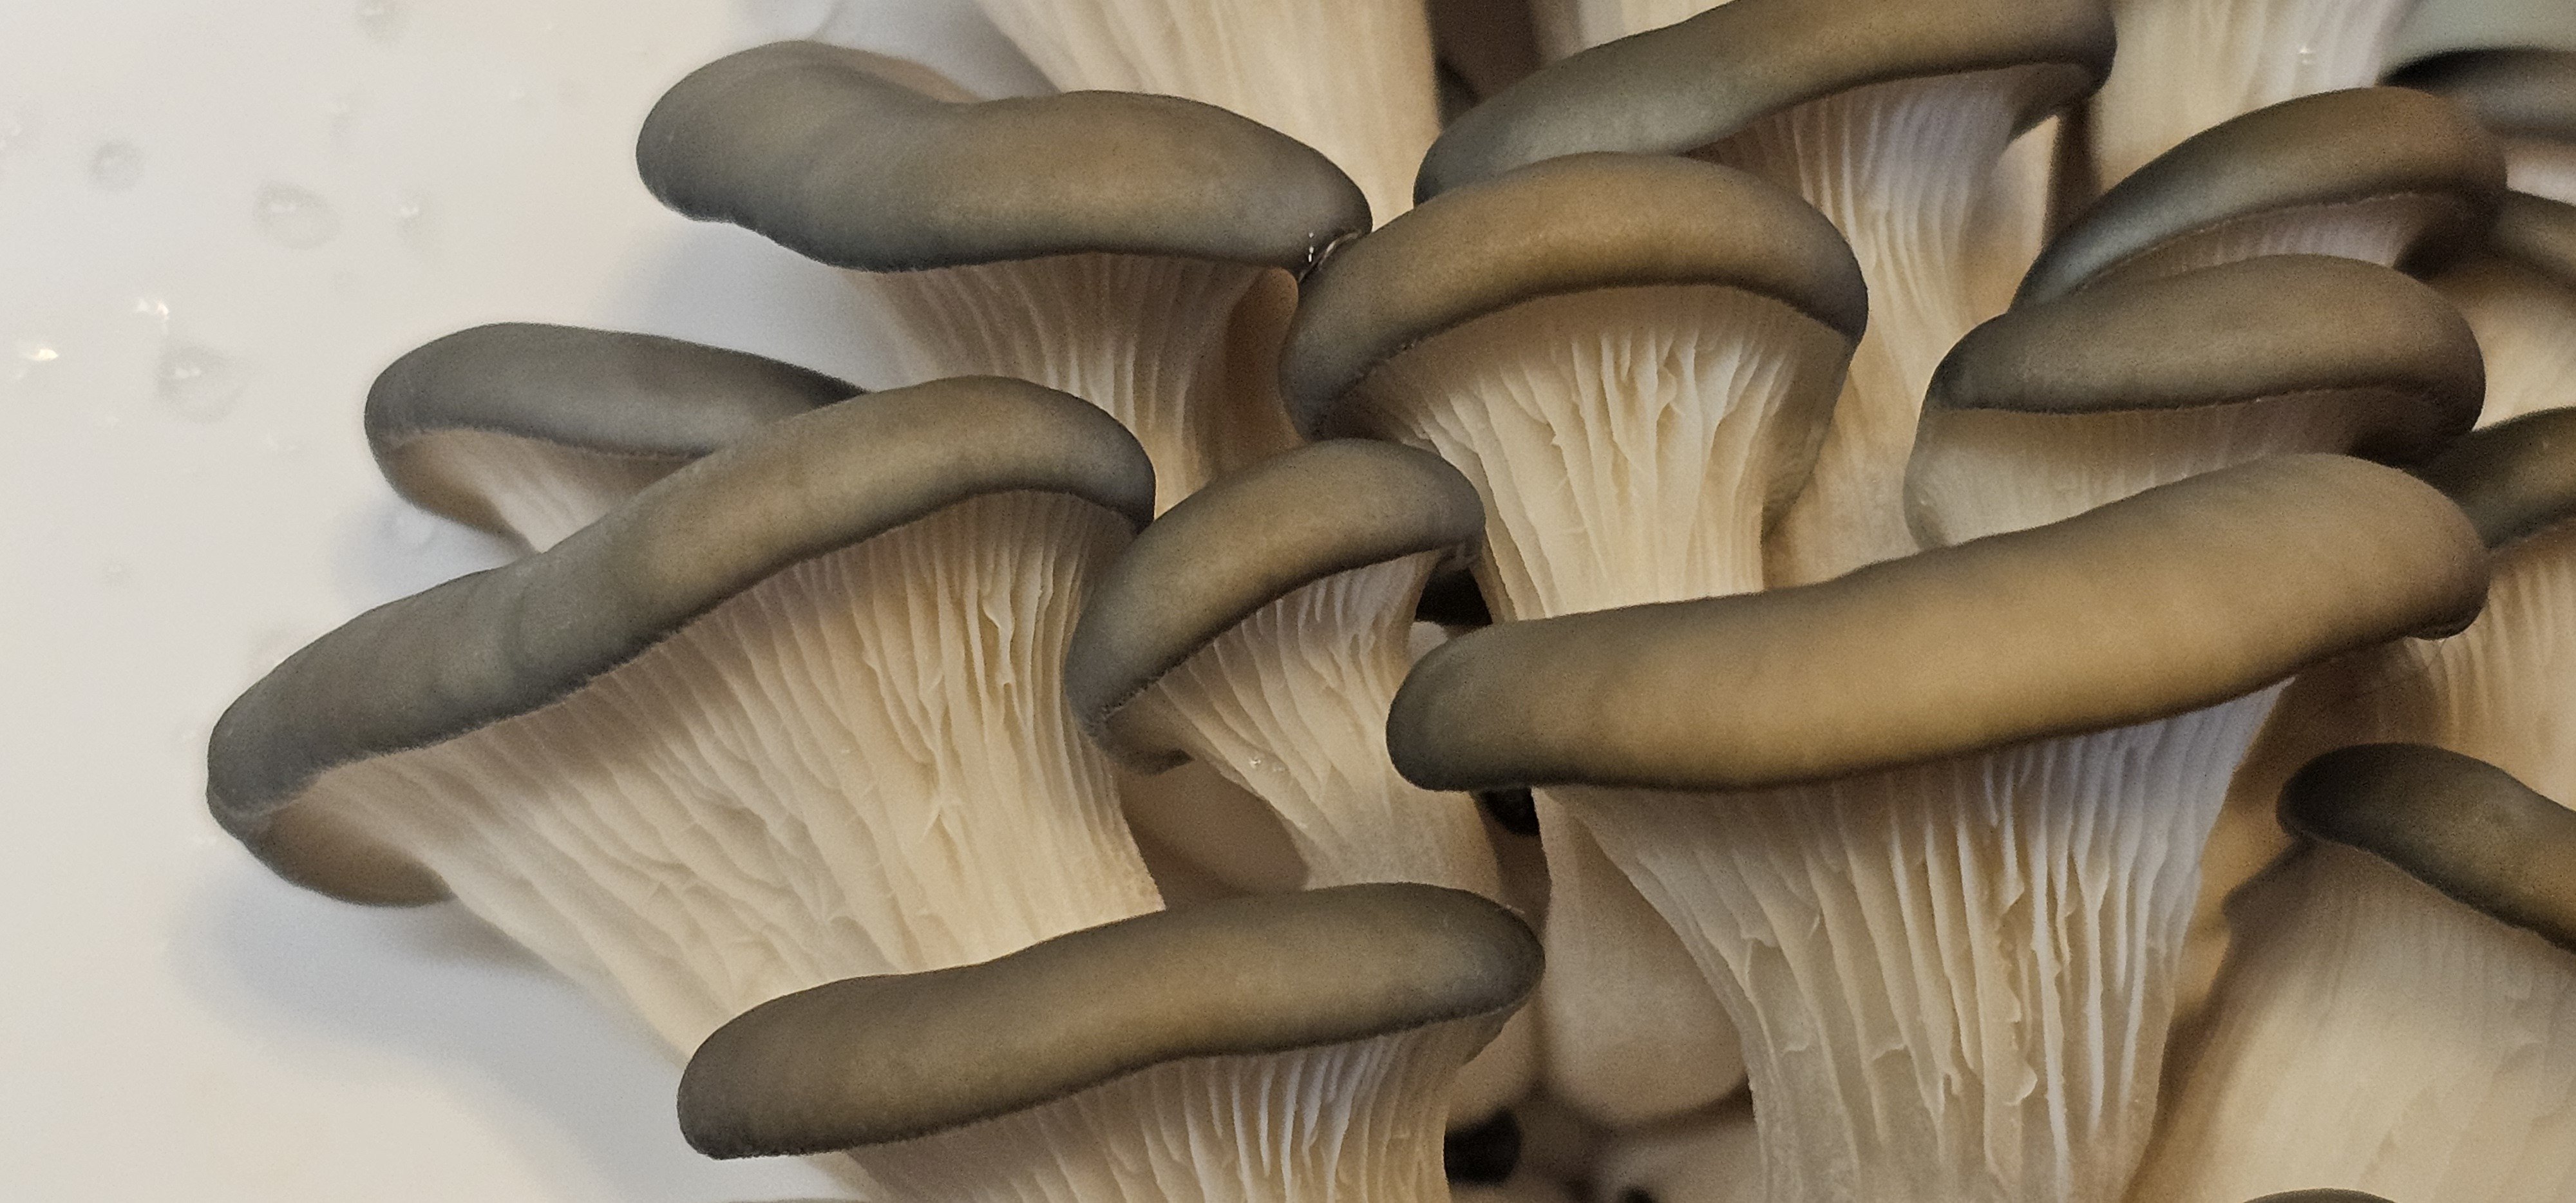
First time attempting to grow on boiled cardboard shred. Going much slower than I expected, but the cardboard appears to be taken over by the mycelium. Took 4 weeks for full inoculation and 6 weeks to see this flush to arrive.
Next time I'm going to add a little wheat germ to the cardboard to see if the nutrients will help with growth.
Update 11/29/2024:
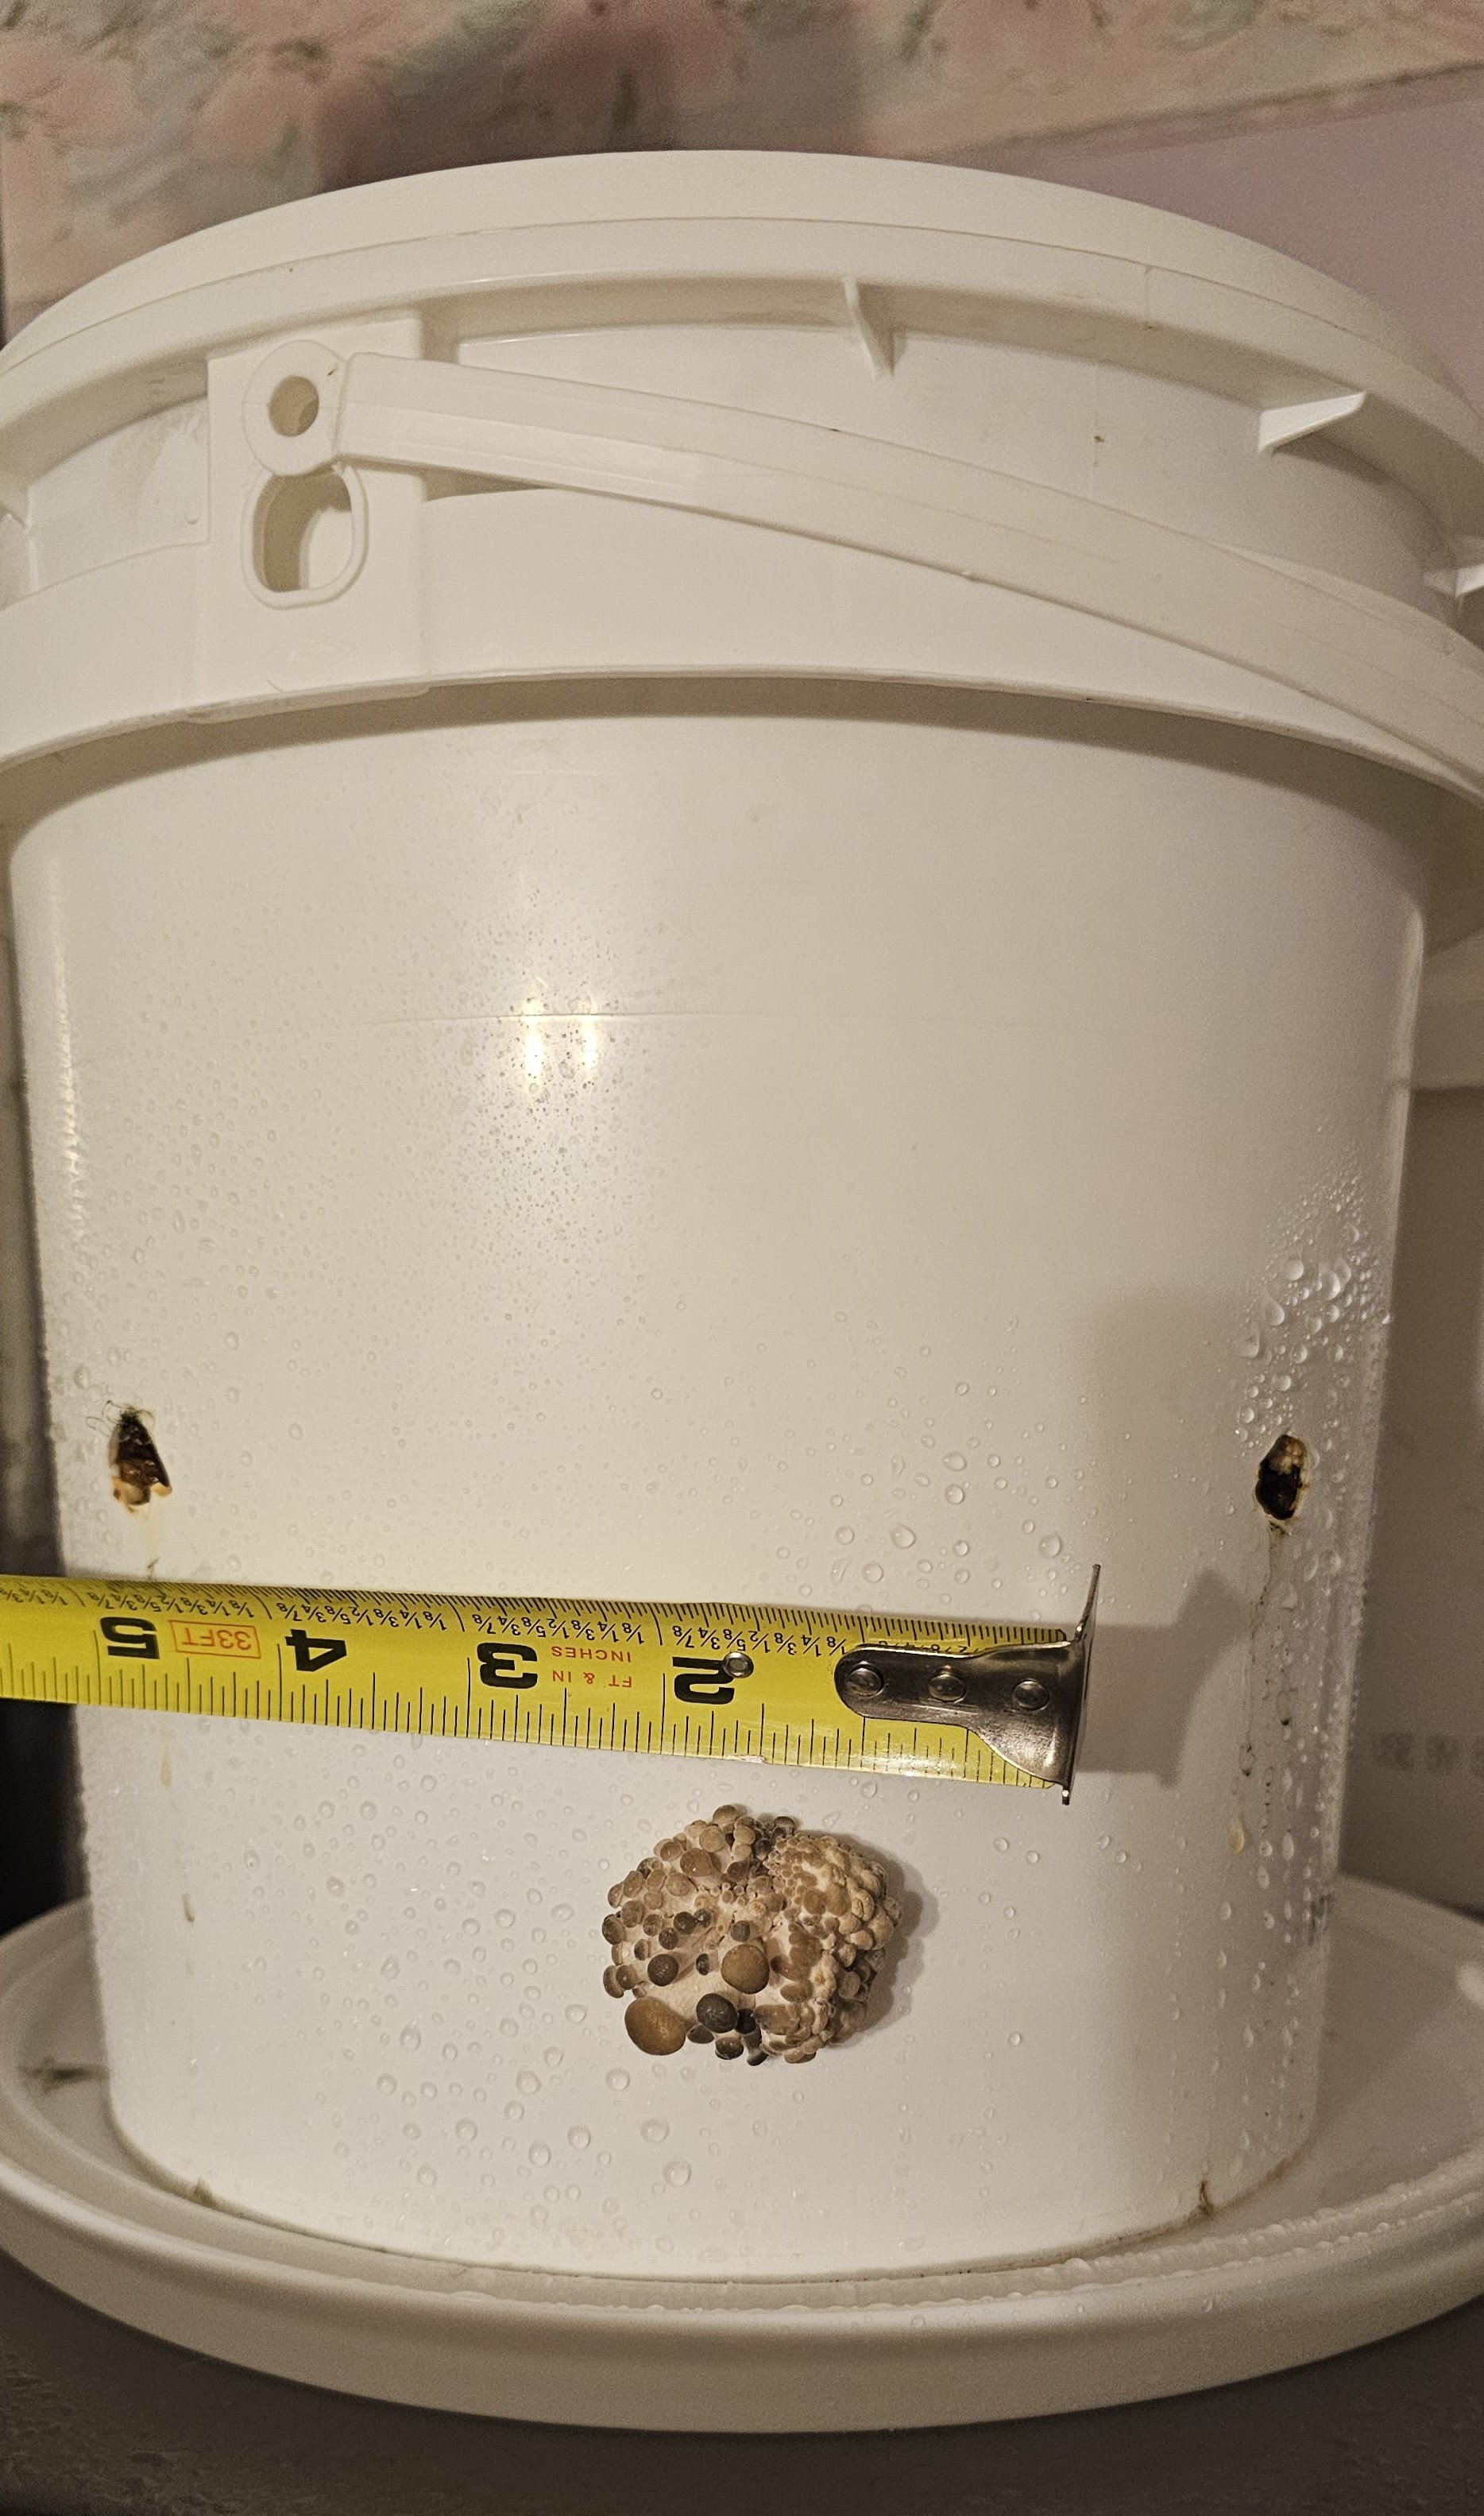
Growing Oyster Mushrooms in Food-Grade Buckets
I obtain food-grade buckets from my local grocery store's bakery for free. Although they previously held buttercream icing and still retain a slight scent after washing, this doesn't affect mushroom growth.
I've noticed some Trichoderma in the buckets, but I'm not concerned, as oyster mushrooms have natural defense mechanisms to combat Trichoderma.
Here's my process:
Bucket Preparation
- I use a 14-pound bucket to contain the shredded cardboard.
- I drill 1/2-inch holes at random intervals (about 6-8 inches apart) around the sides and a few in the bottom for drainage.
- I cover the holes with micropore tape during the mycelium inoculation phase to maintain moisture and prevent contamination.
Incubation and Fruiting
- I place the small bucket inside a larger bucket to contain any spills for easy cleanup.
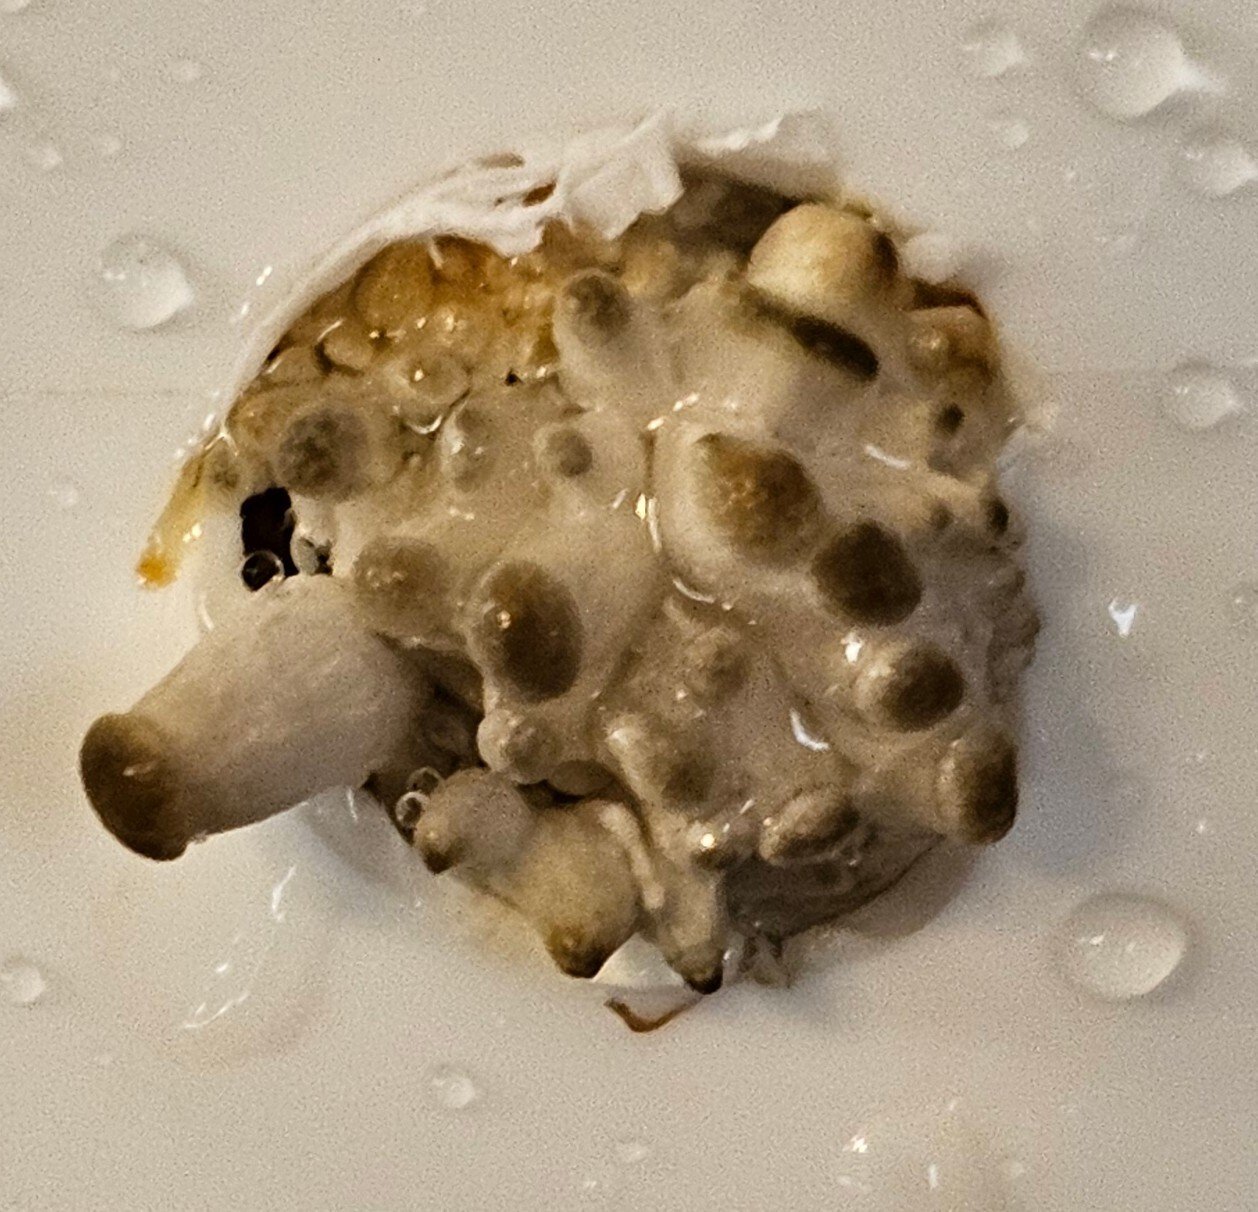
- Once the cardboard is mostly inoculated, I remove the tape from the holes.
- I place the small bucket on the lid of the larger bucket for continued easy cleanup.
- I spray the holes with water (1-2 squirts) to maintain moisture.
- Finally, I wait for the mushrooms to grow.
Feel free to ask me any questions about my process!
Update 11/30/2024 0830 CST
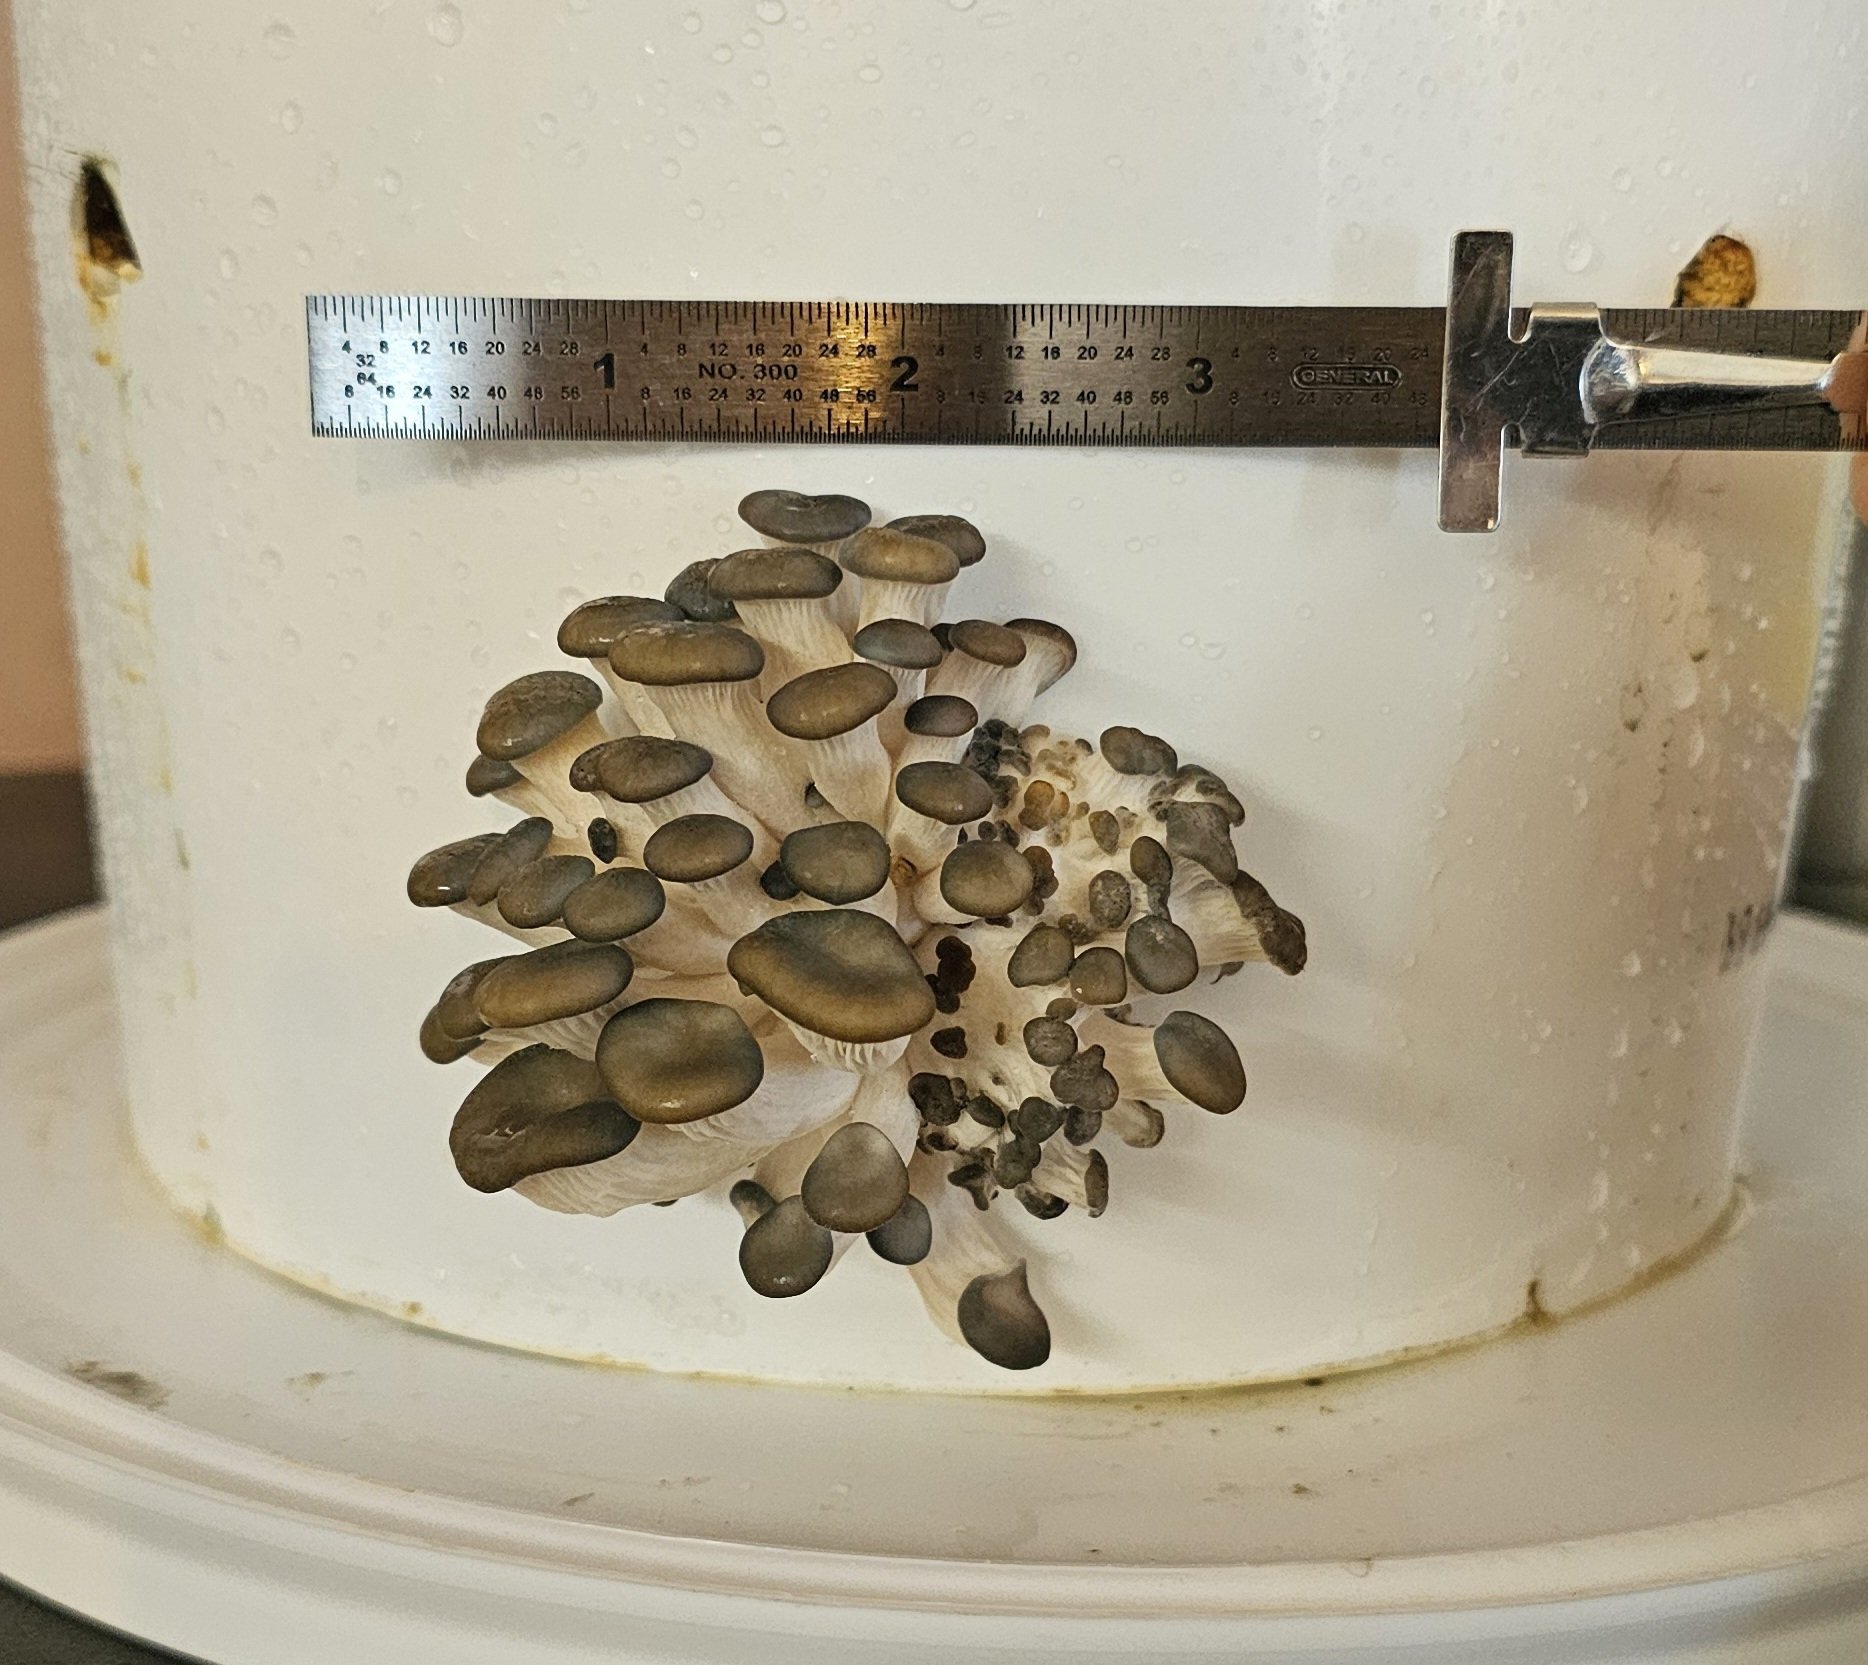
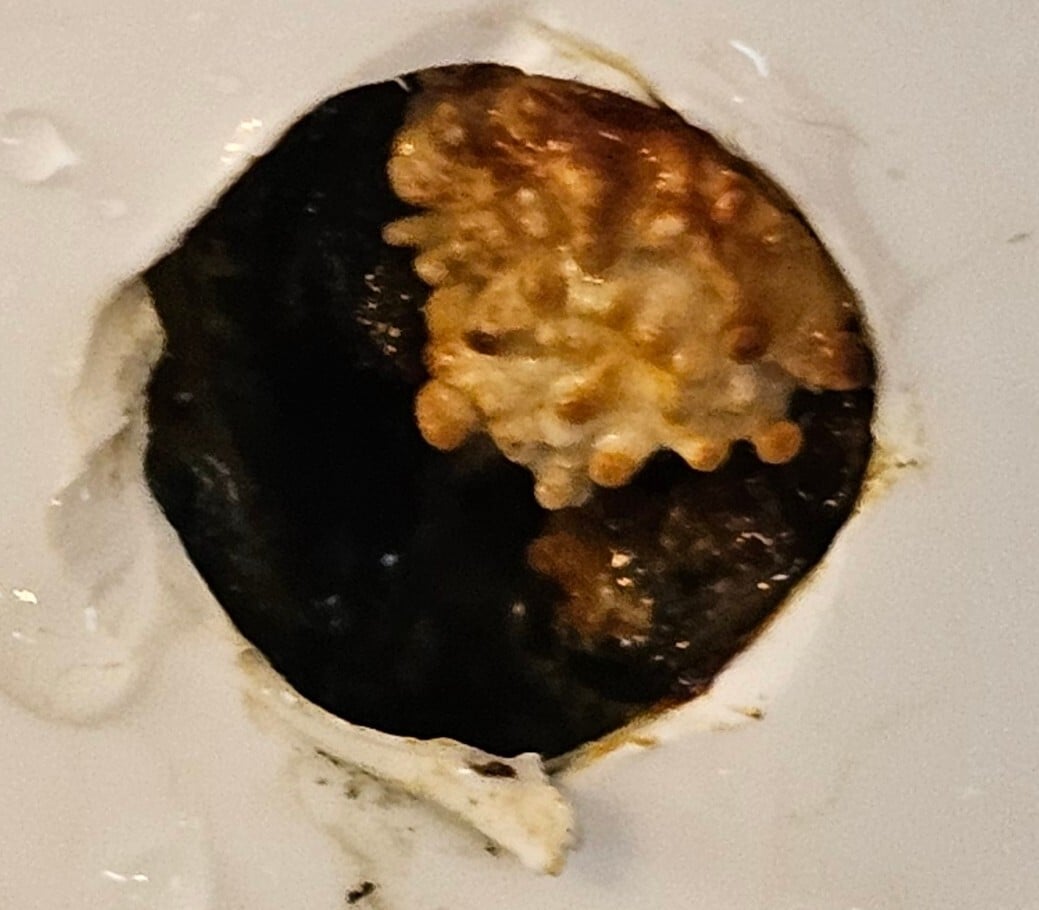
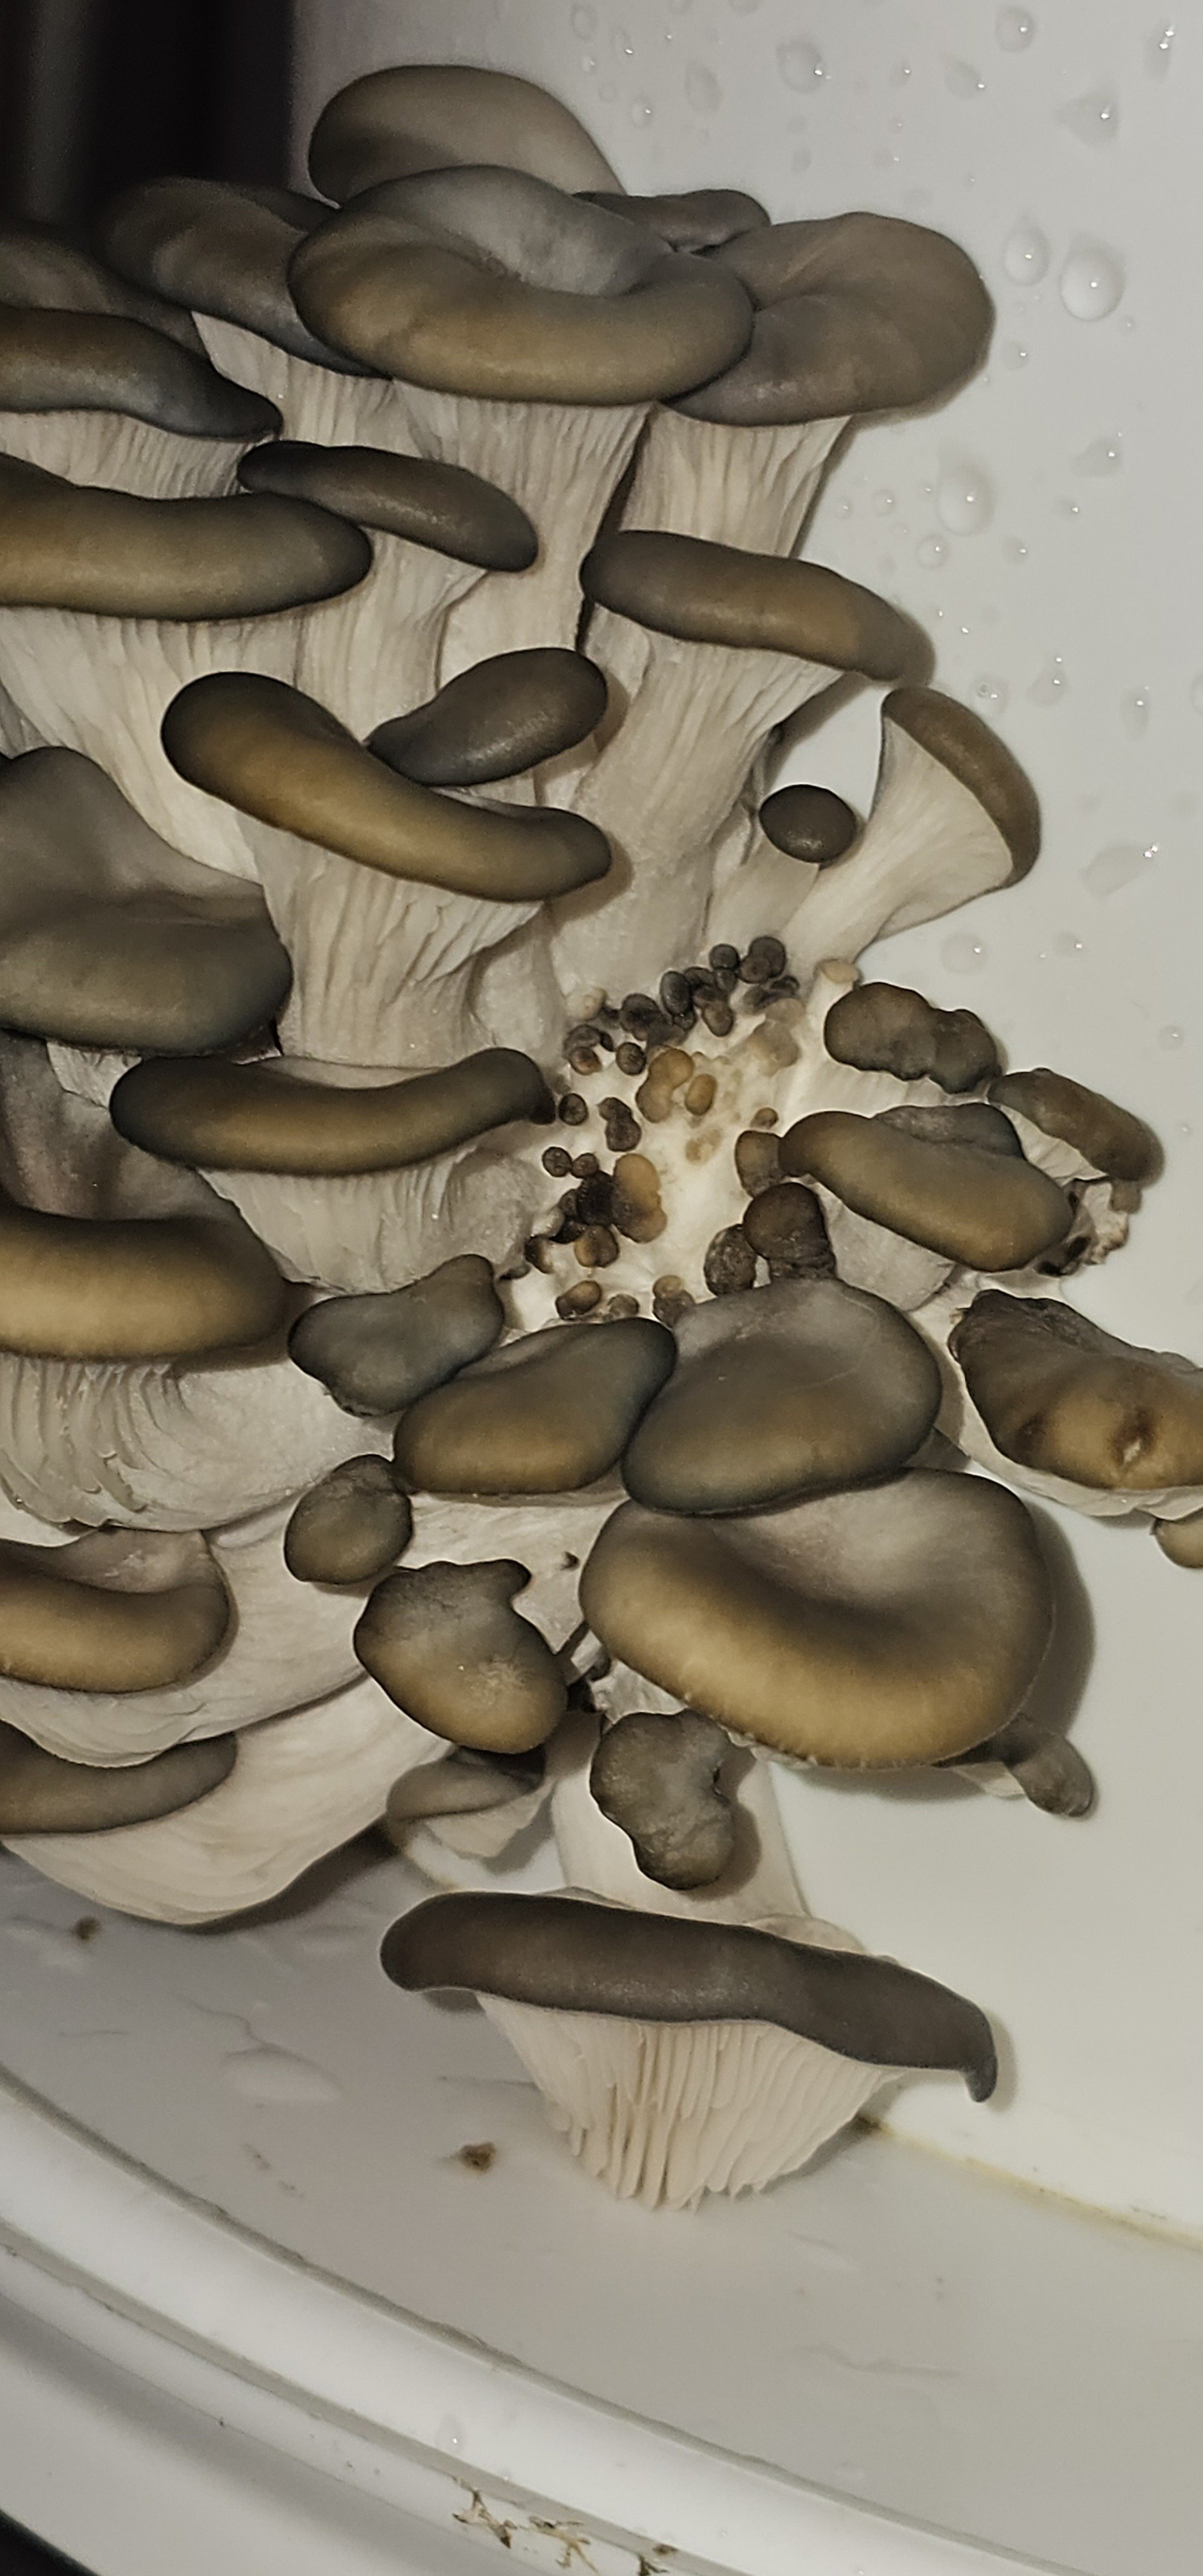
The first flush is now over 3 inches. I've got two other holes that are pinning.
Update 12/01/2024 1505 CST
I would refresh the cardboard every 3 or 4 weeks. I would wait until there was a 3rd flush (if there was one). After I would inoculate the fresh batch with spawn from a previous batch.