1
It's made of cherry because that's what I have a lot of now.
The shape is based on an Atkins Perfection template I have, but I had to cut it up and move things around to account for the unusual hole pattern.

A handmade home for woodworkers and admirers of woodworkers. Our community icon is submitted by @inquanto@lemmy.world, winner of the Christmas 2025 gift contest with a lovely series of hardwood cutting boards.
It's made of cherry because that's what I have a lot of now.
The shape is based on an Atkins Perfection template I have, but I had to cut it up and move things around to account for the unusual hole pattern.
I have my old kitchen pantry in the shop for general storage. It's 24" wide and 24" deep which made reaching for things in the back of the shelf a real hassle. Not to mention making it hard to see back there.
So I made three pull out shelves where three fixed shelves were. 1/2" sides with a 1/4" bottom panel. I didn't have any thin plywood so I actually glued up the three panels from scrap - this was a great way to use up those "shorts" you can't bear to discard!


Built a japanese toolbox out of oak scraps, using my japanese handtools for my japanese handtools.

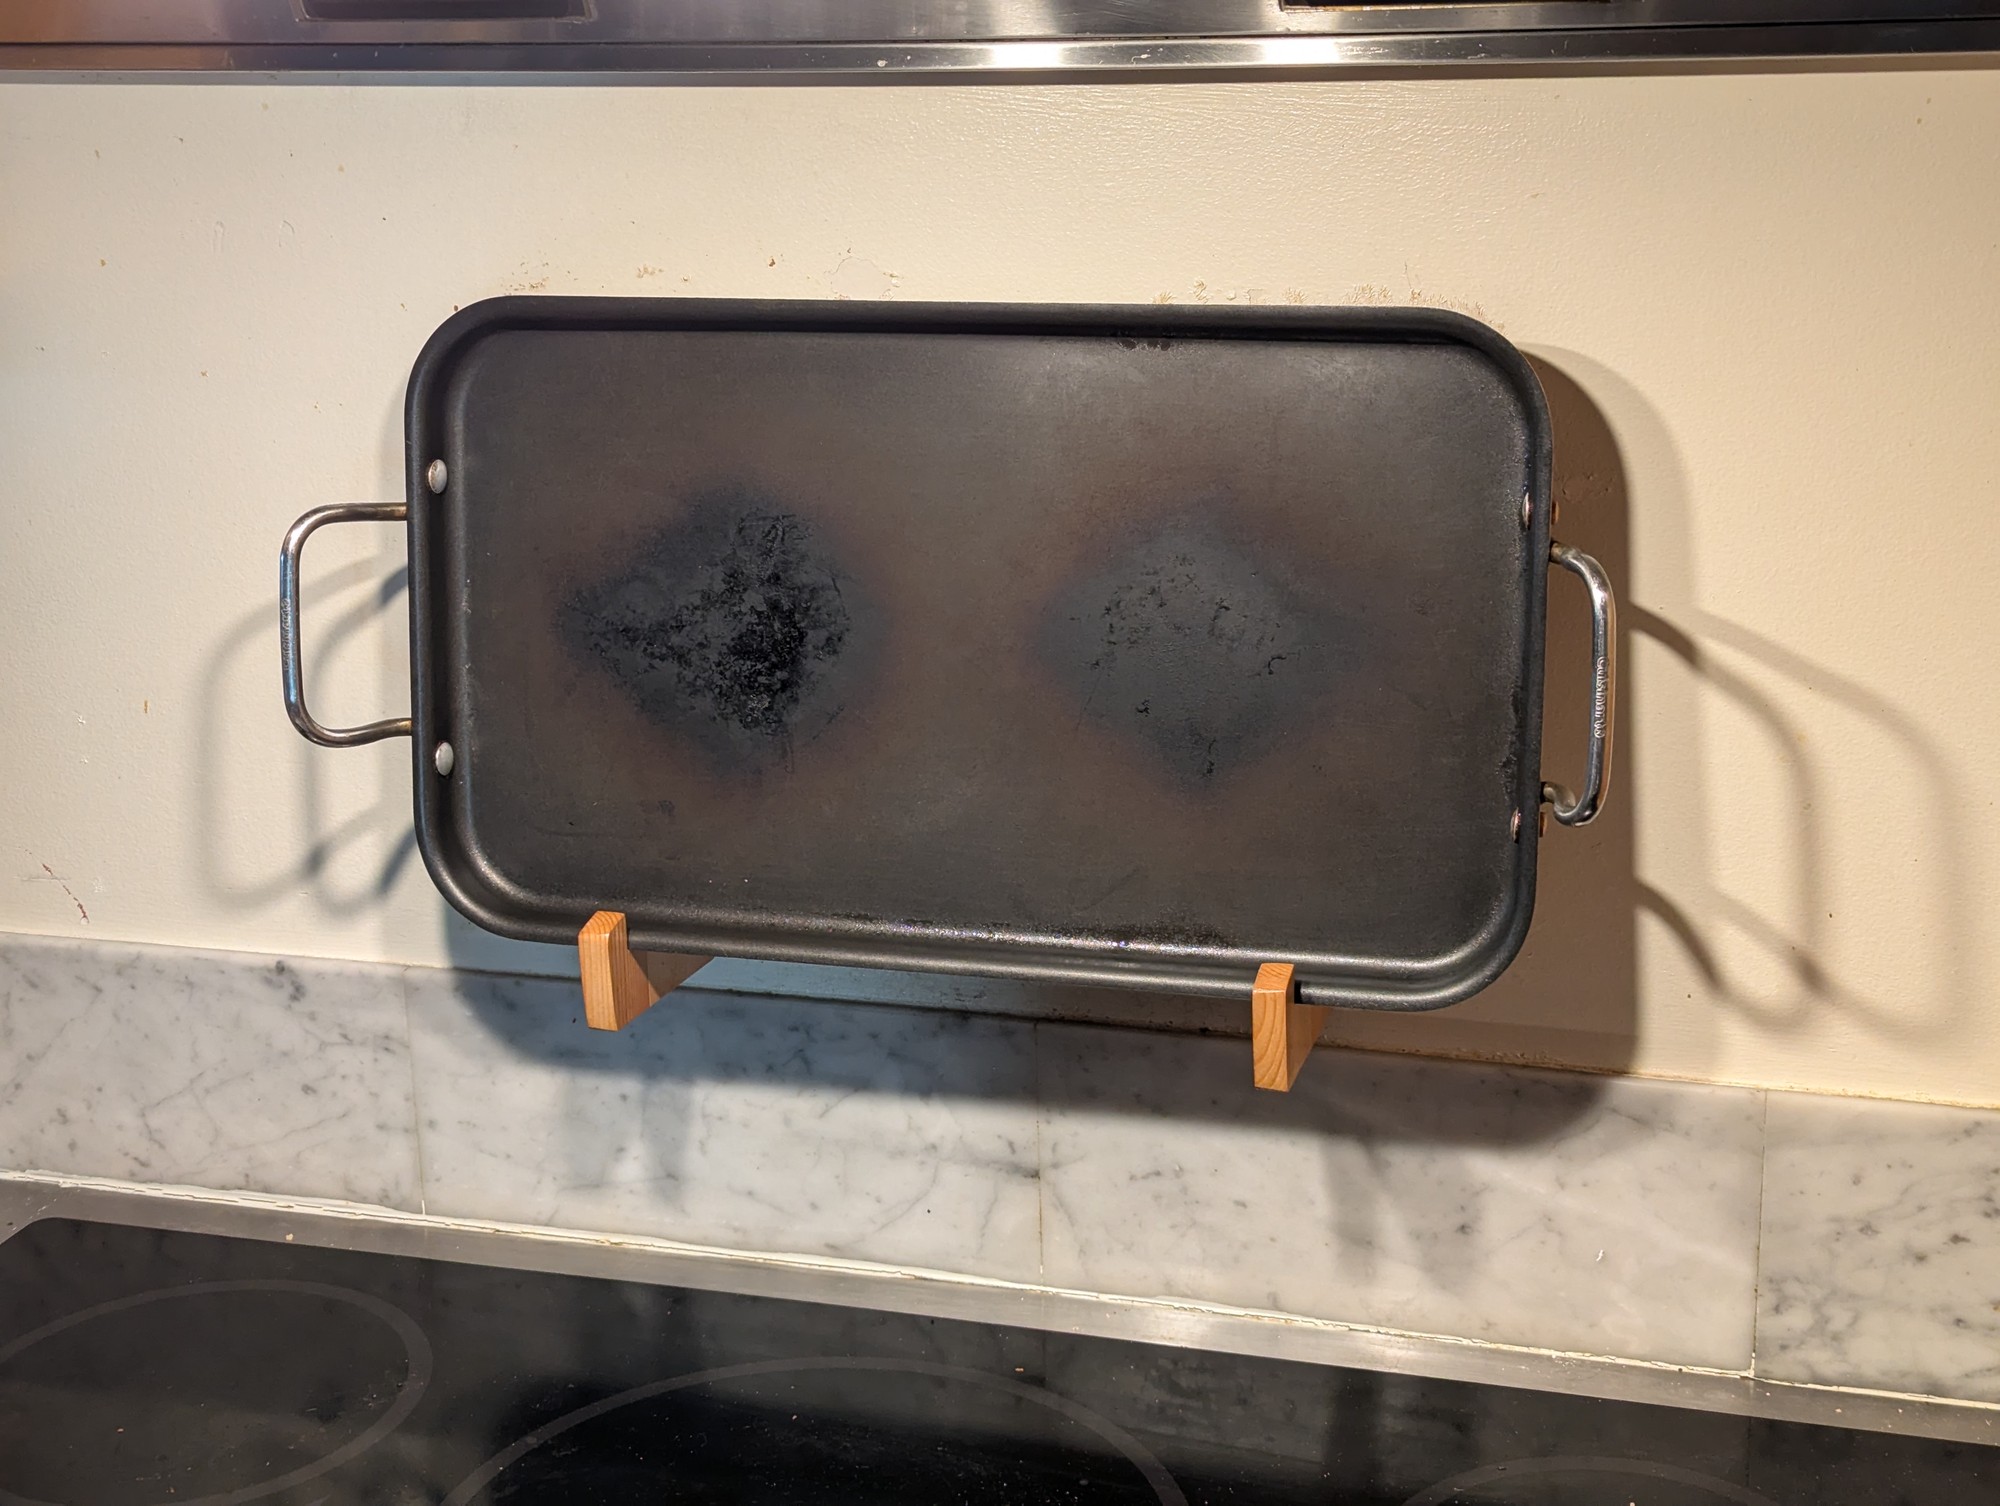
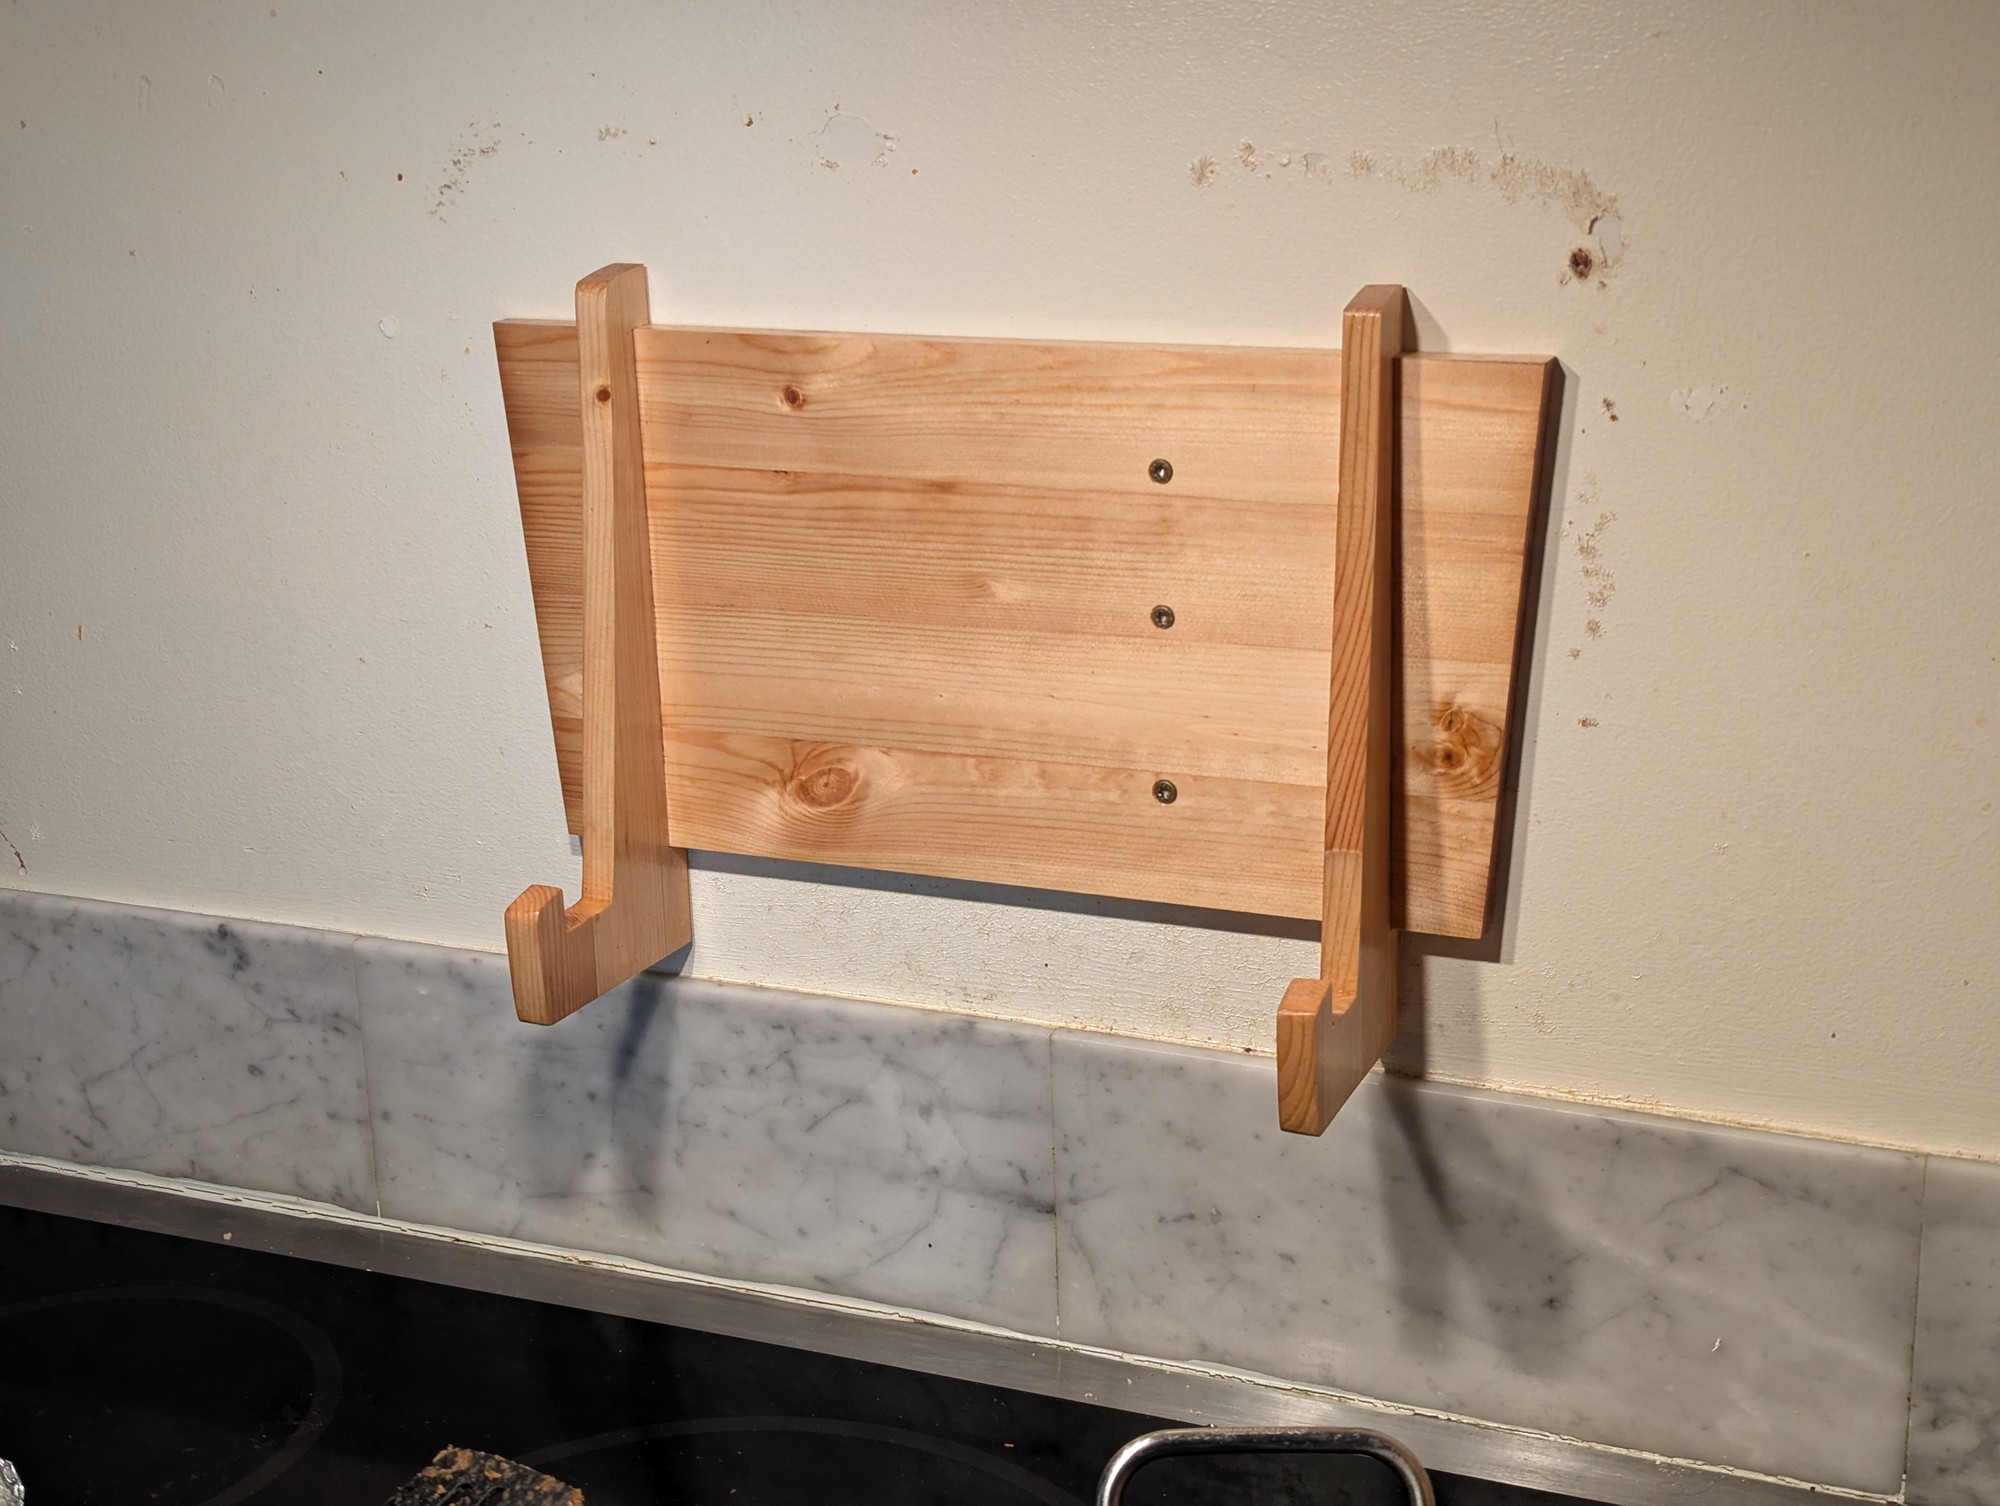
I had the griddle hooked on a couple screws for a long time, and my partner encouraged me to finally upgrade.
I cut up a seat I'd someone else was throwing out.
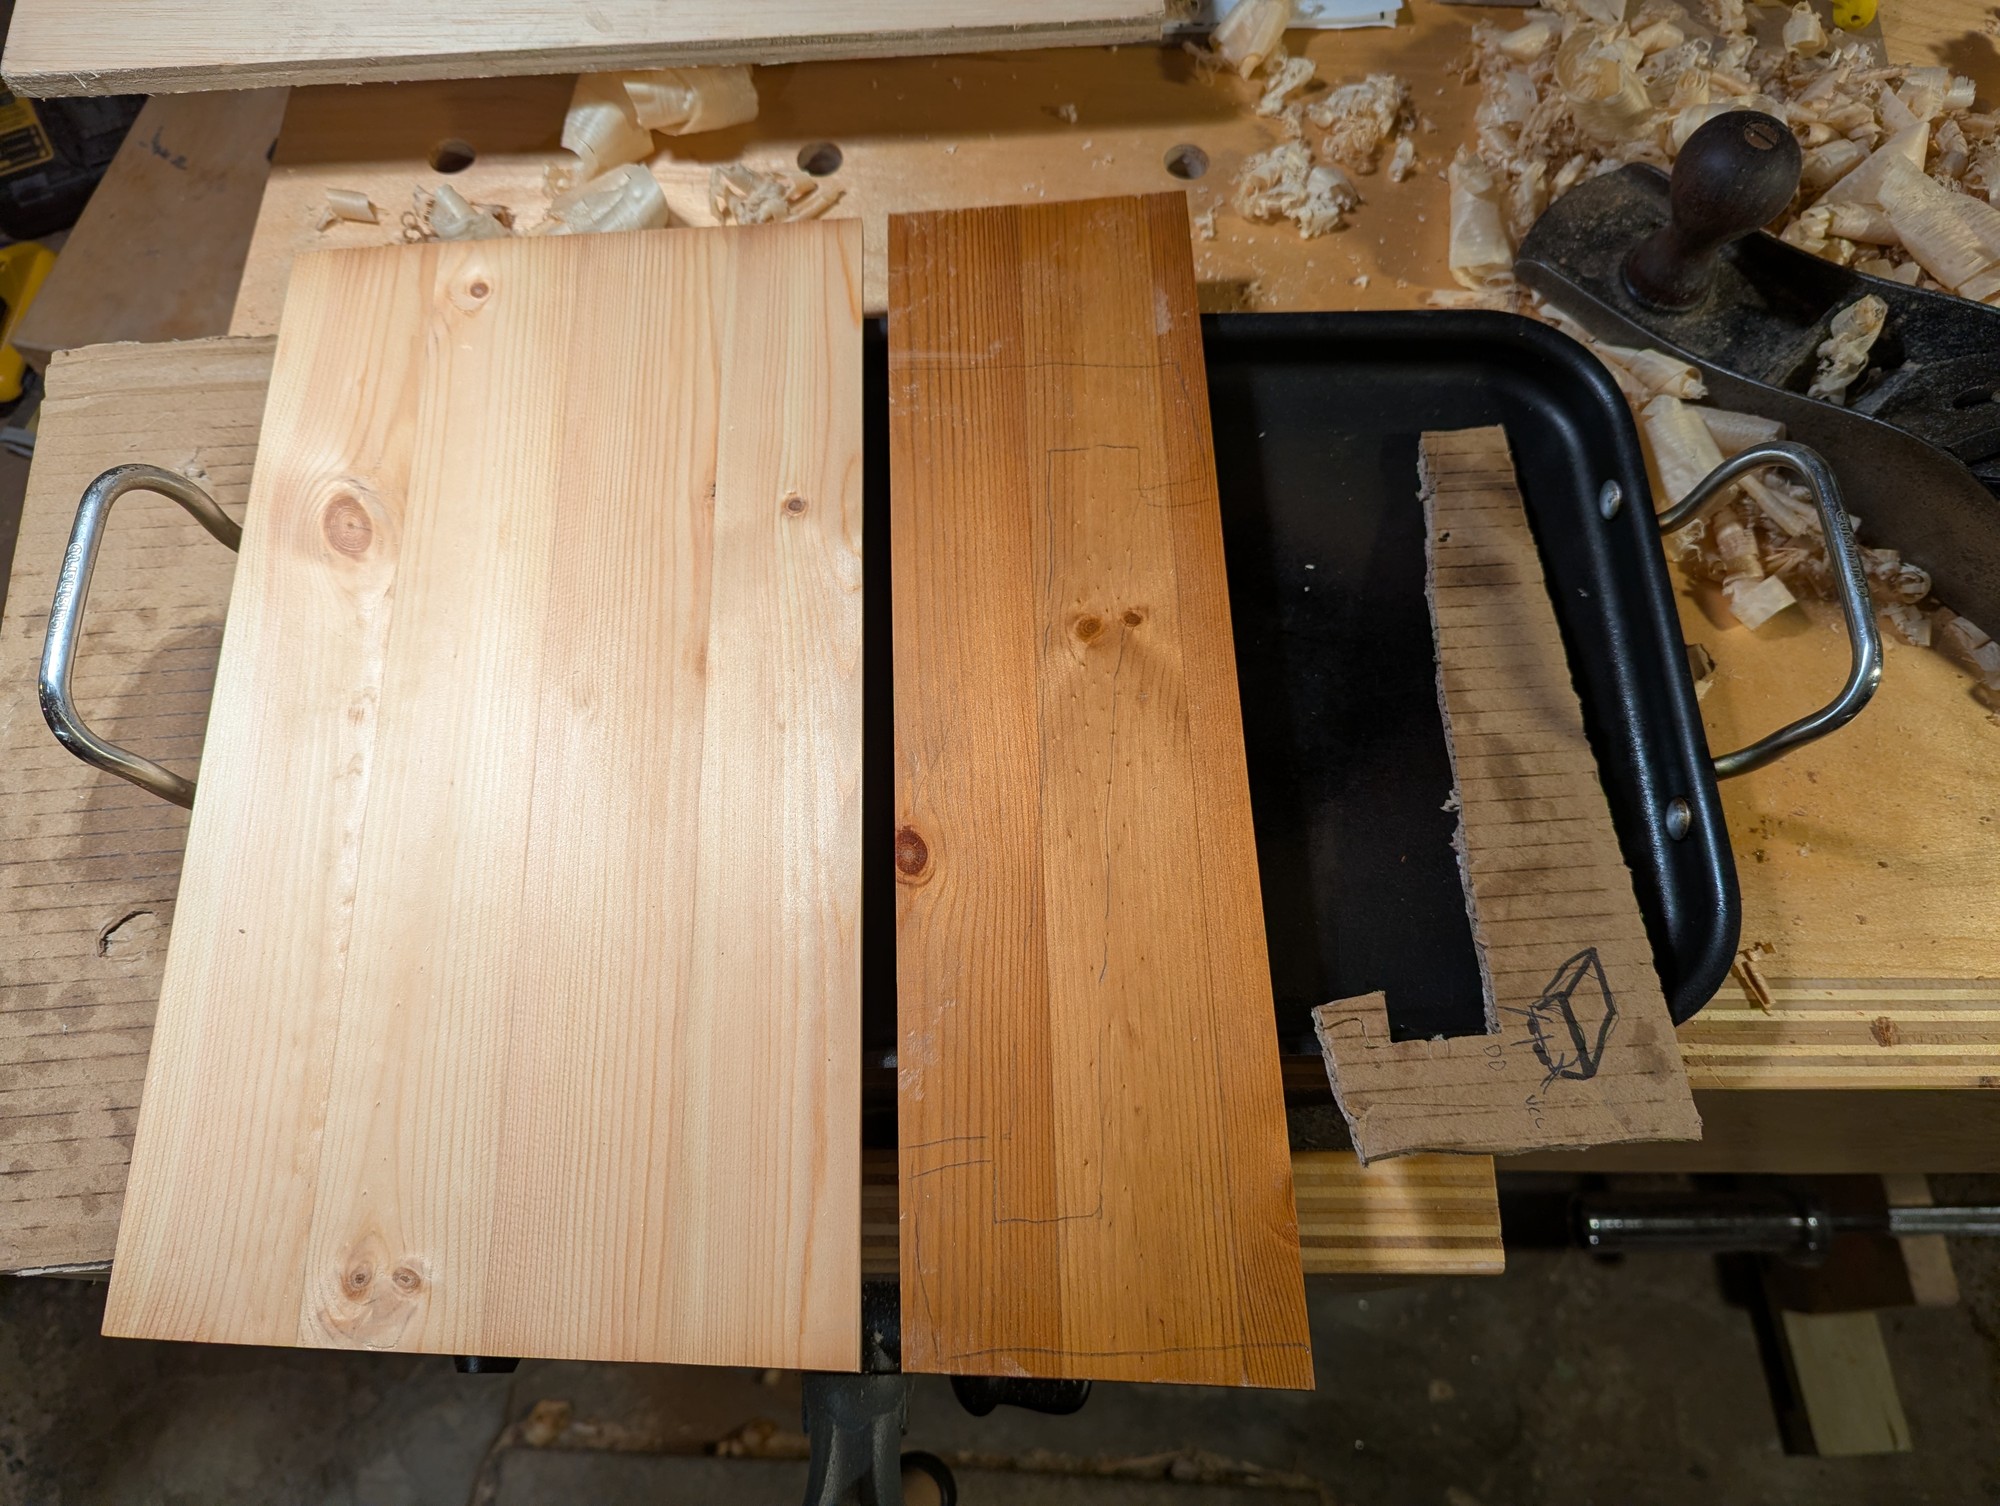
Table saw to cut widths, band was to shape the holders, back to dado on the table saw to notch the backs of the holders.
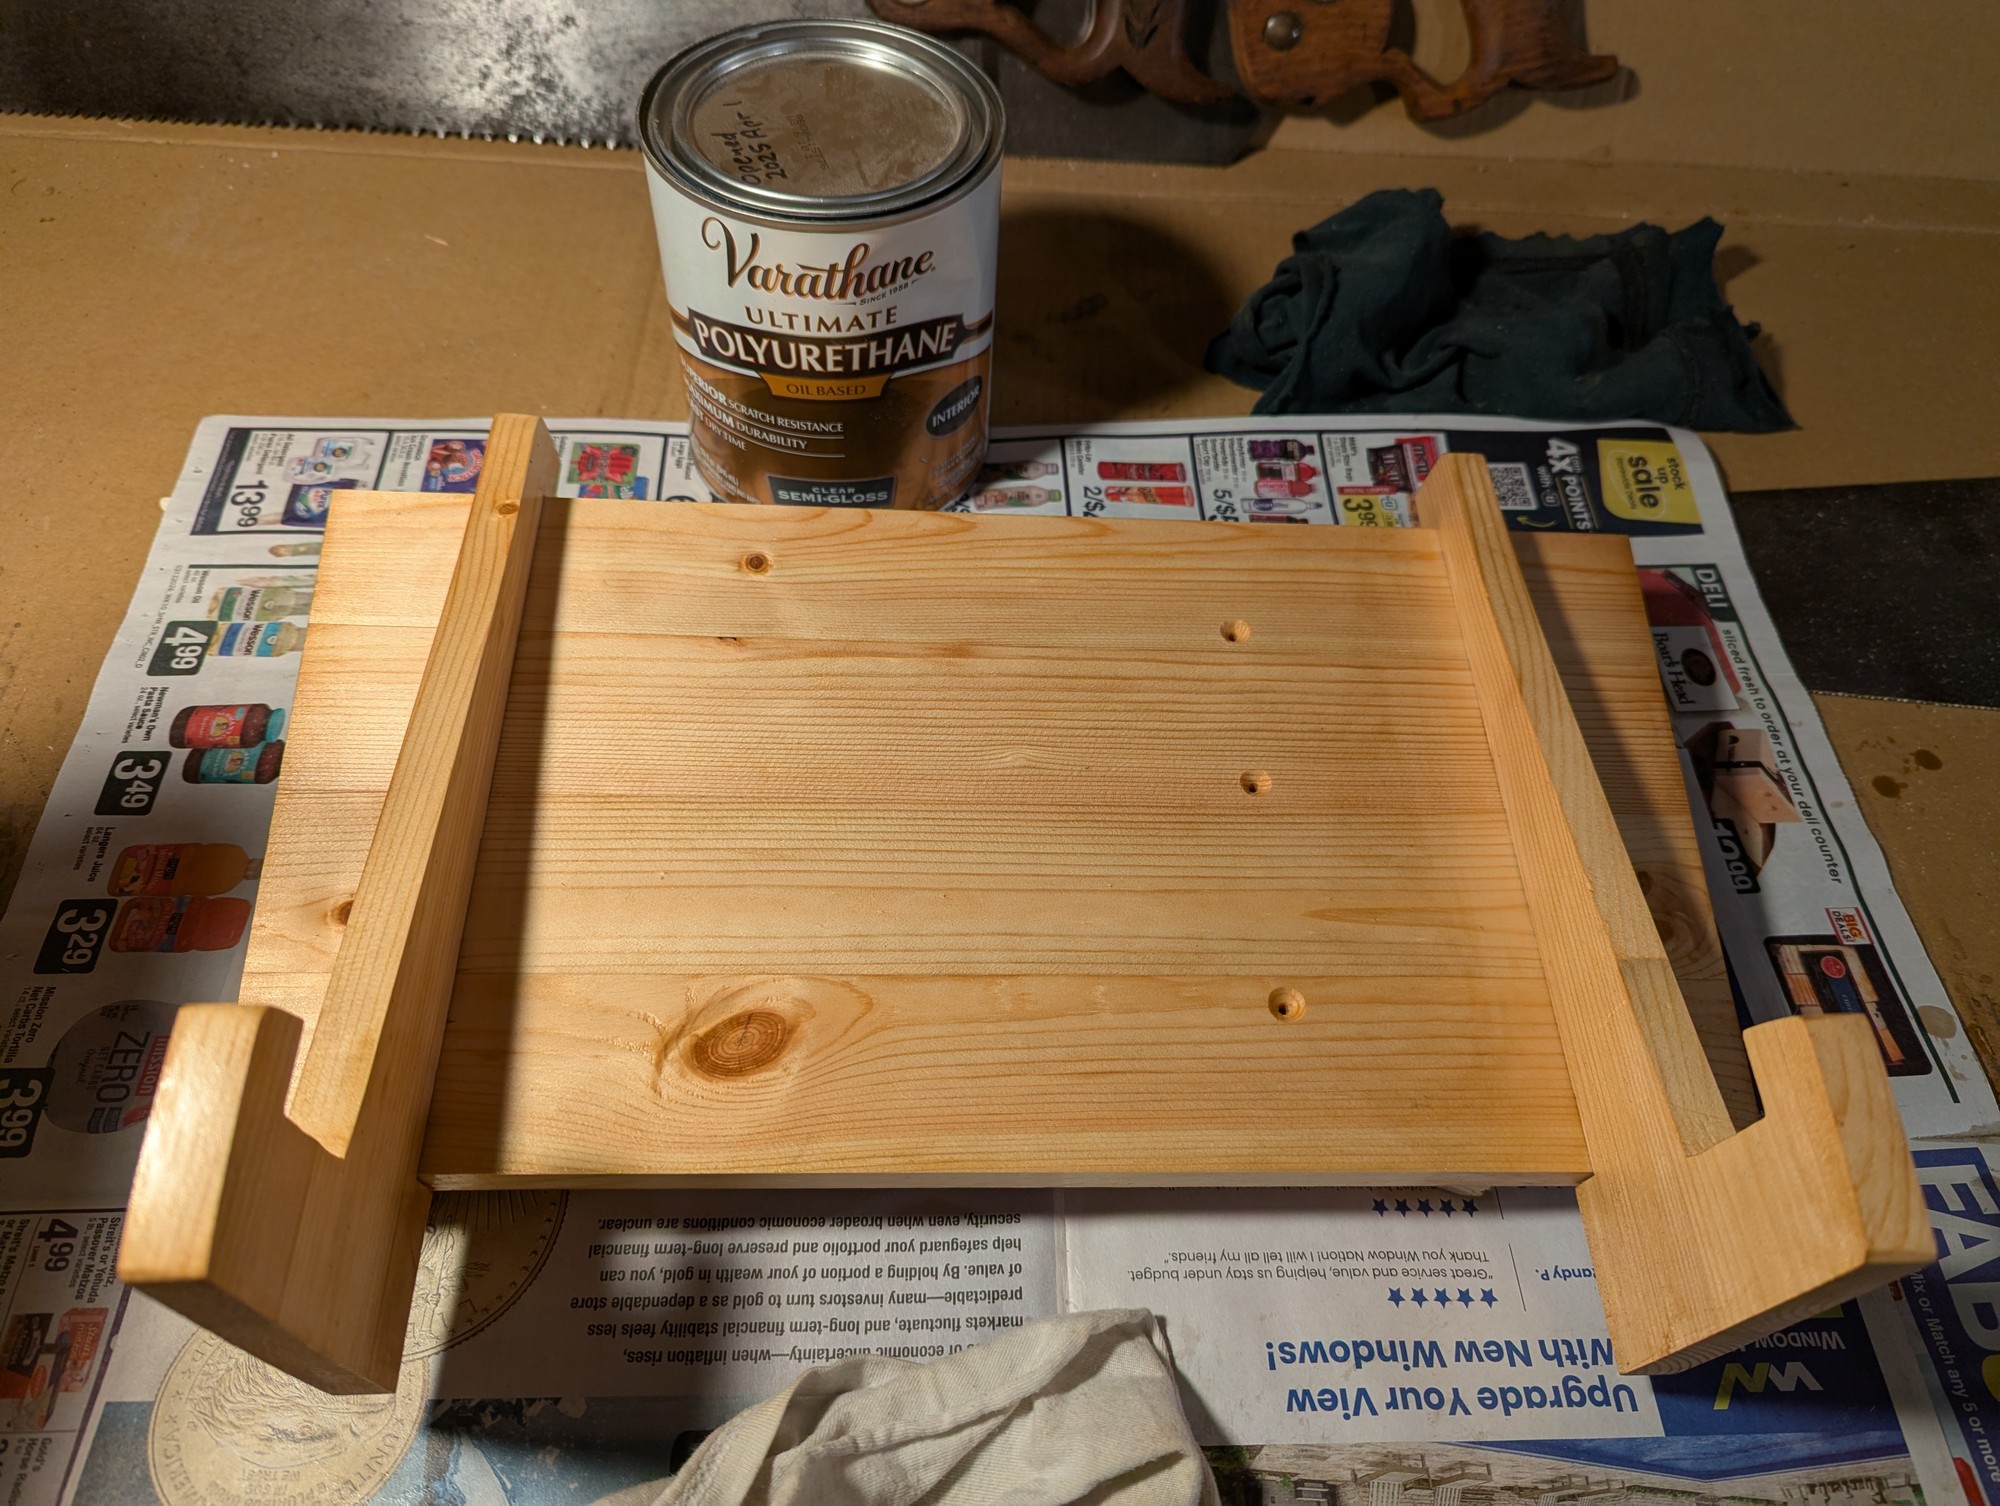
Hand plane for all the flat sides, sanded the edges. Spent more time finishing it than it really merits for something that will be hidden almost all the time.
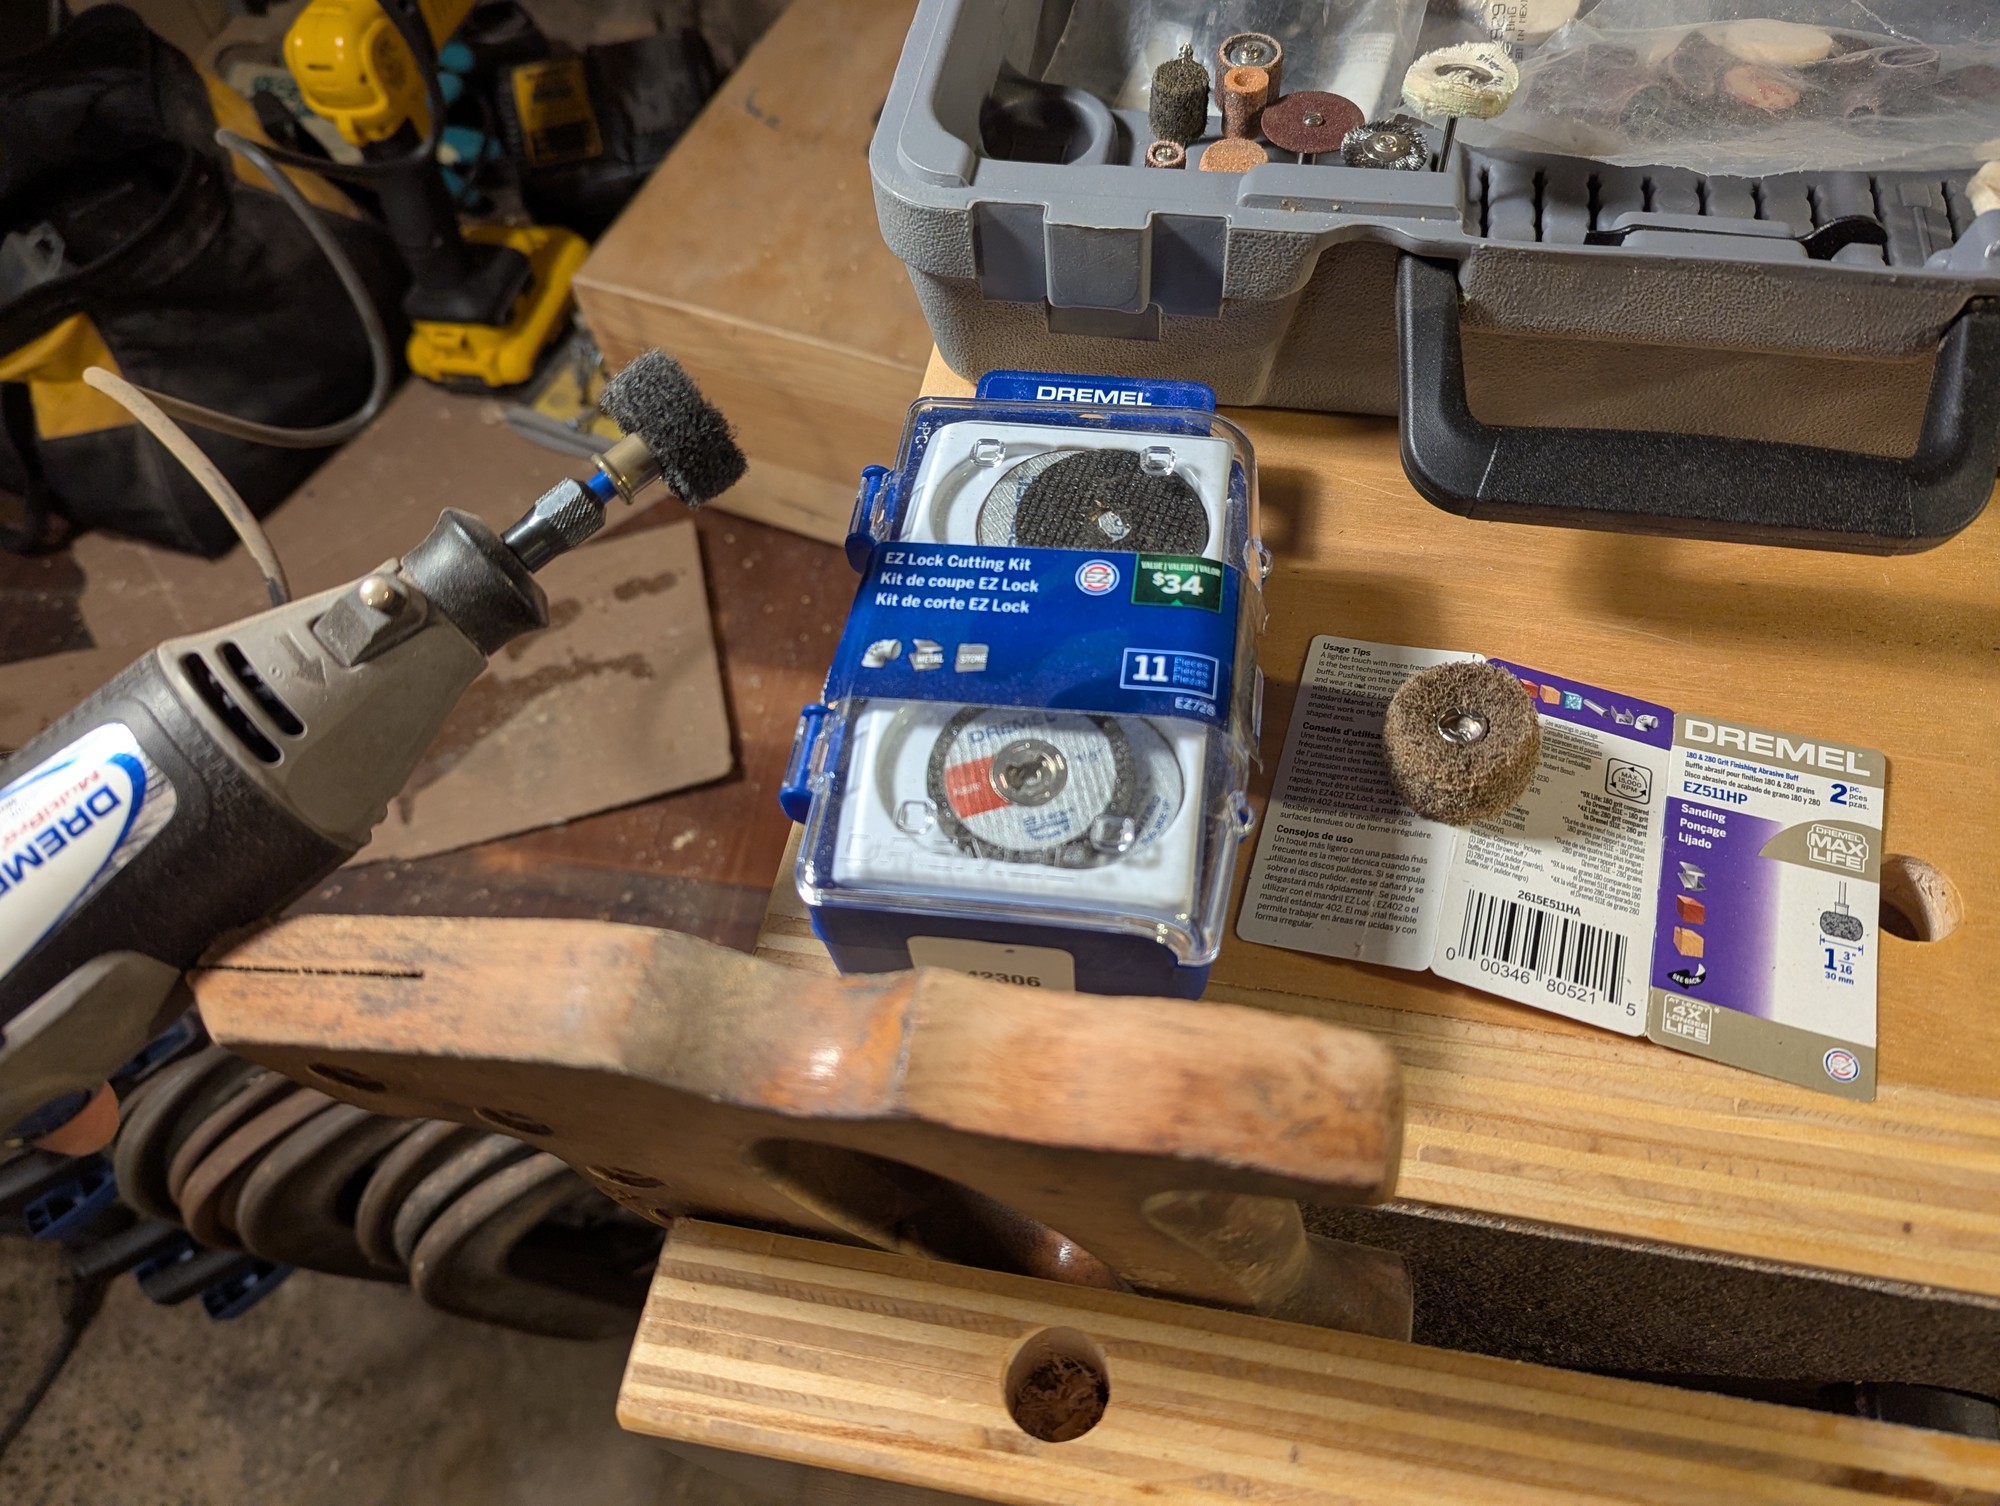
Someone recommended these a while back. The 280 grit worked very quickly; the 120 flap wheel took off material too fast. The sanding wheel used the spring mount that I happened to already have from the cutting set. It wore down pretty quickly, so getting a bigger pack of off -brand ones would be more economic. So much easier than sanding by hand!
In cherry. It's mostly a copy of one my parents have, though they requested replacing three drawers with a swing door and movable shelves.


Finished up the workbench. Made with mostly free 2x4s, with some extra 2x6s purchased.
Half laps everywhere.
Two sjoberg vises because I just have too much money to spend.
Dog holes.
Flip down casters.
Adjustable leveling feet that I designed and 3D printed. You can kick them over with your toe to adjust and get rid whatever wobble appears in that particular spot.

Finished my turning saw yesterday! I’m very happy with how it came out. Darker wood is white oak, lighter is Port Orford cedar, all finished with BLO and paste wax. It was made from plans by Rex Krueger.

Friends had this bottle that had lost its stand, asked me for a replacement, super happy with the result. First time I've managed a proper glossy finish that I'm actually pleased with


Following up on my previous post: finished with the miter saw. Sanded the handle and blade, jointed and sharpened the teeth, waxed the blade, BLO on the handle, polished the reinstalled the nuts.

Seems to cut well!
The blade has a nice marking on it, hard to photograph. It's not perfectly shiny, but I got the bulk of the rust off anyway.

Working on the handle for the 2nd one. Sanding those inside surfaces is a pain, tips welcome. It has some big cracks, so I'm filling those with sawdust+glue.

Also working on a plane.

Disassembled, cleaned, and reassembled the metal. Sharpening in progress. Looks like it's missing one piece, a little washer that sits on the lateral adjustment arm and fits into the slot in the iron. Both wooden handles were split, so I'm gluing them before refinishing.

I built a modular shooting board out of scraps I had laying around.


It works well but I had some problems with the side of my plane not being at 90 degrees, so I have to adjust to that or adjust the plane?
Any suggestions on the best way to get it right?
My wife is insistent that we turn this piece of wood from a tree we had to remove, into a birdhouse.
I'm thinking I need to build a box behind the piece. Unsure of dimensions, and if I should fill in the hole a bit so only the smaller birds can get in.
Southern Ontario, Canada, as that may matter for native birds/sizes. More photos below.
Edit: spelling, grammar.

Made this a few years ago myself. Mostly with my Shopsmith, since we were about to move and I’d sold most of the other tools. Floating tenon (DIY domino, basically) on the joint.

Originally built this as a quick & dirty standing shelf for an awkward spot when we first moved in, 5 years later finally got round to sorting out the corner where it lived so it became homeless
Husband asked for a nicer table for the plant in the window so I shortened the old guy, added some legs and a proper coat of finish and boom
Nice easy one to get back into the workshop after Christmas

This is a wing Chung training dummy. Its 50 plus years old. The crack runs down the length of the dummy. It doesn't move, its still very solid, but we would like to seal the crack to avoid further damage.
Our thought wes to use wood shims to fill in the space with wood glue, then use straps or screw down hose fittings to squeeze the dummy together so the glue and shims hold. Then saw off the excess and stain to match color.
Is there a better method or is the above plan stupid? This dummy is special and has history, I just don't want to make it worse.
Update: Thanks for the suggestions. This wood is hard as a rock. I tried a small wood chisel just to see if a butterfly joint was doable and I could barely scratch the thing. I am guessing I couldn't squeeze it tighter around glue and shims either.
Someone mentioned just leave it if its that old....i m thinking I might just do that. I may just fill in the crack them closely watch it for signs of damage as it gets used.
I'm being very careful because this thing has history being used by Dan Inosanto.


